
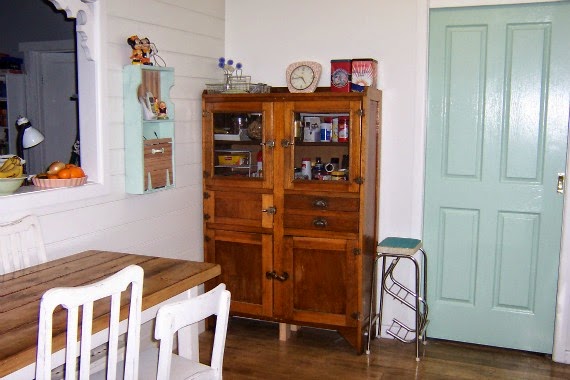
Here’s a photo of the ‘pre’ kitchen and you can see how I dealt with it before. An old drawer, with a hole cut out to expose the phone jack, held the phone, a framed print of a rabbit (cause why not?) and some of my 50’s collectibles.
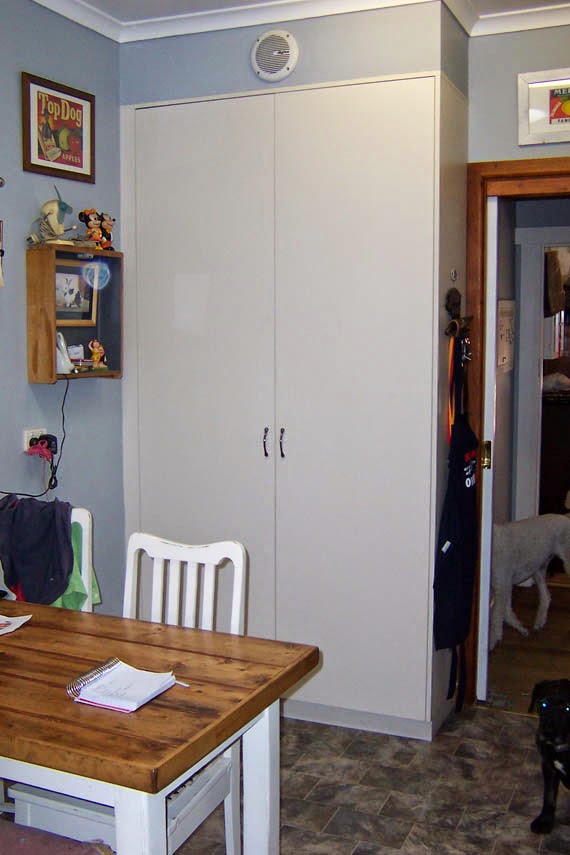
Of course the powerpoint was lower and to the left, so that remained exposed along with the accompanying ugly cords.
When we were doing the kitchen and Handyman was lining walls with pine, I asked him to move the power point and phone jack so that they were closer and neater.
I wanted to create a ‘charging station’. A place to keep and charge our mobile phones and landline. And hide the mess of cords and plugs.
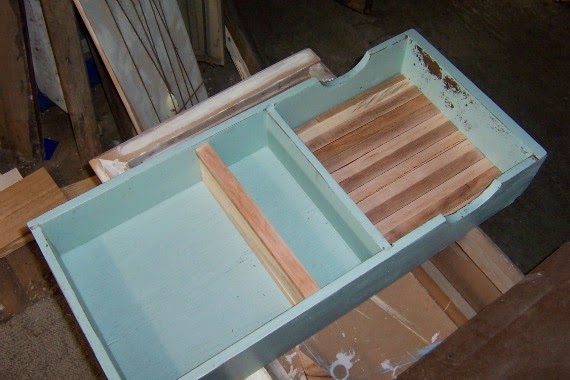
I have a ton of stuff in my workshop and the shed, including a stack of drawers I picked up off the roadside one day. I evaluated them and thought one of the drawers would be perfect. It had an unusual shape – it was long, one section had 4 holes, and a dip in the sides. No idea what a drawer like that would be for.

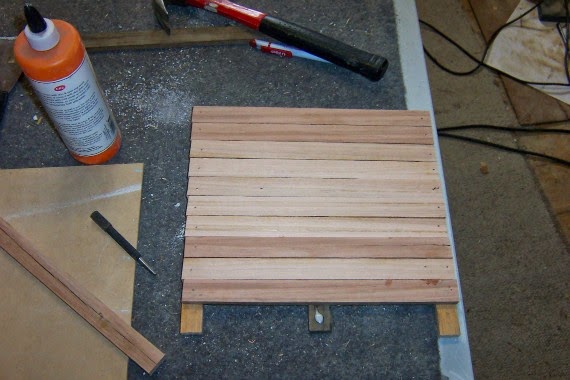
I cut them to size, sanded the weathered layer off and glued them to the back of the drawer.
I really need to go back and get more of them. They’re great!
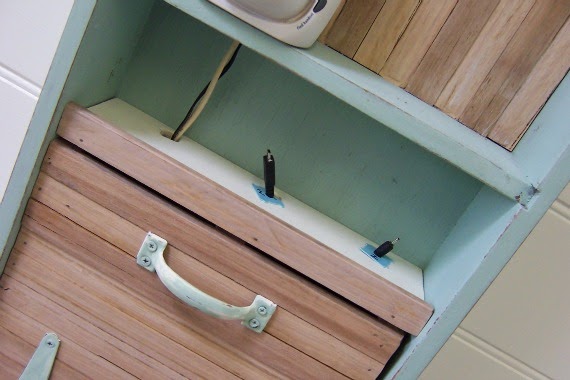
This was the plan: the top shelf would hold the landline phone station. The bottom section would have a shelf added up the top to hold our mobiles. Below would be a door to hide the power points, cables and chargers.
I made the shelf out of an offcut of pine since I planned to paint it and it didn’t have to match. I put a ‘lip’ on the shelf in tassie oak, matching it to lining and so mobiles won’t fall off. I drilled 3 holes in the bottom shelf (one for the landline cables, one for each of our mobiles) and one hole in the original shelf for the landline cables.
Since the idea was to hide the mess behind a door, I cut a hole in the drawer… badly. Necessitating the addition of trim to neaten it up. eh. That part will be hidden most of the time.

The worse problem was that when it was finished, I screwed it to wal, plugged everything in, then discovered that the mobile chargers were too fat for the door to close properly!
Sigh…
I had to cut out the entire bottom back of the drawer to give them a bit more room.
Goodbye trim.
I’m such a professional!
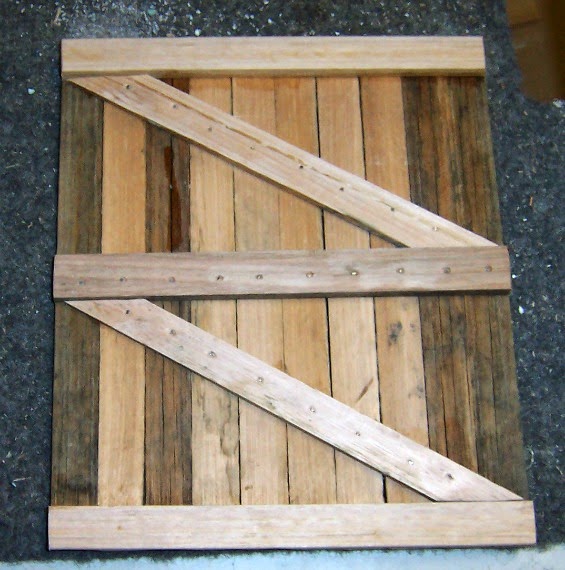
A barn door with Zs at the back.
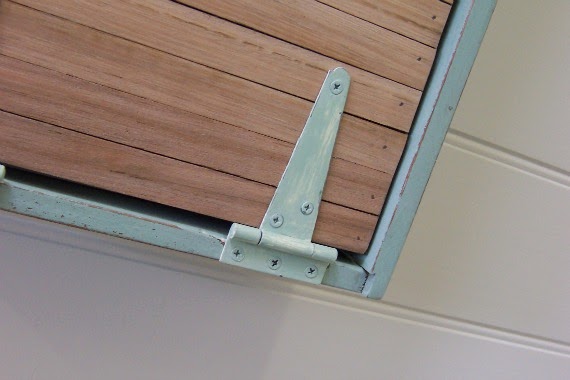
I bought the smallest T hinges I could find and a silver handle I kinda liked. But I didn’t want them looking new, so I painted them. Tons. So they’d look like they’d been used for years on many different cabinets.
I also got a magnetic catch as a closer since I planned to swing the door downwards, like an oven door.
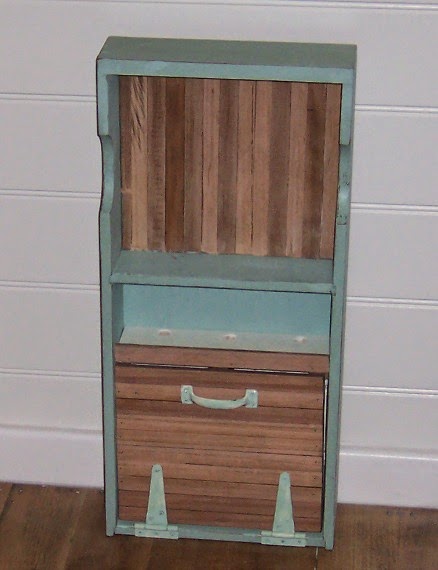
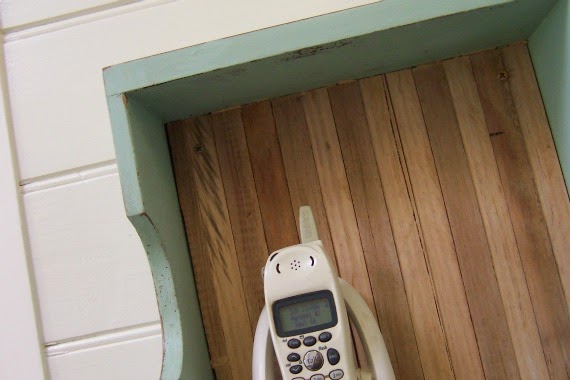
And here it is in the kitchen, ugly cords hidden, Mickey, Mini, Wilma and Barney back in their spots. Plus a rusty wire flower Wayne made me.

Here are some details…
(Btw, I used bread bag clips to keep the charger cables from falling down behind the door.)

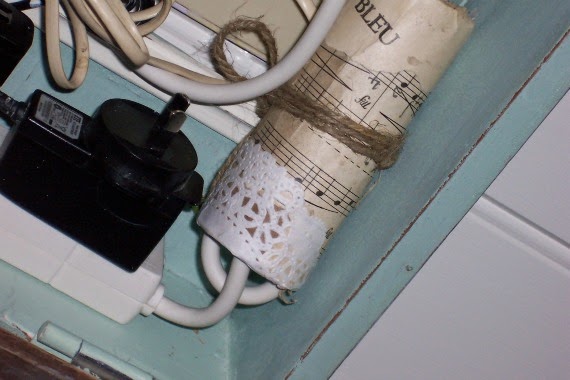
Lastly, inside I decided to try one of the cord organising tips from Pinterest… I got a hand paper towel roll, decorated it and discovered the plug wouldn’t go through the middle. I had to slice it open to slot the cord into it, hence the jute string holding it together.
The only things I had to buy were the hinges and power board. Overall its a success I think!
z
Featured at:

Shared at:


pretty clever and it looks really nice.
Audrey Z. @ Timeless Treasures
LikeLike
Great idea!
LikeLike
Way to go! A good looking way to hide the necessary. Thanks for sharing.
LikeLike
Pingback: photo display and more pet sagas | junk4joy
I must say you have high quality articles here. Your content can go viral.
You need initial boost only. How to get massive traffic?
Search for; Murgrabia’s tools go viral
LikeLike
Pingback: another charging station | junk4joy