small things big impact – the office light

Day 6… The office light

Since we’re on the subject of lights… this is the new office light!

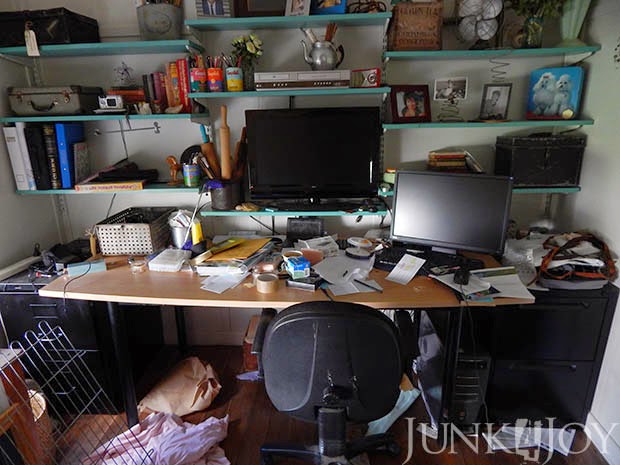
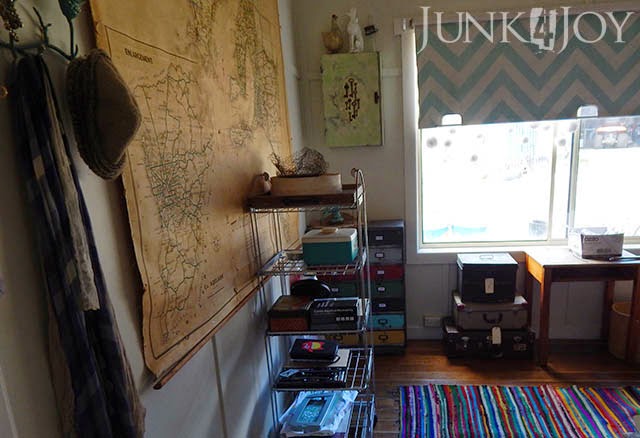
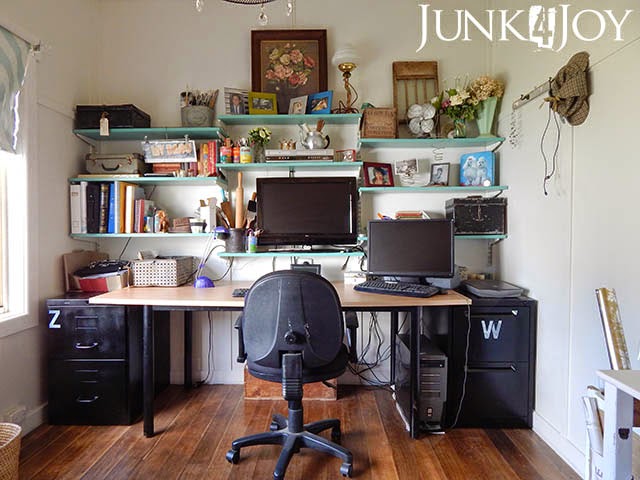
Do you remember the office makeover (part 1, part 2 and then the clean up after it became a mess again)?

Anyway, this is the light fitting I had in there at the time… it was a work in progress which was barely started. A rubbish bin which I’d hung a few crystals on to see how it would look.

Hm. Not quite right. But remember that rubbish bin. You’ll be seeing it again soon.

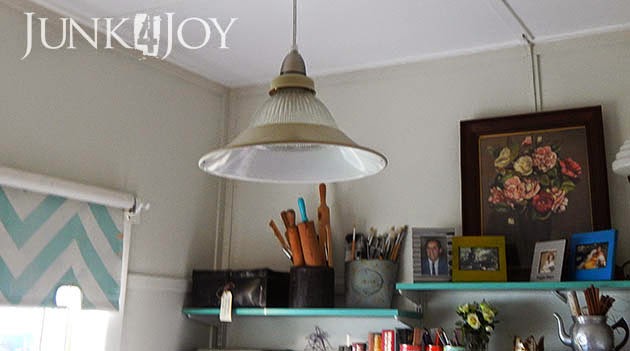
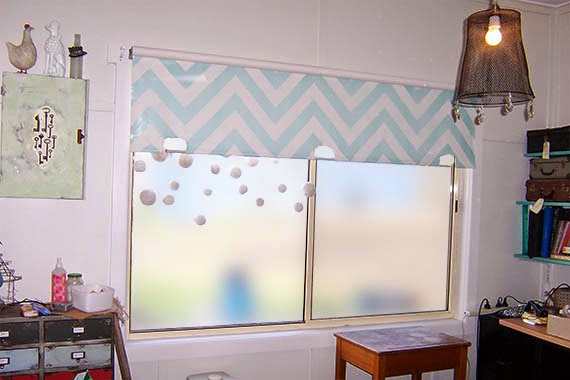
Meanwhile, the new light is gorgeous. I found it at a tip shop about 2 years ago. Its made up of parts: the rim and the glass dome aren’t connected, they come apart. I mean, the rim is just balanced on the edge there, its not attached. Its a really interesting light and when I saw it at the tip shop I had to have it.

The glass dome allows light to shine all over the room, not just below (as is the case with the hallway light I shared). Perfect for the office where I need to light the entire room.

Of course, it didn’t look quite like this when I found it. Firstly it was grimey. Secondly it was peach.

Sigh.

What is it with me and peach? I’m haunted by that colour!

No before pics. I don’t think I actually took any photos of it at all before the makeover. I just wanted that peach gone!

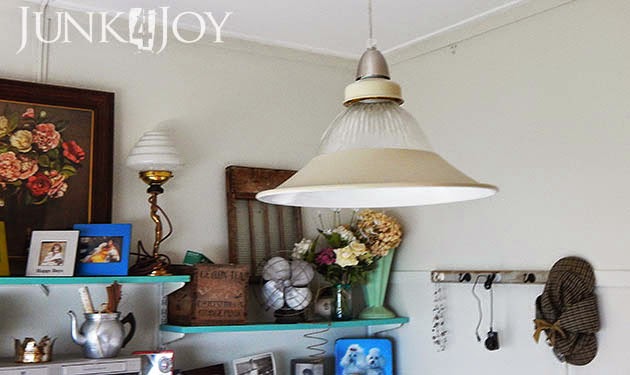
I sprayed it Rust-Oleum Almond same as the hallway light. I know it looks lighter, but its just the photos.

This light had been living in the pantry (in all its peach glory) since I got it, but it was time to bring it out to be admired. The pantry will get another light eventually, when I make one. Cause as I said, I won’t spend $$$ on light fittings when I can find beauties like this in tip shops.

Another small job finished – the right light in the office.

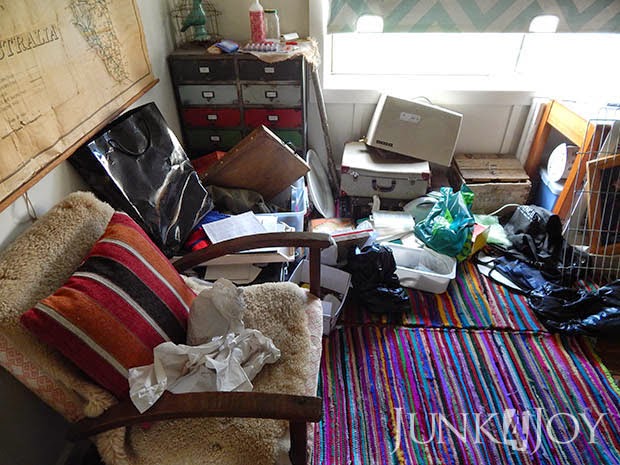
Meanwhile, got home after work tonight and found the dogs had done some remodelling in the casita. Again.

Another thing to add to my list of things to do: clean up the mess.

z

‘heap of change challenge’ johnny come lately

There was one project at the top of my list when I decided to join the heap of change challenge last month.

The office.

Not long ago I shared my office makeover (part 1 and part 2) and the blind makeover. It looked great for about a week.

Then things started piling up. And up.

Soon the office looked like this:

And this:

And this:

Actually, to be honest those photos were taken when I put ‘office cleanup’ at the top of the challenge list. Then I went on to clean up the workshop, got tired, ran out of time, got abducted by aliens… I just stopped. Cleaning and organising that is. I didn’t stop piling stuff in the office.

Every time I came across something I wanted out of the way , I’d put it in the office.

Side Note: Have you ever felt that cleaning is just another word for ‘moving things’? Have you ever considered that you will never have the entire house tidy at the same time cause in order to clean one area, you mess up another with things that don’t belong ‘here’ and there’s no ‘place’ to put them… yet… till you create one for them when you clean the next room.

The mess was a whole lot worse than in the pics, but by not sharing those pics I can keep a little dignity… (ha)

Here it is now. After I put everything in the workshop to sort and find a place for later.

Next week I’ll be cleaning the workshop again.

I even put initials on the filing cabinets. One for me and one for Wayne, in case Z and W wasn’t obvious.

The new/old shop rack is now extra storage for bits and pieces.

There are still a few things to do, get rid of the old desktop computer for instance, but I love the new clean office. So much in fact that I don’t think I’ll ever use it again.

z

new office blind, the cheap way

One project finished.

And what an adventure it was!

You already saw a preview yesterday…

This is what the blind in the office looked like before.

Salmon.

Like everything else in this house when we bought it.

Gack.

I wanted a new blind. I’ve been wanting a new blind forever, but since I made over the office its been a lot higher on my list of ‘wants’. But I didn’t want to spend a ton, or even a little…

Enter the painting the blind idea.

First I planned to paint stripes; paint the blind white, then paint stripes in pale grey with a distressed look… to kind of match the kitchen blind but to not be identical.

But I didn’t have any light grey paint. I did have aqua, so I mixed up a batch of light aqua and got ready to paint stripes.

Have I ever mentioned my bad relationship with numbers?

I hate measuring things… hence my slapdash creative methods.

Well, suffice it to say I stuffed up the stripes.

So, I did what any self respecting DIY-stuffer-upper would do… I painted the whole blind aqua.

Then I decided to try chevron … cause its so much LESS numerically demanding!

I have no idea what I was thinking. I was in the zone.

I looked up ‘how to DIY chevron easily’ on Pinterest and found a suggestion that I grid up first. I used a book as my ‘slightly off-square’ shape and pencilled in a grid.

I then used an off-cut of timber to achieve the width of my stripes… and very soon ended up totally off my grid.

Eh. No one’s perfect.

I masked off my stripes and used a mini roller to paint in the stripes. I only gave them one coat using the chalk paint mix I was using on the chests of drawers and wardrobe* so that the effect is a bit uneven and ‘washed out’ in spots. The old look I was after.

The masking tape lifted up a few small spots of aqua as well, thus giving it an even older, more distressed look…

Oh well, it may not be perfect, but it looks ok… As my mother likes to say “many will see it, few will notice”.

This morning I erased all the darn pencil lines and painted the back all white. One happy accident was the difference in the aqua vs white. The aqua is semi gloss and the chalk paint is matt so the blind now has both colour and texture.

However, this is one adventure I’m not likely to repeat soon. If ever.

I do enjoy painting, measuring not so much. And painting on the floor I can live without.

The difference in the office is amazing.

Take another look at how it was before:
And now:
Much better!
Today I also went a little crazy and added pom poms to half the window.

Why?
Cause I could.
Cause I had the pom poms and didn’t know what to do with them.
The photo sucks, but the pom poms are kinda pretty. As long as you ignore all the bird poop on the window and the view of the garage.

All in all, its been nice to finish something, even though it wasn’t really on the To Do list for this week.

z

* My DIY approach is simple: once you get a paint out and start painting, paint anything and everything you can in that colour while the brush is wet.

Shared at:

office makeover

In case you’re wondering where I’ve disappeared to for the last week or so, few posts… I’ve been on my knees working on the office makeover.

I’ve often mentioned how much I hate the salmon carpet throughout our house. And how much I specifically hated the office carpet cause the dogs (NOT my dogs! Mine are toilet trained.) used it as an indoor toilet.

A bit of background for those of you who don’t know our story: when Wayne and I got together he brought 2 dogs into the relationship: Mischa, a purebred staffie, and Barney, her illegitimate spoodle cross son. Neither of them had ever been indoor dogs. They were escape artists and were penned when Wayne was at work and at night, and rarely allowed into the house. When we moved in here we kept them in the dog run when we were at work and they slept in the garage at night. I soon moved them into the entry way and allowed them in the rest of the house when we were here. When Mischa died I felt sorry for Barney so he’s been a couch dog since. While in the house and out of our sight, they would often use the office carpet as their private restroom.

As a result the carpet in there was disgusting. I’d started removing it before we started the kitchen makeover and when there was another ‘accident’ in there (cause I forgot to close the door) I’d just cut out and throw away the piece of carpet. Why bother trying to clean it up?

So, over the week I had off and Wayne was away, I started the office makeover. First step was to remove the old carpet and underlay (which I re-use as a weed barrier).

Then I sanded the floor the same way I did the kitchen. First I went over it with the belt sander, then with the orbital sander and finer grit.

The floorboards now run from the kitchen, through the small hallway to the office.

After sanding both the office and hallway, I gave the office floor 3 coats of polyurethane. The hallway will have to wait. I ran out of time.

Next I I removed the shelving from the wall. I should really had done that sooner (like before sanding!) but the living room was already squeeze through room only. Once the floor was polished I took eveyrthing off the shelves, piled it into the middle of the room on a dropsheet. I now have to clean it all!
I painted the office walls the same colour as the kitchen, 3/4 strength Dulux China White. It looks so much brighter in there now. I had grown to dislike the blue which I thought was grey when I picked it. I also did the skirting boards, window and door frames in Dulux Antique White USA.

I still have to work out the window covering situation… I was considering painting the old blind but it doesn’t fit on the inside of the window frame, and its a bit worse for wear. I’ll work out what I want there eventually.
I have put a few things in the office, but can’t finish things till I work out the shelves. I’ve painted them and have to decide how to configure them. Now that I’m making films I’m thinking of putting my small flat screen in there as a second monitor. That means working out how to best place the shelves and screw them into the brackets before I can start replacing things to clear the floor.
I’ve put Wayne’s antique map on a different wall and placed my desk under the shelves. The plan is to minimise the crap stuff I put in the office. And try to work on ONE project at a time (says the woman who can’t see the coffee table or living room floor cause of office stuff and fabric to make costumes for a film!). 
The plan is to put an armchair in this corner and only have the sewing machine on a small table with wheels, the computer on the desk, and only the things I use most often in the office. And a rug.
And not jam pack the office with a million things to ‘get to when I can’.
Yeah, yeah, famous last words. However, I must point out that the kitchen is still neat and tidy and hasn’t begun to accumulate junk on surfaces. I love it so much I even wipe and put away anything I have to wash by hand immediately!

Here is a preview of another project I’ll post about when I get a chance… they key box!

And, as a bonus, you get to see part of the pile in the middle of the floor.
I hope to be able to get more done on the office this weekend but back to work means doing things in dribs and drabs. I’ll keep you updated.
z