march 20. a month of daily art.

I’ve always loved the idea of painting clouds, but had never tried it.

So today I thought it was time to give it a go.

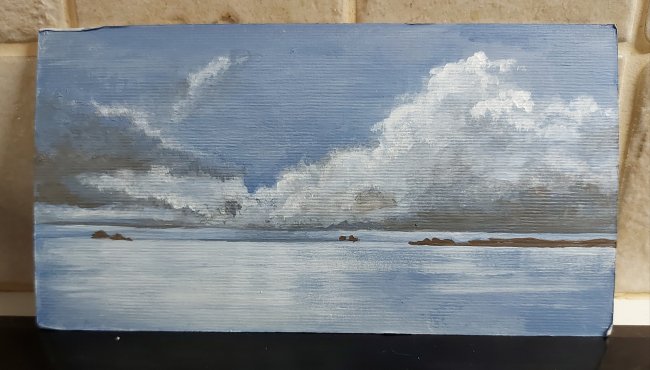
This is how this painting started:

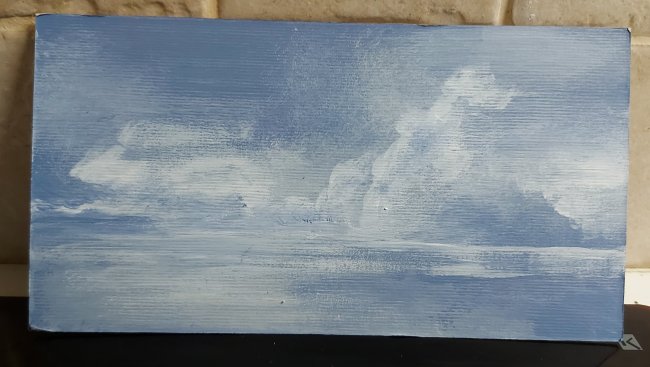
And this, of course, is it finished:

I am actually quite pleased with it.

I even started searching for other photos I’ve taken of cloudy skies but couldn’t find them. Hopefully I’ll find them tomorrow so I can try another one.

Its been a really busy day, and a very frustrating one at that.

I hate technology… I’m one of those people who hate getting a new phone/computer etc cause I have to set it up.

Computers and smart phones are meant to make our life easier, but things keep changing and every update and upgrade seems to make things more complicated.

It might be my age speaking here, but I remember this being an issue when I was much younger and working as a graphic designer. You’d just get used to a program and they’d upgrade it and things which worked fine didn’t work any more, things got moved to different places, new things (which were usually good) appeared and you had to re-learn everything again.

Or they stopped making a program you knew off by heart and you had to learn a new one.

I kept up. I did my job. Then.

Now, it seems every time my computer or phone runs an update things are different. Facebook keeps changing. And everything is somehow connected – which you’d THINK would make life easier, but it doesn’t.

Today I spent time trying to set up a Facebook/Instagram shop.

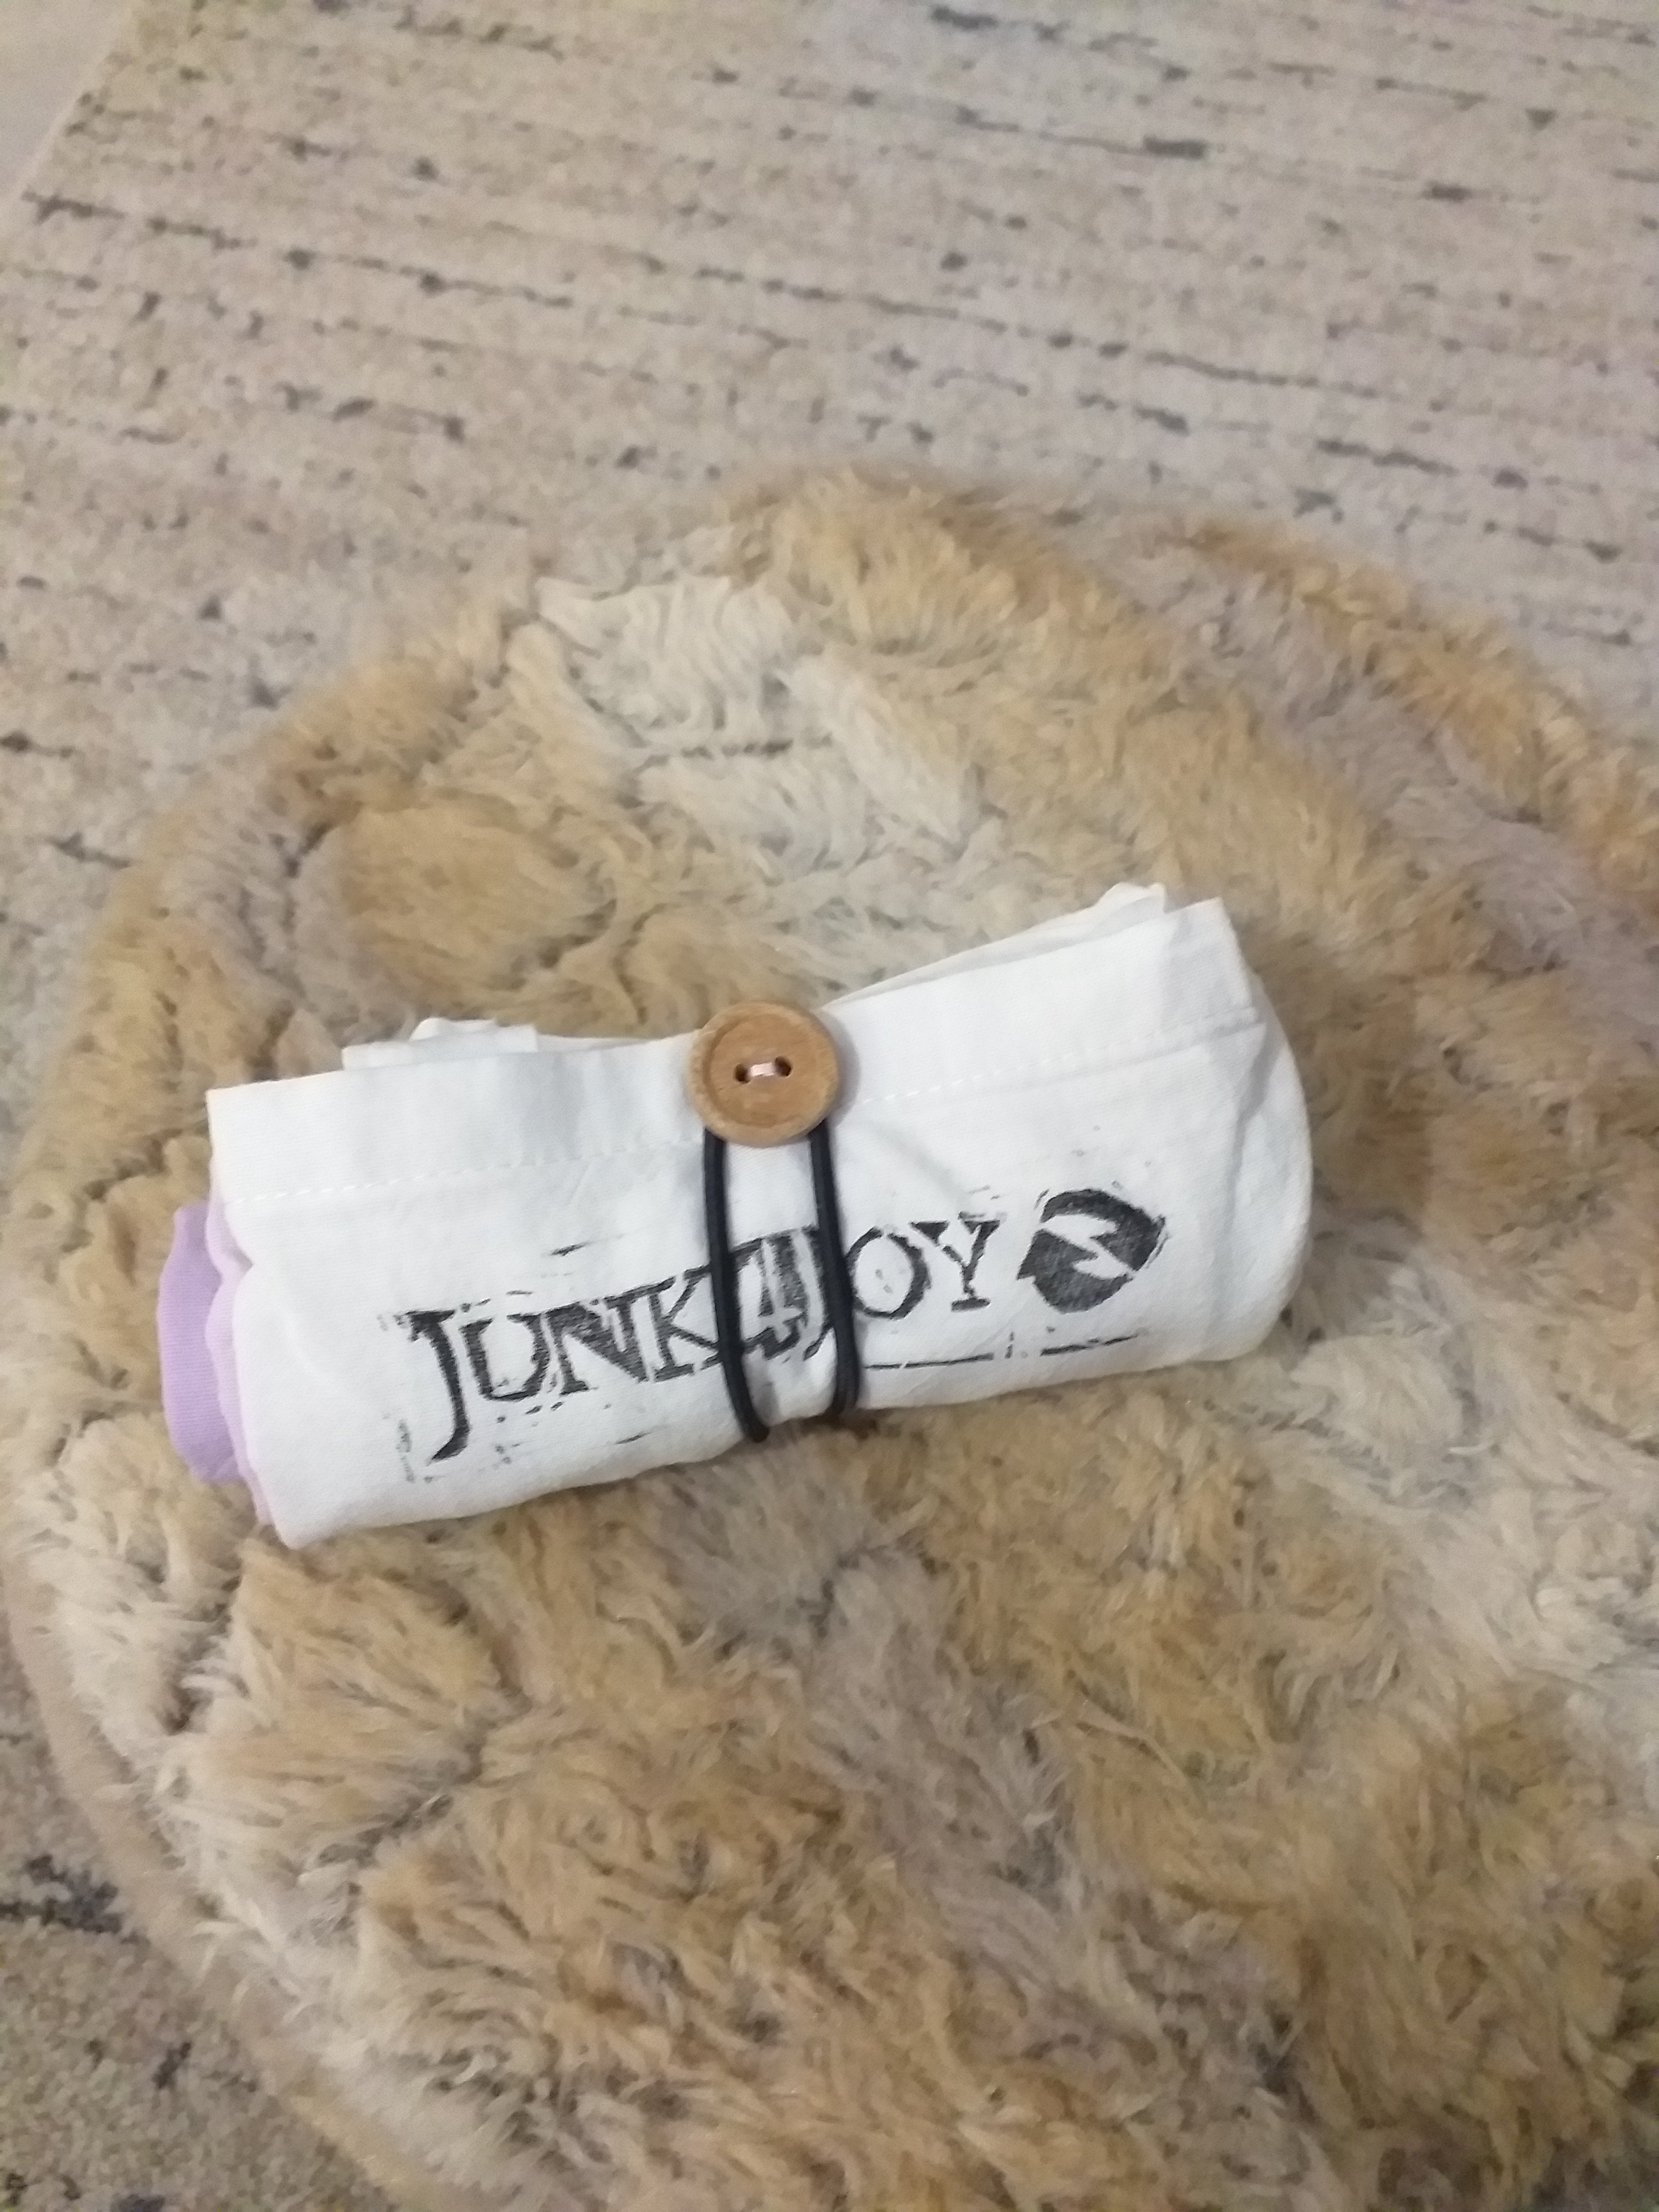
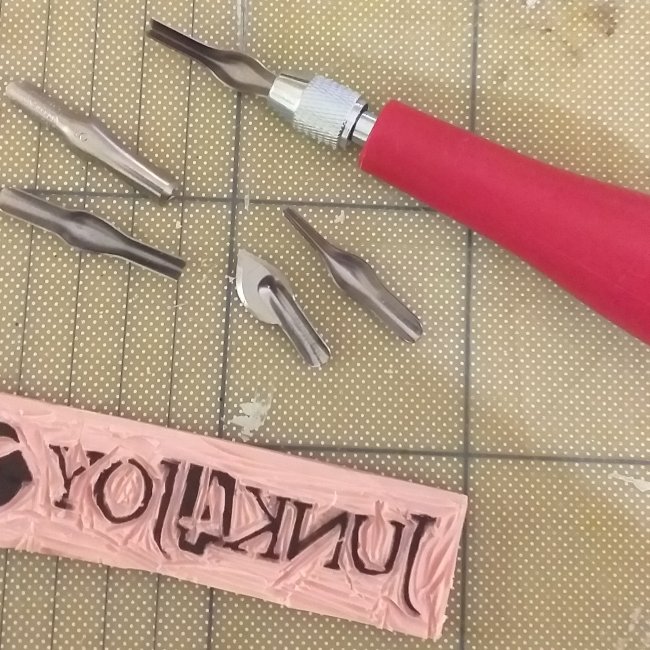
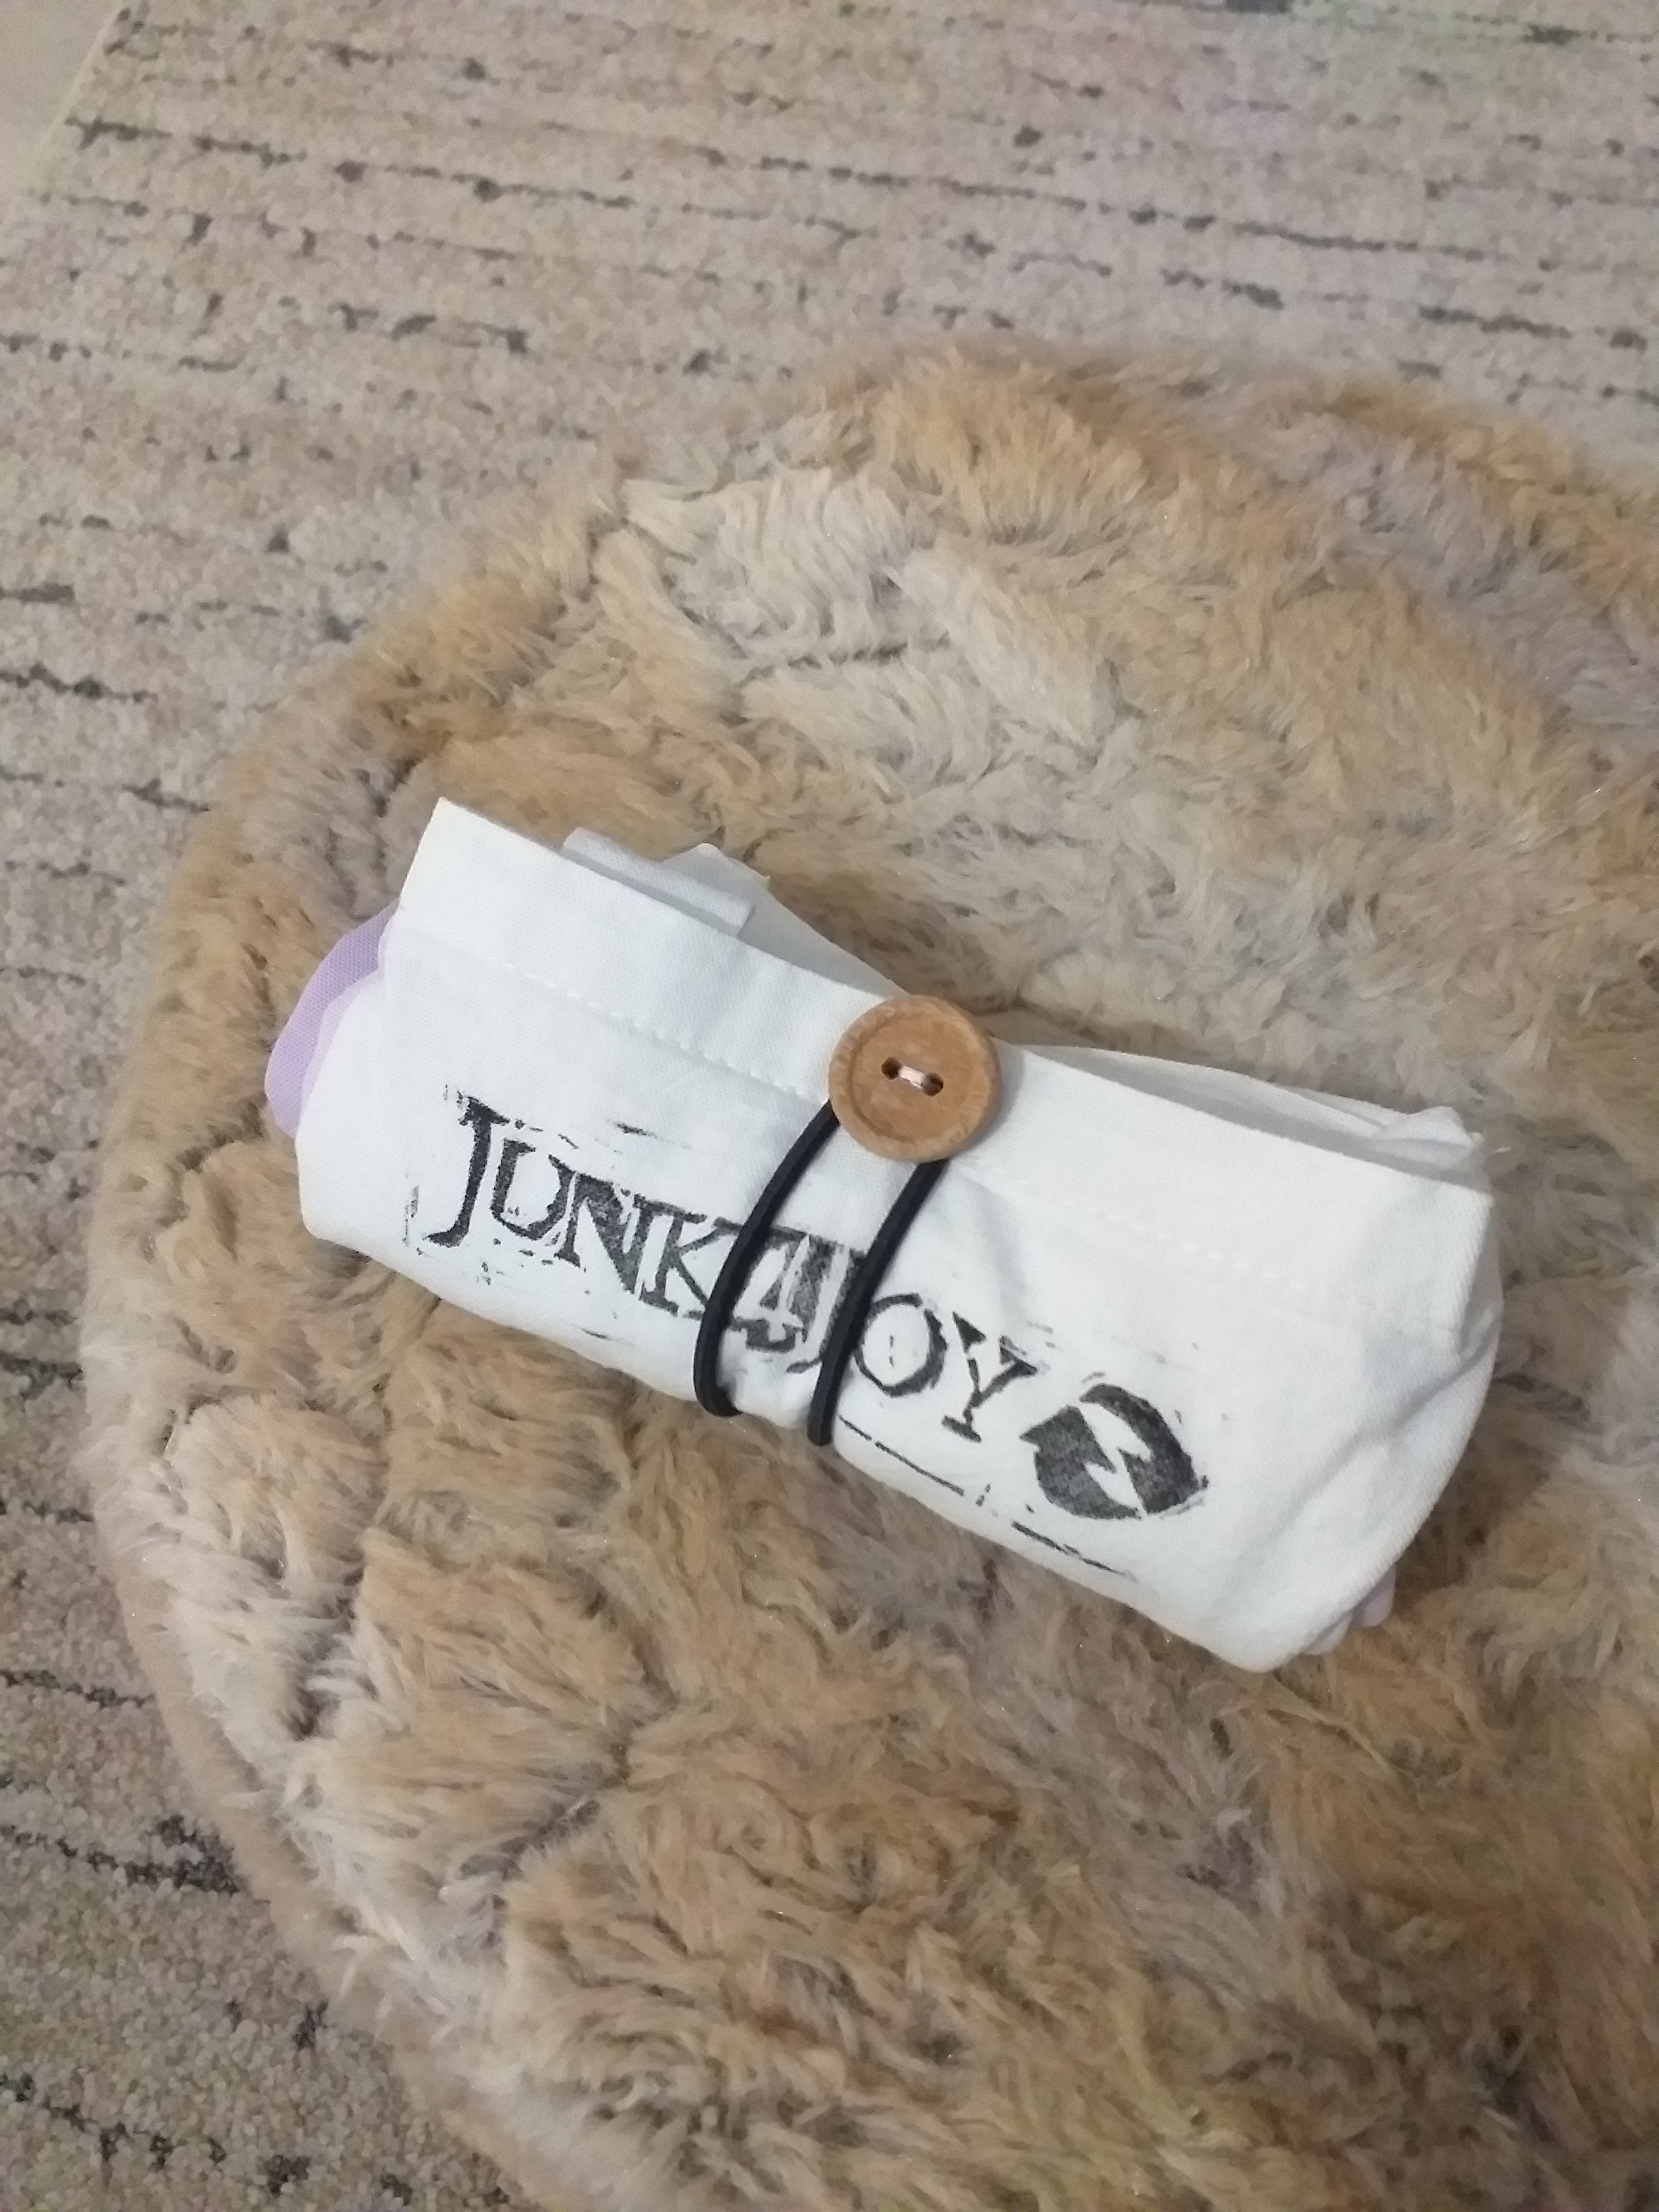
Its not the first time I’ve tried. I’ve spent hours on this in the last year or two. I did set up my Junk4Joy page as a shop initially but never did anything with it, then they changed their shops and added Meta and now its so much more complicated.

People keep saying ‘read this’ or ‘here’s a link’ etc. I’ve done all that. I’ve read stuff, I’ve watched Youtube videos. They’ll say ‘click on xxx and then select xxx’ etc but nothing on my computer, in the app or on my browser, is in the same place where theirs is!!! Even the wording is different sometimes.

Please tell me I’m not crazy.

All I want to do is streamline my FB accounts/pages, match up my Instagram account names, and have a shop where I can sell my stuff. Is that too much to ask?

Maybe I should just go open a Shopify shop, pay for it, maybe they’ll make more sense.

Mind you, that doesn’t solve my different accounts.

I need a fairy god-IT-person. Or a 10 year old.

Whatever.

I’m tired.

What I did manage to do today was close my Etsy shop for good. It did well when I first opened it, but kinda died.

Even that was a nightmare. In order to close the shop I had to first pay the AU$1.98 I owed them. Which I tried to do using Paypal… But Paypal won’t let me log in without sending a text to a phone I haven’t had since leaving Australia. There is no other way to log in. I can answer my security questions, which I did, but then they want to send me a text to the old phone and they don’t even give you the option to say “Hey dudes! I no longer have that phone so I can’t receive any texts! Is there another way, like, say, for instance… send me an email?”

No. That would make too much sense.

And unless I want to call Australia, I can’t get in touch with them. There is no ‘chat’ on their site and no way to email them with a problem. I can do a search for an answer in ‘the community’ but I can’t ask a question without logging in!

Can you say ‘vicious circle’?

I managed to close the shop by adding a new credit card to my account. How does that make sense?

I still have my CafePress shop, but I’ve barely added anything new to it in years, so its barely selling. I should close that too, but eh, it doesn’t cost me anything since they’re a print on demand company.

Remember when I wondered how you can be an artist and have an online shop/commerce site and manage all the posts and ads etc? Well… this is where I’m at. About ready to give up.

I swear, if Greece allowed street markets, I’d just sell my stuff at a stall. But there are no street markets in Greece. Only the farmer markets (laiki) in the cities and those are not for art and craft and handmade items.

Ok. Enough whining.

At least I did a calm painting today.

z

fail again – take 2 on painting ceramics

I tried again. I can’t just give up on the paints. I spent money on them after all. Surely there must be a way to get them to work!

You can see my first attempt here.

This time around I painted something different. I mean, why not… its just experimenting after all.

But the results were, once again, disappointing.

This time I not only washed the dishes and dried them with a clean towel, I also wiped over the area I was planning to paint on with pure alcohol. I figured that maybe there was still some grease residue on the plates last time. The alcohol would get rid of that.

Here are the results:

So… scratching with a fingernail when its dry seems to be ok. But put it in water and all bets are off.

To me, this is a total failure of the product to live up to its claims.

I had planned on using these paints on a large fruit bowl a friend wanted me to paint for him. I planned to buy a few more colours too. How can I do that when the bowl will need special care or the painting will come off?

I guess I could call them ‘special needs’ ceramics.

hahaha

Whatever. Moving on to something I know works.

Stay tuned.

z


Shared at:

failure – painting on porcelain

A while ago a friend asked me to paint a large fruit bowl for him so I went ahead and bought some paints for porcelain online. These are the ones I bought:

Now, I’m not saying they DON’T work… I’m just sharing my experience. Please tell me what I did wrong, cause they sure didn’t work for me!!!

I bought a platter (not shown here), a large deep plate and used a small bowl I already had. I washed them as it said, by hand. I rinsed them well and after they dried I also wiped them over with a towel.

In order to find the best type of porcelain to work on, I bought a shiny platter, my bowl was shiny and the deep plate had a kind of matt finish.

I then drew on them using both the paint and the pen I’d bought.

It was just an experiment so I didn’t concern myself too much with the design. Once done, the instructions said to dry for 4 hours. I had to go out so I left them overnight. The next day I put them in the oven and turned it on to 160 degrees C for 90 minutes. Then I let them cool before removing them from the oven.

The day after I got the guts to try using them. Firstly, I used my fingernail on the small bowl with the blue fish – it came off easily when I scratched it. The matt platter wouldn’t scratch off so I felt hopeful.

However, this is what happened when I put them in plain water, or water with dishwashing liquid…

Hope the videos work ok for you… If not, let me know and I’ll upload them to Youtube and link them through there.

Suffice it to say that it took no elbow grease to completely erase my work from the surfaces.

Contrast that to the sharpe experiment I did about 3 years ago:

I drew on 2 of the small bowls using a fine line sharpie as per instructions I found on Pinterest. The drawings have faded and in some places have rubbed off a bit where I’ve used the hard side of the sponge, but for the most part they remain intact. Three whole years later and with regular use.

So… those who may have used Kruel porcelain paint… what have I done wrong?

z

PS Experiment No. 2 is in the oven as I write…

first attempt at vegetable dye

Perhaps not entirely my first attempt to dye something using natural dyes, but I’m thinking dyeing poodle ears with beetroot juice doesn’t really count…

I’ve also done heaps with tea and coffee, but again, I’ve always considered those more of a stain than a dye.

This time I got it into my head to try to make my own re-usable shopping bags out of the millions of vintage plain linen sheets I’ve been collecting from mom and my aunts. Great fabric, but not great as sheets any more cause most of them were made for shorter beds than we have now.

Anyway, I had the sheets so I cut one up and made 2 shopping bags in the most simple way I could (ie no side gusset). The whole point was to make something I could carry with me easily.

I also wanted the bags to be pretty so I needed colour – using natural dyes and stamps. Hence the Junk4Joy stamps I made. Fiddly for a first attempt at linocut in years.

I wanted to brand the bags obviously. I even added a wonky recycled logo to the name.

I did a lot of reading about natural vegetable dyes online and decided to go with purple cabbage to start with as I liked the colour. Plus I’d just made some rice paper rolls and had purple cabbage on hand.

Following the instructions, I boiled the cabbage, then strained it into a bowl. I added salt as a mordant (cause I have no idea where or how to get pot ash) and got to dyeing.

I wanted an ombre look so I wet the bags and hand dipped them a few times, then let them hang in the solution overnight.

The resulting colour is very soft. Maybe I needed more cabbage and less water, who knows. Still, its quite pretty for my first attempt.

After they dried, I ironed them then got out the fabric printing ink I’d bought with the linocut supplies and stamped on the logo. Last I added a button and some elastic so the bags can be rolled up and put in a handbag.

Pretty cute I’d say.

To be honest I’m not sure I’ll bother trying to make bags to sell… I had a long conversation with myself lately and the upshot of it was that I do too much. I spread myself too thin with all the creative projects I do. I’m better off to stick to what I’m best at and that is painting. I’m an artist AND a creative person with unlimited interests, but I am better off concentrating on the work that I’m best at in order to earn some money from it.

My pet portraits on commission and my marble and rock paintings sell. It makes sense to concentrate on that.

Making bags or critters from recycled fabric or baskets from found ropes etc are all lovely and fun. So are my art from trash dog and bust sculptures. But most of those things take a lot of time and space and so far haven’t sold. The aim is to sell stuff.

I have tried selling online a lot over the years, but postage has always been an issue. I’m not saying I won’t try ebay or my esty shop again, or even Facebook, just that it seems selling something for under 10-20e with postage of over 15e seems ridiculous.

Anyway, there’s always so much to do and so little time.

z

pet hair removal – fail

Have you seen these things advertised on FB and Instagram? They keep coming up on my feeds so one day I thought “why not?”

I groom dogs, and till its hot enough to wear shorts in summer, I groom in leggings which get covered in hair. Not to mention any long sleeve Tshirts I might wear… I figured these might be the answer to the problem of dog hair making its way onto everything I own!

Not.

I’ve only used them once only, to be fair, on a load of black and dark clothes, but the clothes came out just as hairy as they went in while the green ‘hair collectors’ remained as bald and sticky as a billiard ball rubbed in toffee.

So much for that.

z

new soap from old soap – pinterest fail

Since I’ve been treading water for the last week+ I decided to have a go at recycling old soap bars into new soap bars. I’ve wanted to try soap making for a few years but to be honest, I can’t really see myself doing the whole lye thing… at least not till I have a proper workshop to experiment in (as opposed to my kitchen).

I’ve seen plenty of posts on Pinterest about making soap from scraps so I thought I’d try that. I went with a microwave tutorial since I didn’t really want to use mom’s saucepans for this.

I got the small bits of soap and some small hotel soaps mom had and did what it said on the Pinterest post. I chopped the soaps up, put it all into a microwave safe bowl and started melting it.

Problem was, no matter how long I melted it, it remained lumpy. I had to take it out often while heating it up and mix it or it would bubble and overflow (the microwave was a mess after this!).

In the end I gave up trying to make it smooth, added some essential oil and some dry lavender mom had and called it good. I used a tray from a packet of biscuits to set it in.

I ‘cut’ the pieces and let it dry for a few days. Its probably the worst soap I’ve ever had… its lumpy and hard and doesn’t even foam up well.

So much for that!

Here’s a photo of Lainee on our first outing in the car after being snowed in for 5 days.

The snow was the deepest I’ve ever seen in a city anywhere before. Way more than Athens has gotten previously that I know of. And Athens is full of narrow streets, hills and millions of parked cars. Most councils only cleared the main roads, leaving everyone in the side streets to fend for themselves. Took 5 days for the road outside our house to be cleared – most was done by neighbours who tried to dig themselves safe paths. The snow has still not totally melted in areas where it was piled up or where people dont walk. Pretty incredible snowfall.

I’m still in Athens obviously. My first and second attempts to return home to Paros was foiled by the snow. Now mom is holding me here. She wants to come home (from her sister’s seaside home where she’s been almost the entire time I’ve been in Athens) and spend some time with me in Athens and would actually like it if I stayed all of February cause ‘what will you do on Paros?’… Um like… BE HOME!

Hopefully next time the sea is calm I can make my escape!

z

a little christmas

Somewhere among all the sorting and searching and packing and getting rid of stuff, I took the time to make a little Christmas display for mom. I’d seen this on Pinterest and though mine is nothing like it, not vintage, just cheap dollar store decorations, it inspired me to make my version.

This is how the frame looked before I painted it white. Too gold for me. Now you can only see bits of gold.

I added two photos of the grandkid/great grandkid for mom and voila, a little Christmas in our 70s kitchen.

The little trees and little house light up.
In my clearing out of old drawers I found this key. No idea what it’s from but I love it!

The beauty of this frame is that it can be used for anything, any time of the year. All you need is imagination.

Meanwhile I’m working out daily. Up and down 2 flights of stairs countless times. With weights (bags and boxes). I’ll have a body to die for come spring. And no gym fees!

Today I went up and pretty much finished the laundry phase of the tidy up. My theory is that once the laundry is empty of stuff that’s been in there for decades, there will be room for newer stuff mom can’t bring herself to get rid of.

Actually, I’m still storing old stuff in there – stuff I brought from Australia that don’t fit in my little house, old photo albums and sentimental stuff my brother and I both left years ago etc. The only stuff I’m getting rid of is the stacks and stacks of old clothes, linen, towels and bags etc. Things which were stuck in there and forgotten. Some of the stuff is still in its original wrappers.

My pile of stuff to donate is growing. The pile of stuff for mom to sort through is growing. And I’m listing the odd thing on Facebook. A lot of stuff would sell well in a garage sale, but we don’t have those here, and FB isn’t a good place to sell things worth little money. Athens is too big for someone to drive to pick up something unless its worth it.

If the weather is good tomorrow I’ll have another go at the ivy. Well, after I finish up upstairs, photographing and listing.

For today I’m done. Tired. Sore. Worn out. But satisfied that things are happening.

z

Update:

I found some old baubles so I was able to give the frame a more vintage look after all!

a pinterest win – removing wine labels

While I’m on the subject of Pinterest and things that work (or not), thought I’d share one trick that actually works.

See, I bought some solar powered cork fairy lights off ebay cause I was picturing myself sitting on my patio, surrounded by fairy light filled wine bottles, having a drink while cuddling my poodle… So I began collecting white wine bottles.

Of course, removing the labels is not easy… So I did what every self respecting crafty person does: I looked it up on Pinterest to see if I could find an easy, fail proof way to do it.

I found tons of links. Some I knew didn’t work, but one link suggested something I hadn’t tried – a combination of methods in fact: hot water, vinegar and bicarb soda for the paper label, then peanut butter for the gooey glue residue.

Greek peanut butter… crunchy too! I think you’re meant to use smooth, but hey, you use what you have!

I admit. I was skeptical at first… I mean, I’d heard of it before… but peanut butter to remove sticky gunky stuff?

Yet it works!

So, after spending years of my life trying to remove labels by soaking them in boiling water (or running them through the dishwasher) then trying steel wool and eucalyptus oil or lemon oil or anything I could think of to remove the sticky goop, I have a method that works every time!

Its so easy. I ran hot hot water into the sink. I added 1/2 a cup of vinegar and 2-3 tbs of bicarb, watched it fizz a bit then added the bottles making sure to sink them. I let them soak overnight.

Next morning I used a butter knife to scrape off the labels. They came off really easy. Leaving behind the obligatory gloop.

Then comes the peanut butter. Using the same butter knife, I spread the peanut butter over the goopy areas and let the bottles sit on the sink while I was at work (or overnight).

After that, a paper towel will wipe off the peanut butter AND the glue residue. A good wash and you have sparkling clean, glue, goo and peanut butter free bottles!

Yippee!

On the down side, not all my fairy lights work, and some only work when they feel like it. The wind blows the bottles over so I can’t keep them on the table on my patio till I fill them with small stones to keep them standing… But hey, I’ll sort it out. At least I have label free bottles now!

z

bowls… a pinterest almost fail

Have you ever surfed Pinterest and thought “I want to do that!”… Go on. You know you have!

Well I’ve always looked at those doodle mugs and bowls, made using sharpies and a hot oven, and lusted after them. So last night I decided it was time to try it. I had my sharpie, some bowls and Orange is the New Black on Netflix.

I’ve always doodled lines and curls, so I decided to follow some of the examples I saw on Pinterest that I liked, combining some of my own elements and some I saw on other’s projects.

The good: It was easy to do. The sharpie glides on easily, its really pleasant to draw on the ceramic surface.

The bad: baking them discoloured areas of the bowls and trying to get the brown bits off rubbed off the drawing too.

I wasn’t overly fussed about perfection, I wanted them to look handsketched and imperfect. I achieved that….

What I learned: Probably best to use new bowls/mugs etc. The bowls I used had been used, mainly for breakfast cereal, and they discoloured in areas I suspect there were traces of milk left. A bit around the inner rim, a bit on the side where it might have dribbled…

I did what the Pinterest links suggested: I baked them in a high oven for 1 hour then let them cool before removing them.

And before you ask, YES, I do wash my dishes… they LOOKED clean… Maybe I should have wiped them over with pure alcohol before drawing on them… something to try next time.

The tiny bowl which had had olives in it did not discolour… interesting…

I’m not really happy about the rubbed off and discoloured bits… Still, they look pretty on my little kitchen shelf. I just wouldn’t recommend doing this on a plate which will need to be scrubbed to clean, I don’t think the drawings will last well enough on those.

I have 2 more of the white bowls to do, I’ll try alcohol on them and see if it makes a difference.

Another link suggested using a clear varnish as an alternative to baking. I might give that a try too… I was just concerned about putting food in a bowl I’d sprayed with varnish… but its the inside you put the food in… as long as the varnish doesn’t go yellow with time that might be an option to try later on.

Note: make sure you get all residue of labels off the bottom. That tends to burn and create more brown stains around the bottom of the bowl…

a bunny ear-phone holder

Have you seen the cutest little bunny ear-phone holder on Pinterest?

3acd760014be2f057bb0a85c959de686

Well. I had to try it. Its just so darn cute! (I’m not the only one who tried it. You can see other examples here.)

So, meet my bunny. I made him out of extra thick felt and put stiffener between the front and back on the body to make him stronger. The ears and tongue are made fromĀ  regular thickness felt squares.

bunny4

Pretend you don’t notice where I went off kilter with the sewing machine on the ear…

bunny5

I gave him a little something extra… a pom pom tail!

bunny3

And, I couldn’t make him without making him more ‘mine’… hence the button eye and the X eye. My little imperfect bunny.

Since I finished him I’ve also added a little clip to his side so I can now clip him to my bag. That keeps him from getting lost (falling out of the bag or falling to the bottom of the bag requiring me to empty to entire bag to find him), and keeps him handy.

I’m happy with my little bunny.

z