recovering the kitchen chairs

My work here seems to have come to a grinding halt. Its not that there’s not a ton left to do, its that in a way my hands are tied. I can’t work on the upstairs house while mom is still living in it, and until we have natural gas connected to the house downstairs mom can’t move down there.

So I’m at the floundering stage where I’m not really sure what to do. I’ve sorted out most closets and cabinets, donated a ton of stuff, thrown some out, packed away some stuff of sentimental value and stored it where it will be safe… and now the upstairs house looks like a cyclone went through it and the downstairs house is waiting.

All downstairs needs of course is the gas connection and radiators installed for mom to be able to move in. But I’m told that could take another month or two – they are so behind in applications. And its just our luck that right when we opt to switch, the price of gas has more than doubled. sigh. I never seem to win when it comes to money spent.

Whatever. I won’t dwell.

I finished a small project last week just so I could feel like I was doing something. I recovered mom’s old kitchen chairs. This is what they looked lke originally…

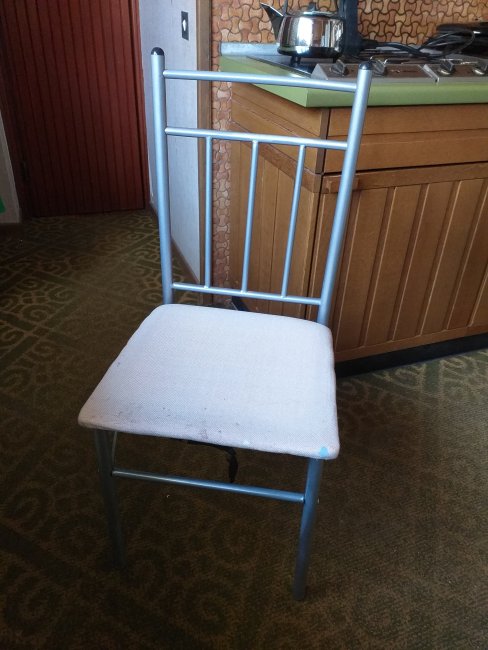
Plain cream weaved fabric. Very dirty from years of use. Grey metal frame. Plain and simple. This is how mom had them to hide the stains…

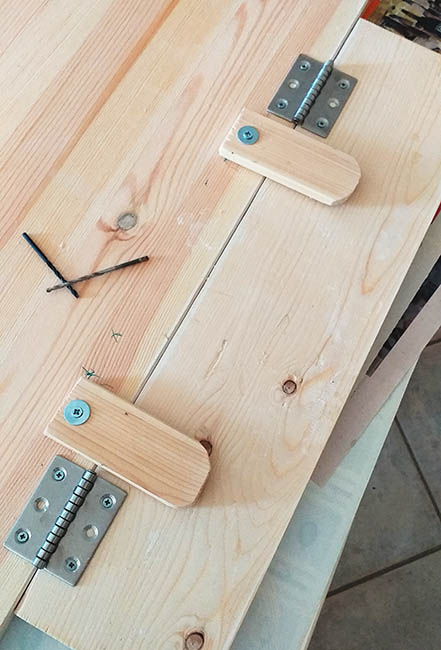
Ok, too yucky for me in her new home. So I decided to recover them using something bright and cheerful. It was easy to take them apart as the top was simply screwed in place on the frame.

The frames are in good condition, though I need an allen key to give them a bit of a tighten. They were mostly missing all their ‘feet’ so I ended up buying some rubber stoppers for them so they wouldn’t scrape on the tile floor.

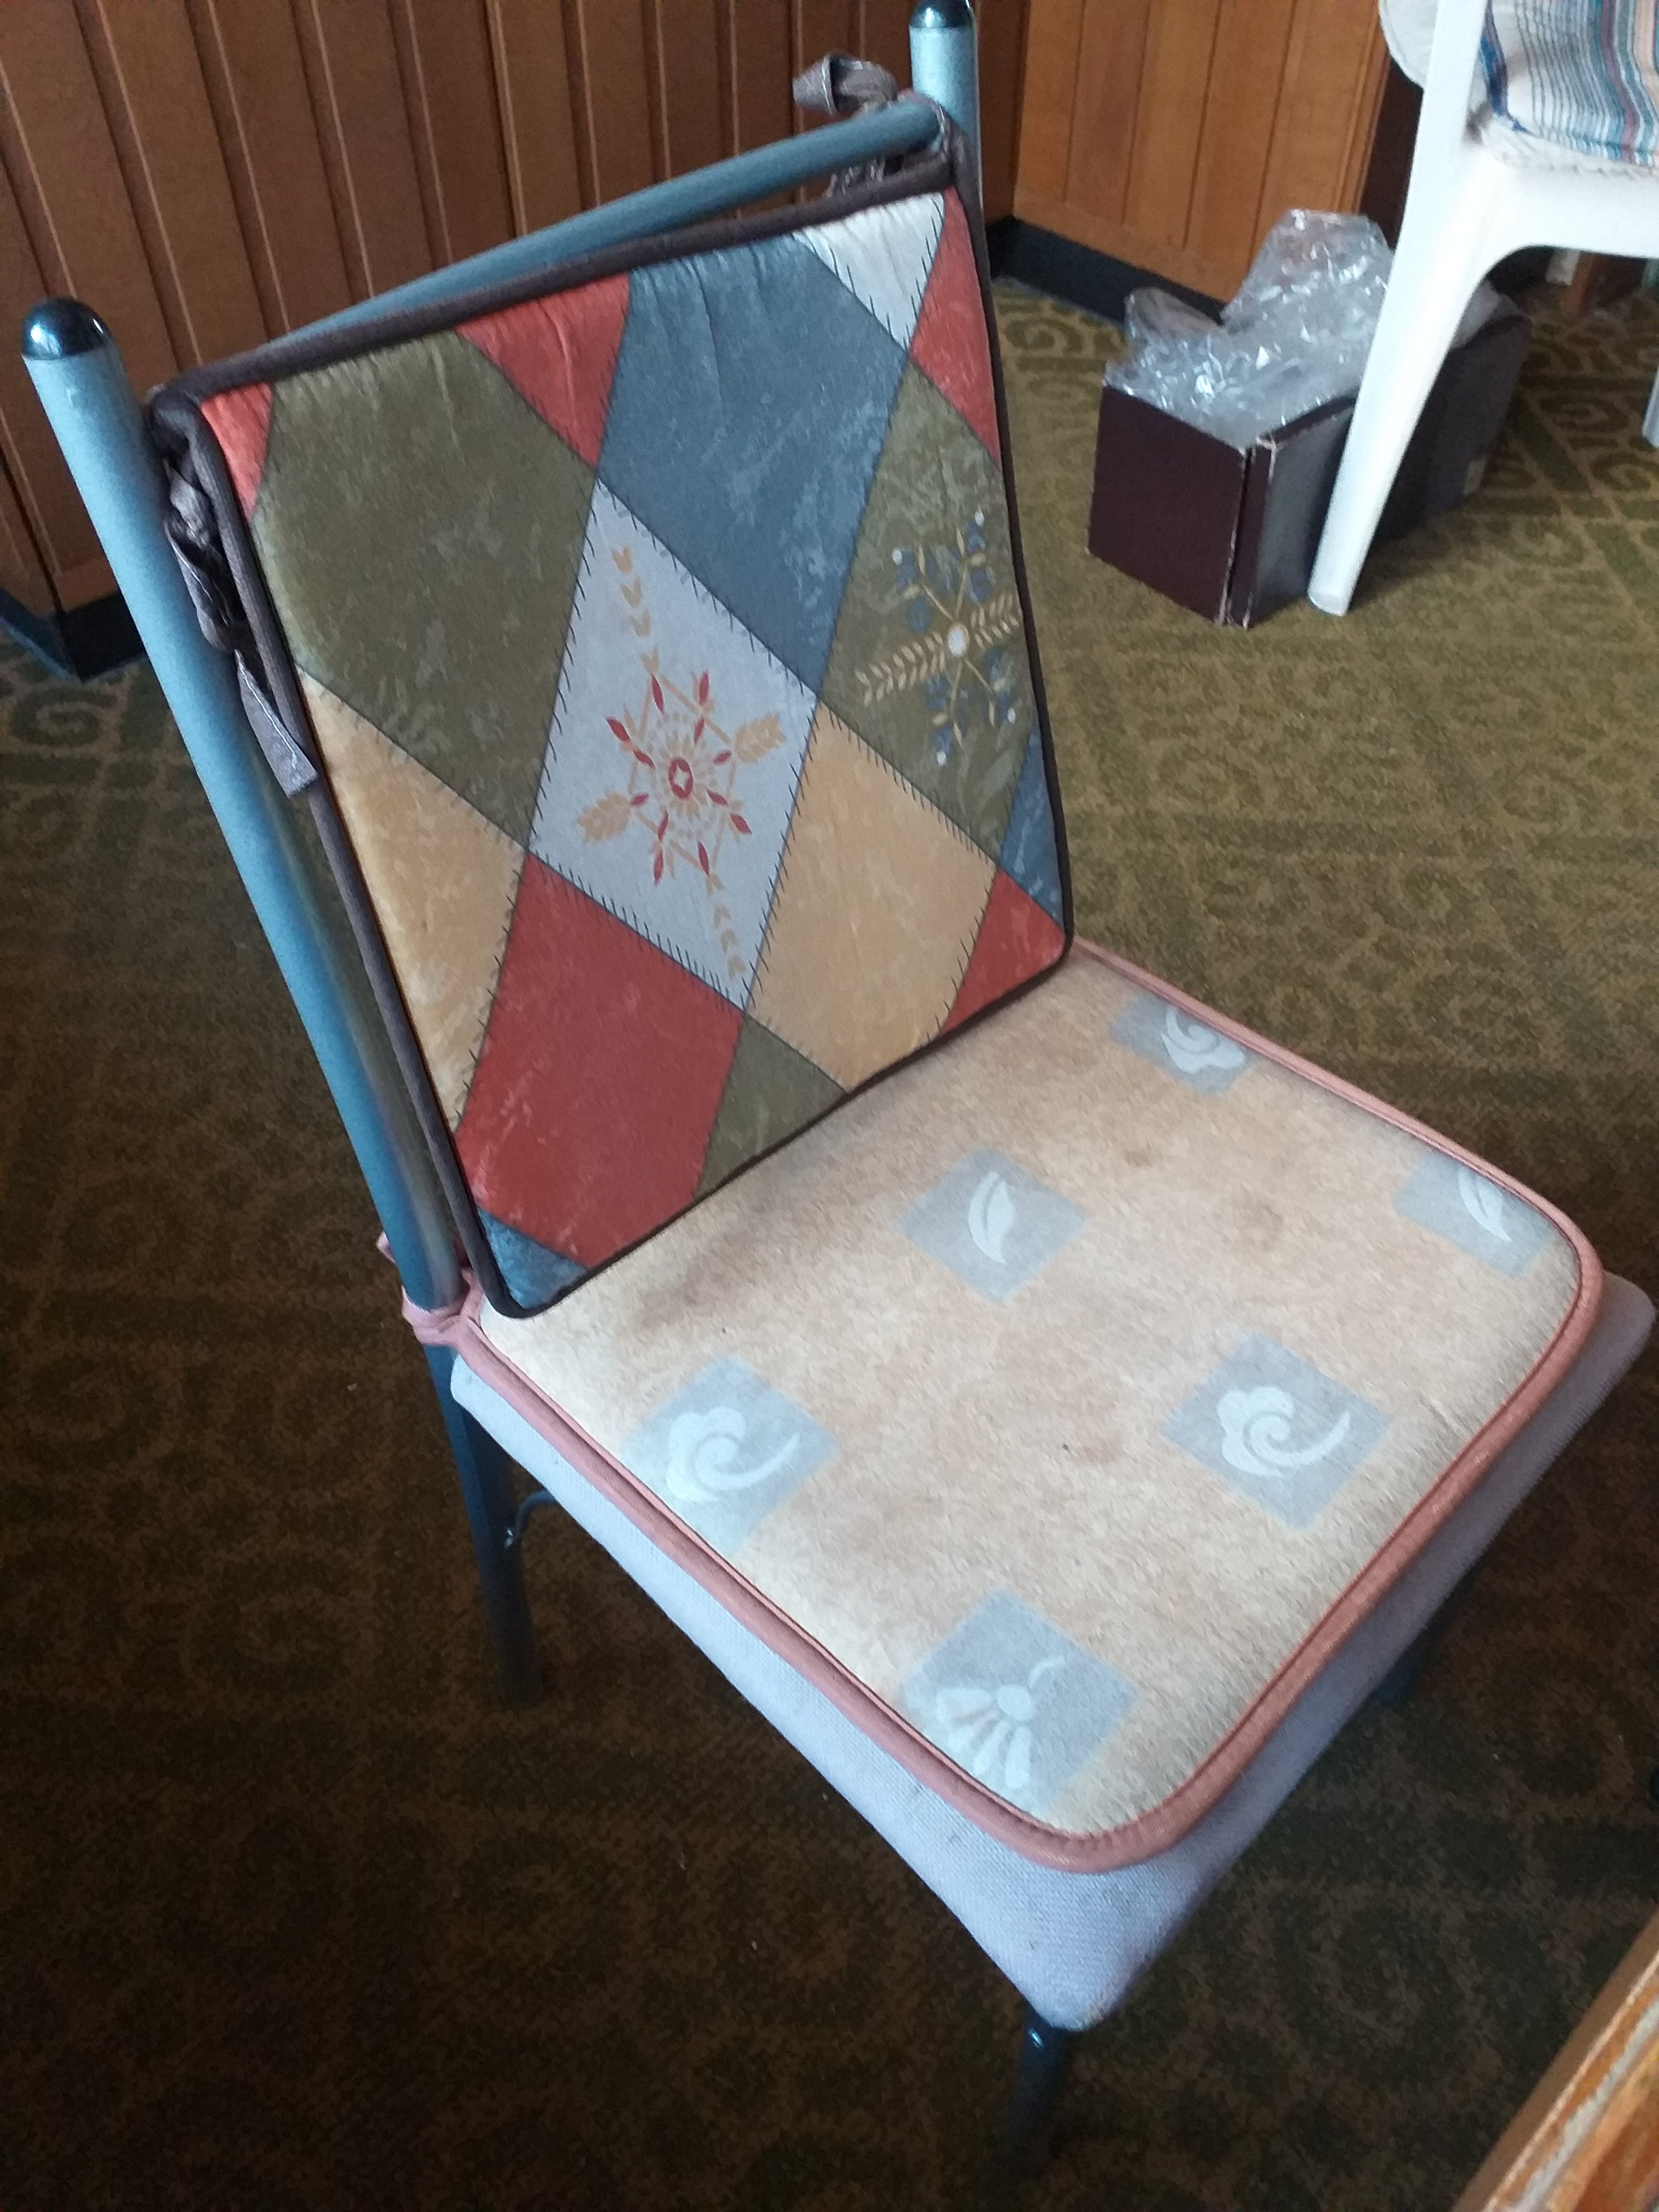
I was planning to buy some nice waterproof fabric from a local store but while going through mom’s stuff I found this pretty tablecloth and decided to make do.

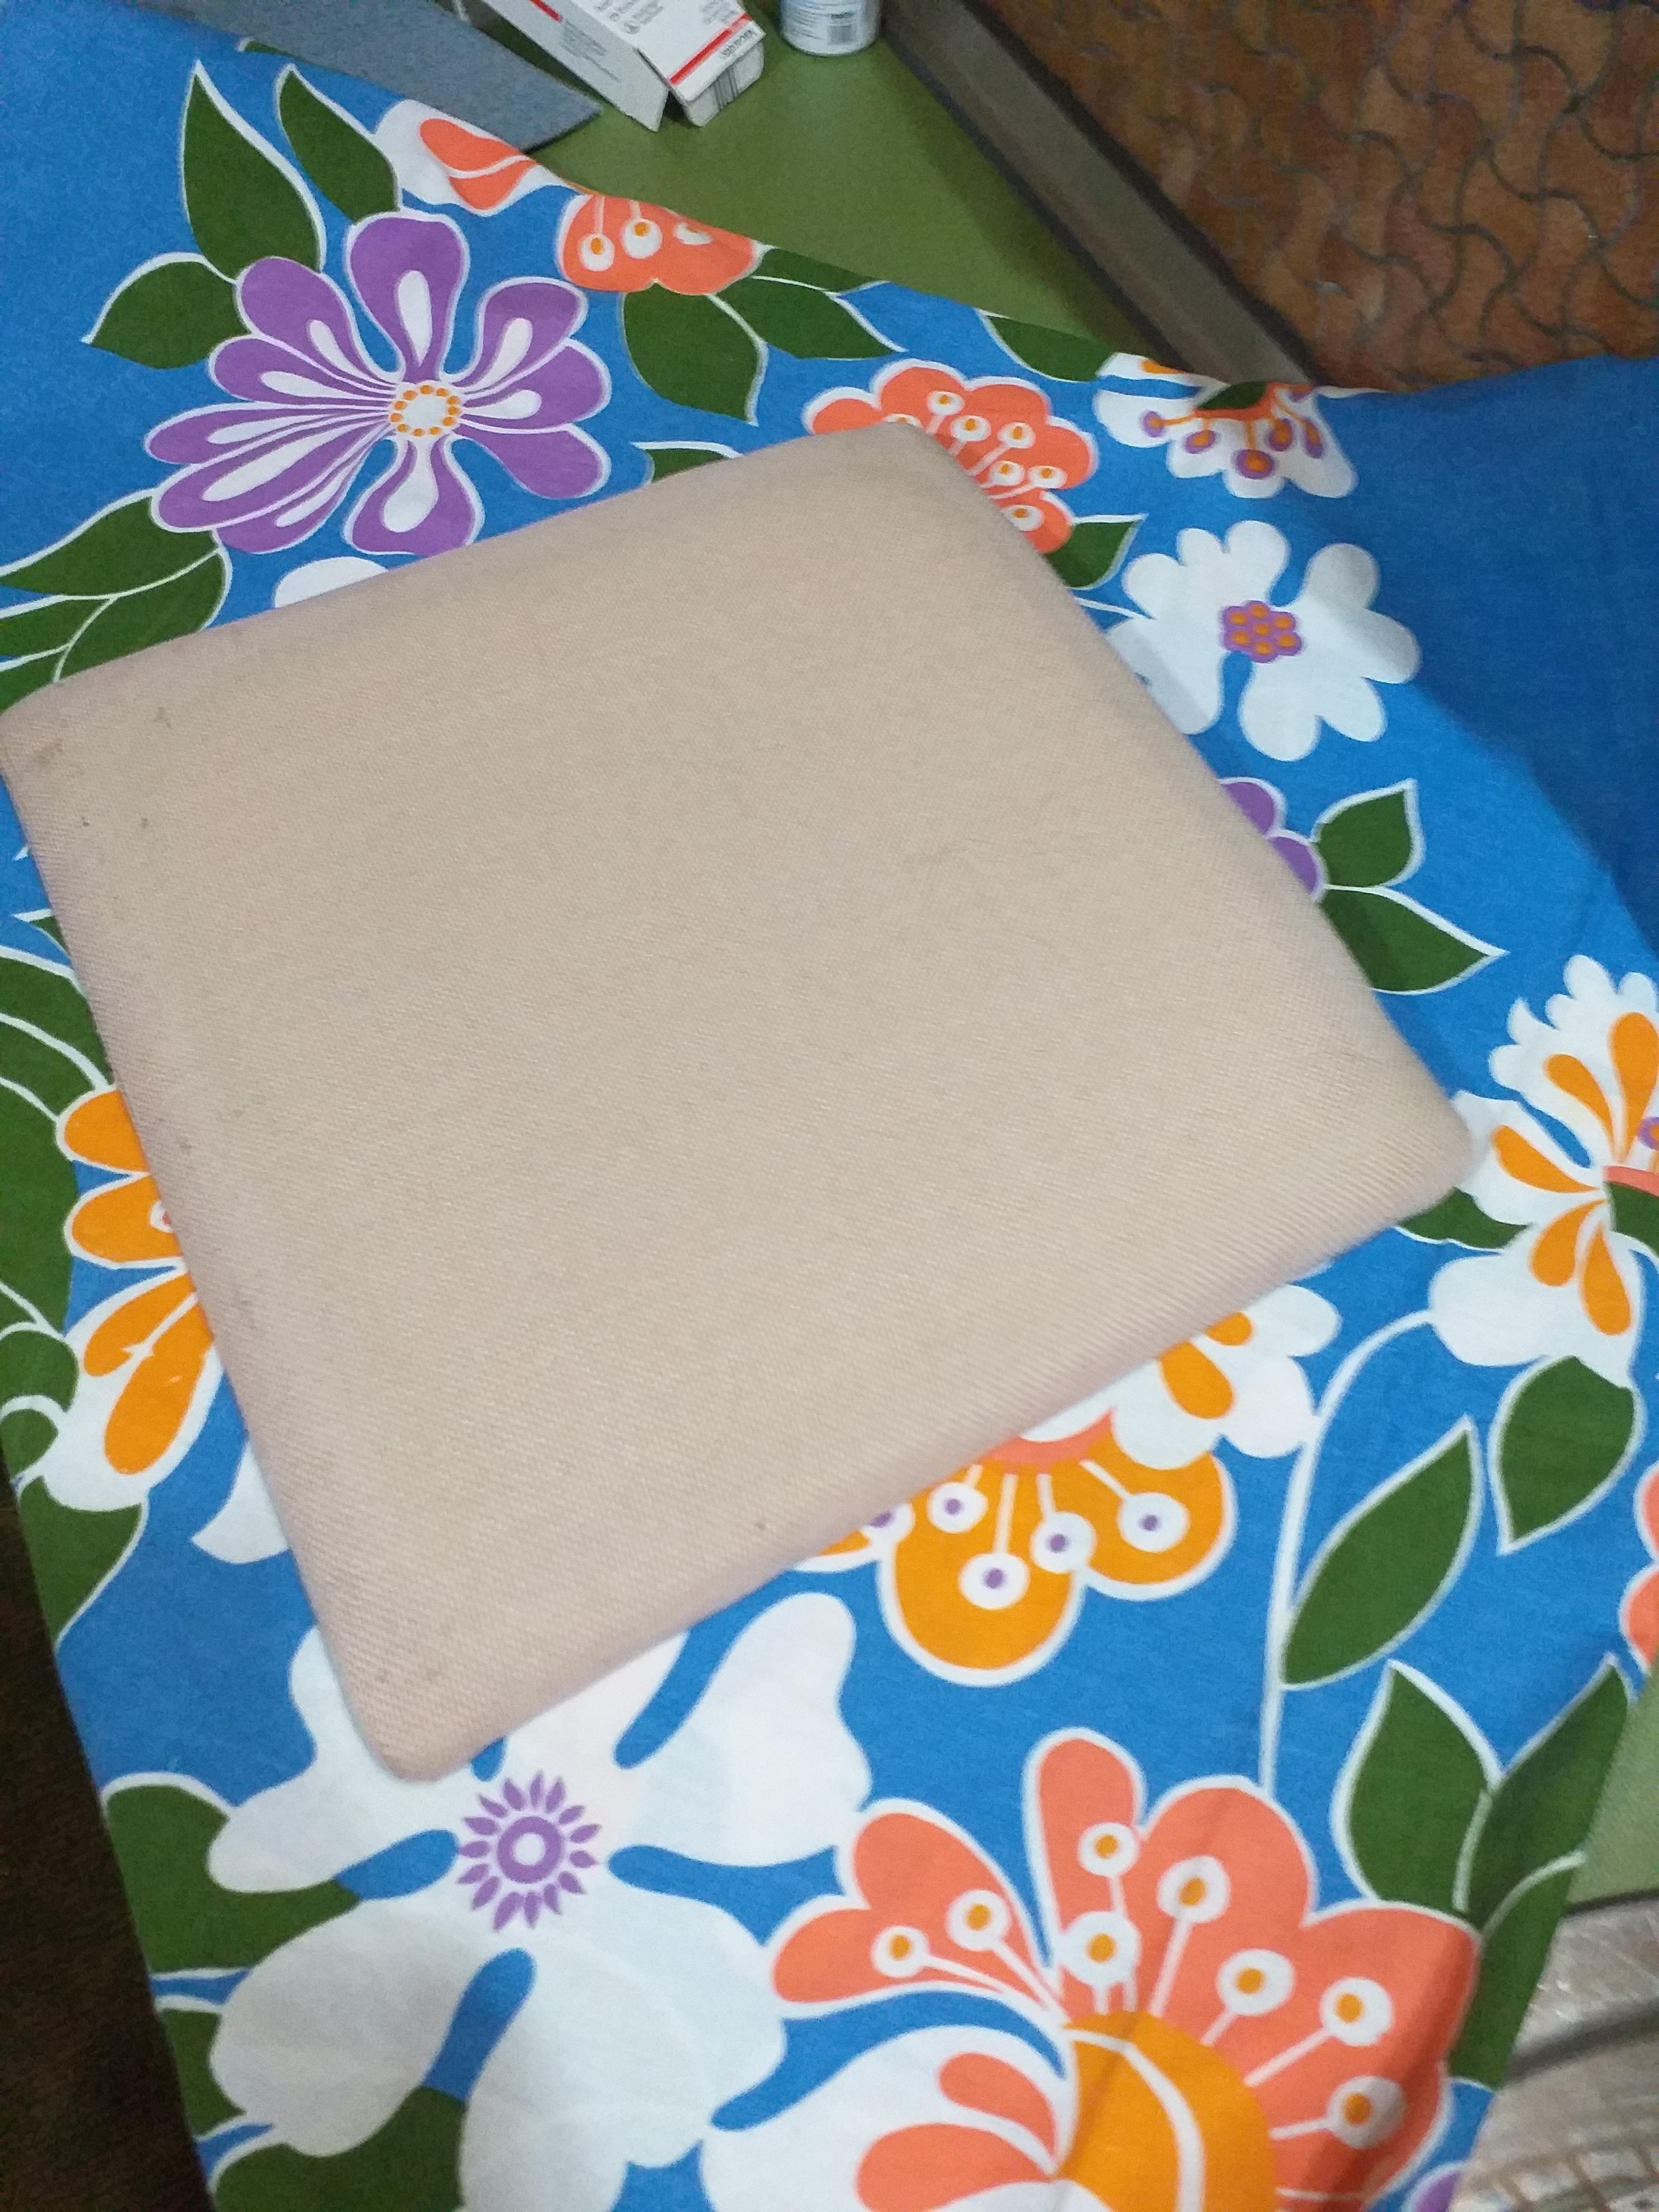
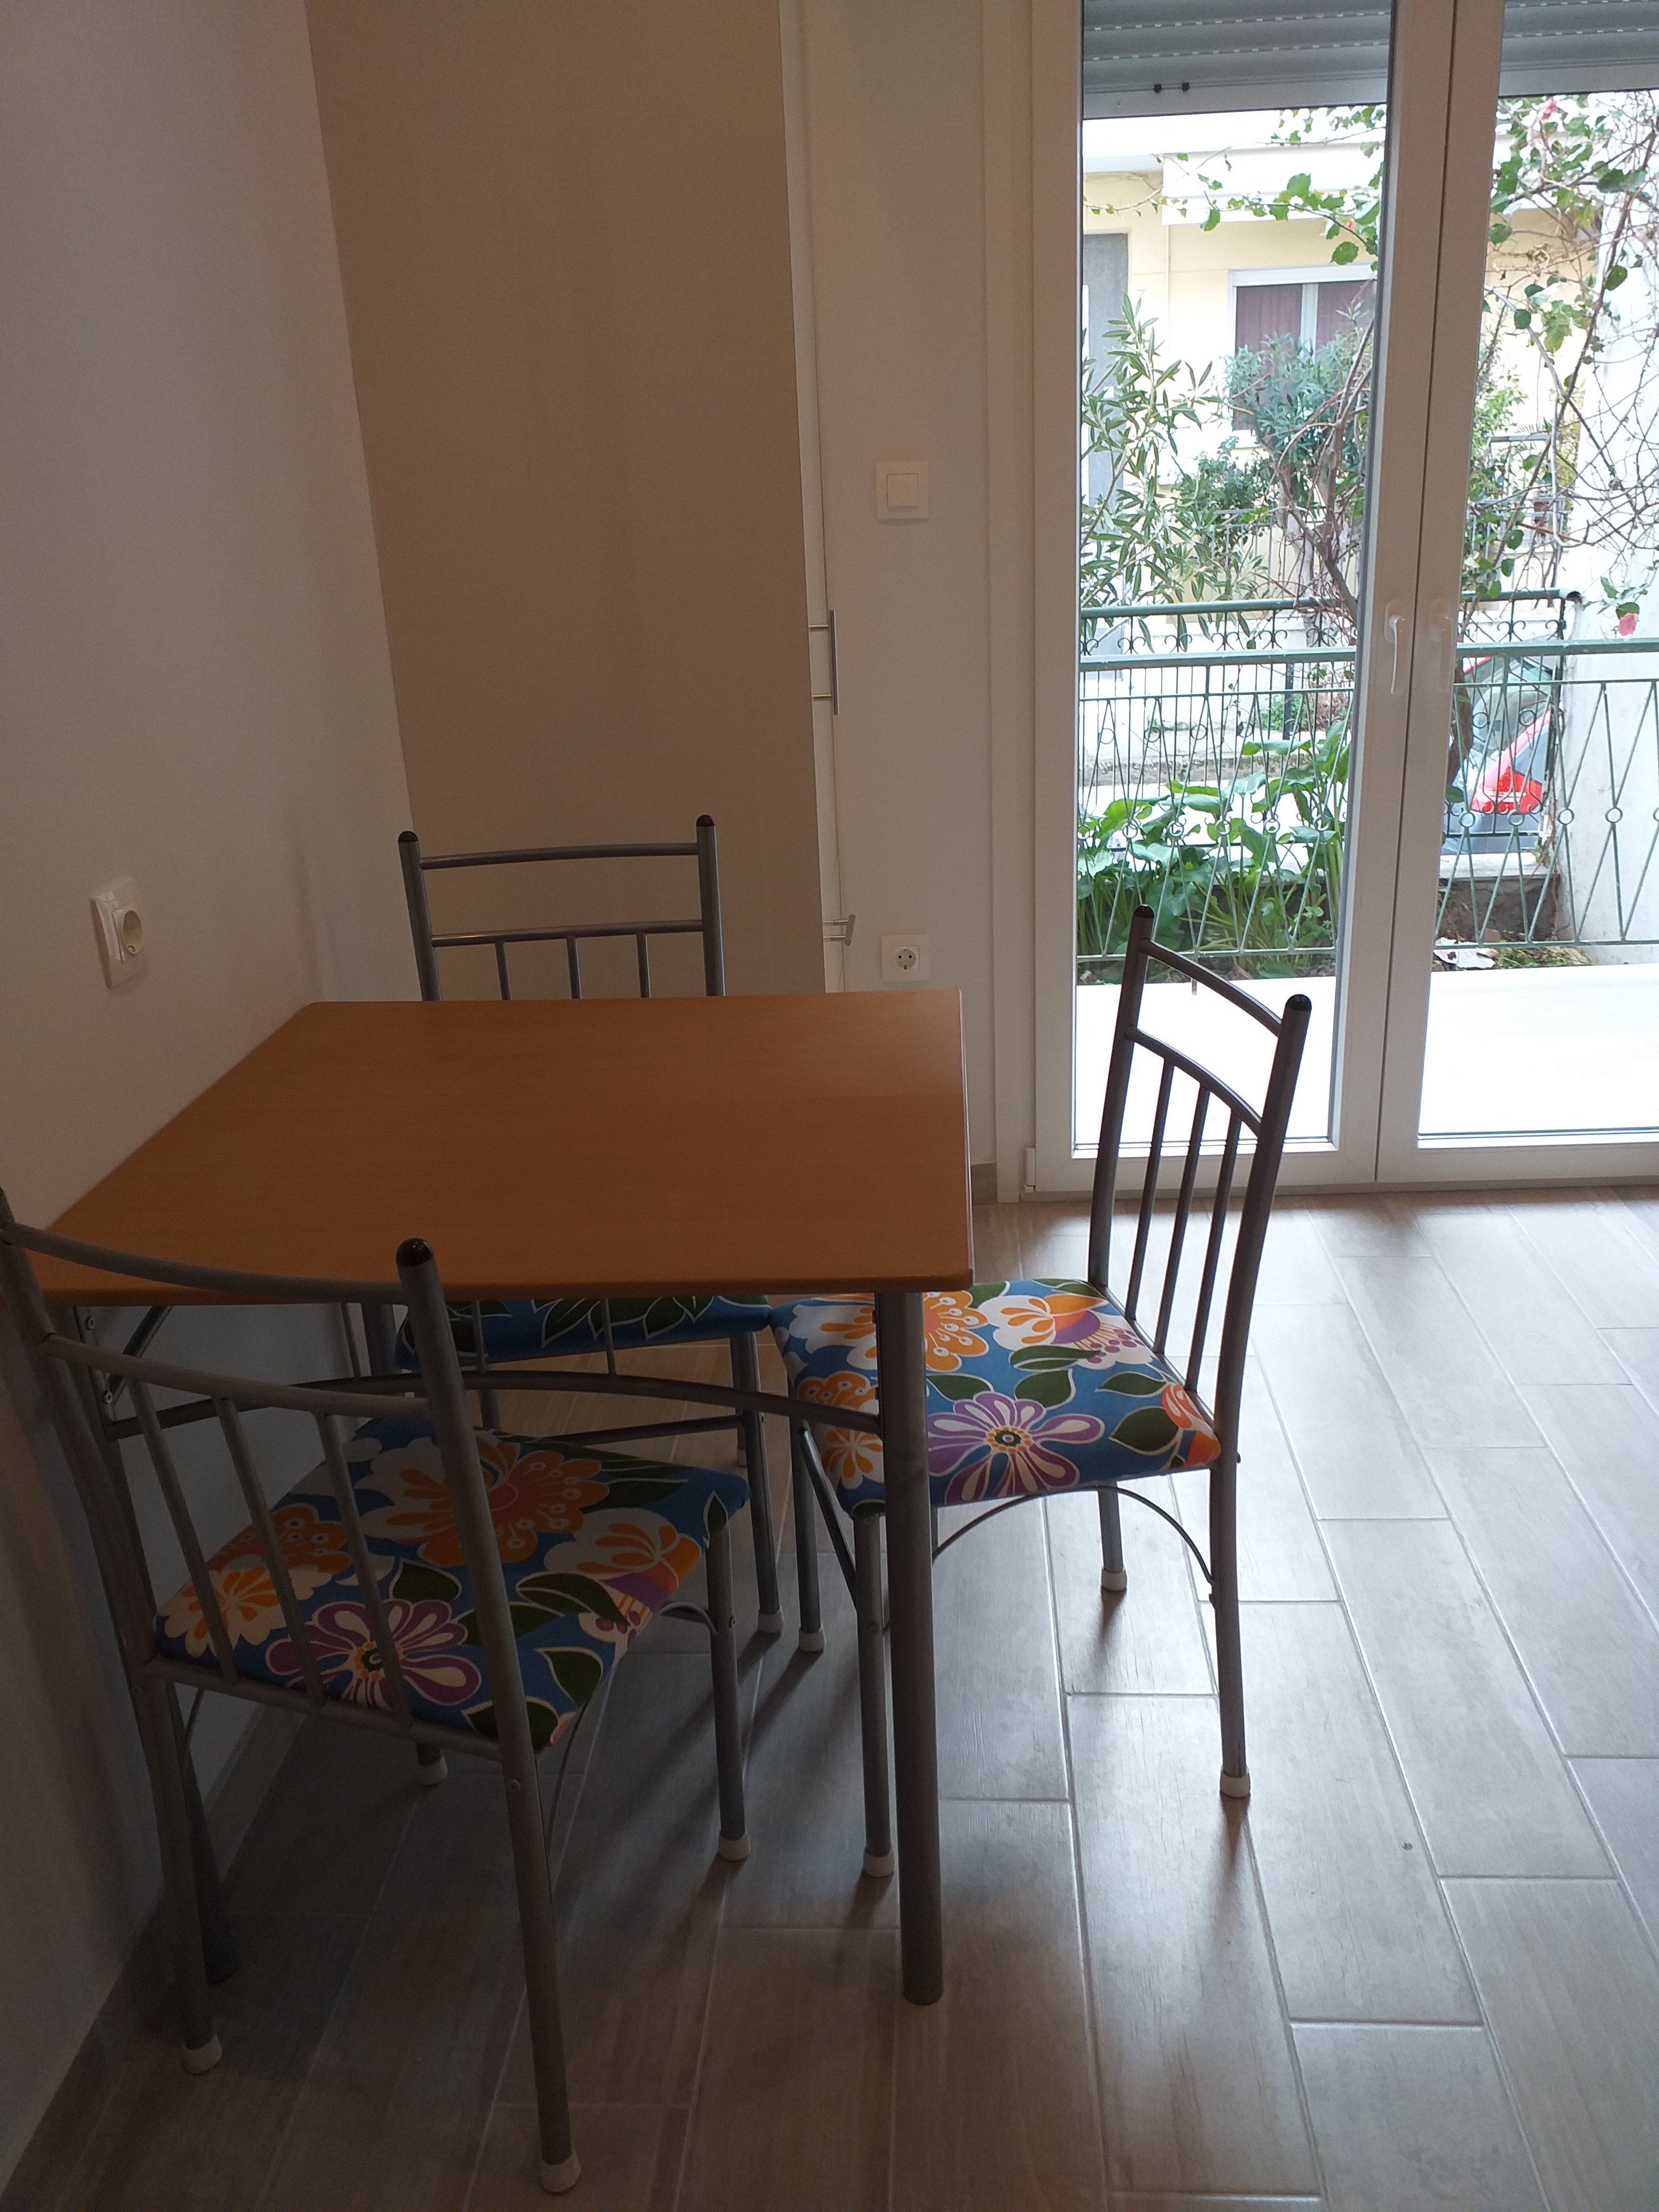
I didnt’ have my staple gun with me so I had to use hot glue to secure the fabric to the bottom of the chairs. Hopefully it will last long enough… If not, well… I’ll have to redo them. No problem. This is how they came up. Much better.

For now mom has a table and ‘happy’ chairs for her new kitchen. They will do.

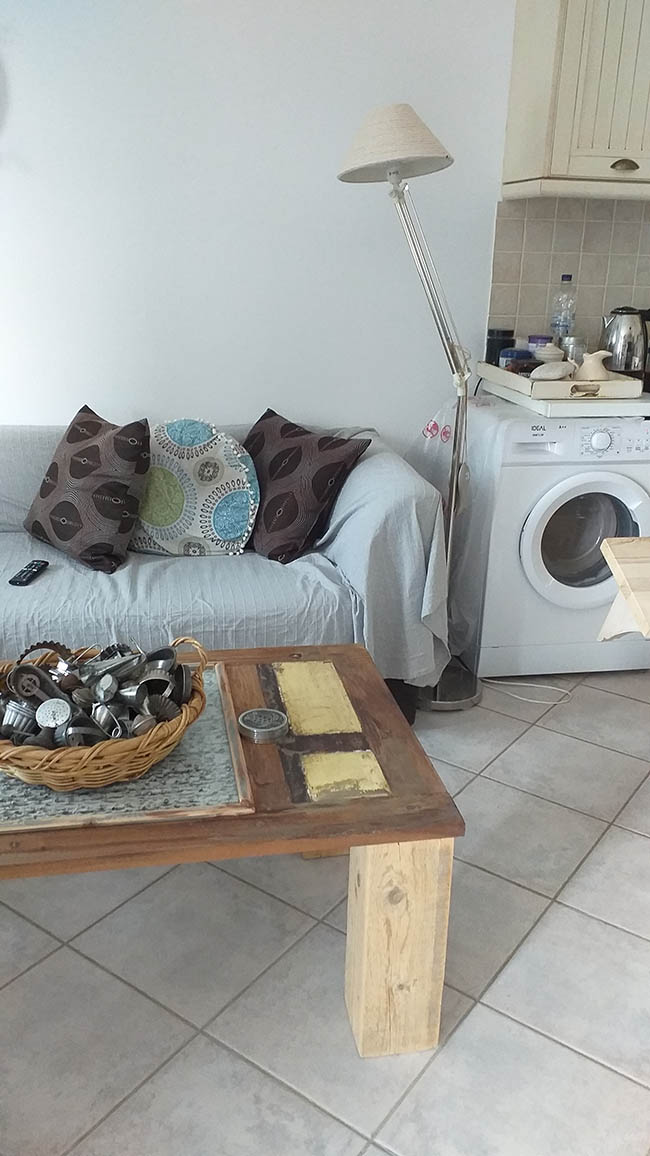
Now I’m waiting for good weather so I can return to my home on Paros for a while. I may as well be in my own home while I wait for the gas installation. I’ll have to return to Athens to be here when that’s happening and to finally finish moving mom downstairs. At that stage I can get some removalists (ie burly men) to take down the fridge, washing machine and couch plus any other boxes I pack up for her.

To be honest I need the break… A couple of days ago I carried some boxes to the stairwell for collection and pulled a muscle in my back. Ugh. No more carrying for a few days.

z

Shared at: Funky Junk

revisiting colours


I’m still obsessed with shades of mint green. As if you didn’t notice… And the darker, greener green which appears on vintage pieces.

The little cabinet I just shared under the electric board door I shared months ago:

The green cupboard I just shared:

The chalkboard visible behind the sea rope basket which also lived in my kitchen in Tasmania:

Almost everything in my kitchen in Tasmania… The doors, the chalkboard…

This image has an empty alt attribute; its file name is cnr1.jpg
My kitchen doors and a chalkboard in pale minty green.

The paper towel holder…

This image has an empty alt attribute; its file name is towelhldr4.jpg
My paper roll holder made using a beautiful old bracket I found.

The drawer I upcycled into a charging station…

This image has an empty alt attribute; its file name is drw1.jpg

The roadside find trolley I fixed as my coffee cart…

This image has an empty alt attribute; its file name is trolley3.jpg

Don’t get me wrong. I love old things and I love the antique colours they come in. I love other colours too – light blue, creamy white, pale yellow, dusty pink, light grey. But vintage greens never fail to catch my eye.

I think the first piece I ever had in green was a meat safe like this one.

This image has an empty alt attribute; its file name is 131605007524.jpg

Isn’t it just the perfect colour? Greeny blue with a nice dose of rust.

These days a paler version is in fashion: a softer, more pastel, more 50s colour. Since I mostly mix up my own colours I find something I like and try to match the colour. That means I get close but not identical each time I paint something. Suits me fine. I’ve never been hung up on perfection. Old things are not perfect… its that worn and used look that makes them perfect to me.

This image has an empty alt attribute; its file name is ariete-097904-vintage-green-575914_500x360.jpg

Here are a few examples of things I painted in variations of that minty greeny colour.

A small wall mounted bookshelf (sorry, no finished photo):

This image has an empty alt attribute; its file name is shelf.jpg
A wall mounted shelf I made over.

The bottom of an old wardrobe I converted into shoe storage for our porch in Tasmania. The drawer was broken so I kept the front in its original colour and hinged it from the bottom.

This image has an empty alt attribute; its file name is cb1.jpg
The bottom part of an old wardrobe which I made into shoe storage for the porch. I kept the drawer the original colour cause the handles were painted.

Not the best photo, but the most distressed look I ever attempted on a small men’s wardrobe I used for craft supply storage in my office. I painted this in pale yellow and pink then topped it off with minty green before sanding and scraping back.

This image has an empty alt attribute; its file name is chippy1.jpg
An experiment in extreme distressing for storage in my office.

A greener green colour for a small vintage meatsafe I upcycled for towel storage in my grooming room.

I have an old timber couch I plan to sand back and paint next but I think I should stick to antique white for that cause then I can pick any colours I want for the cushions. Painting it green will limit my choices…

z

green cupboard

Well whaddayaknow? Another green cupboard…

I found this gorgeous cupboard in an online store on Facebook and feel in love. So I bought it before even figuring out where I’d put it. Turns out it fit perfectly in my bedroom.

I didn’t take any good before photos, but the guys from the shop were kind enough to send me the one above from their listing. You can see it has a nice shape in the display area, no doors, no drawers and a dish rack inside the top part.

I basically let it sit there, wrapped in plastic, for a couple of months before I started working on it. The only thing I did was expose the hinges. I’ve never seen hinges placed on a piece of furniture like this before. I measured them and went looking to see if I could find hinges to fit so I wouldn’t have to mess with removing and replacing. I got lucky and found some in brass (which I painted naturally!). They’re great actually as I can easily remove the doors if I want to move it around, making it much lighter.

It needed a major overhaul obviously. I sanded it back to remove the old paint (and dirt. Lots of dirt). I removed the dish rack cause I wasn’t going to use it in the kitchen. I made doors out of plywood. I made drawers out of whatever I had on hand, with plywood fronts. I got some simple white ceramic knobs.

I mixed up paint to match the original colours cause I liked them. A more yellowish green than the minty green I usually like. You can’t see it in the wrapped pic but the inner part in the middle was blue and the insides unpainted. I painted the insides blue.

My plan was always to put it in the bedroom for linen up top and shoes down the bottom. Hence the holes in the doors: to allow air to circulate. Bonus that it looks cute.

The naked ladies, being mostly white, are ideal for display purposes. Mind you, its also a handy spot to store them till I decide what to do with them. And till I find what belongs in that spot.

So another project finished and shared!

z

Shared at:

a little green cabinet

Remember long ago I mentioned I’d bought a glass fronted cabinet and a cupboard? Well, I’m finally sharing one of those projects. About bloody time too. I’ve been letting myself get really lazy when it comes to working on the computer and blogging has suffered.

Anyhow… I found this cute little cabinet at a local antique shop a few months ago and had to have it. It was missing one side glass panel, both inner shelves and bascially needed a bit of TLC.

Ok. Maybe a lot of TLC. But that kind of thing never scares me.

My uncle had given me a couple of these old parian couch decorations which he’d salvaged from a burn pile. It came from some very old broken couches from an old hotel. He asked if I wanted them. Of course I wanted them!

I picked this one, deciding it would add that little something extra to my cabinet.

The entire remake took ages to complete. Mainly cause I just let the cabinet sit in my house for ages before I even began, then I only worked on it in spits and spurts.

First order of business was to remove the remaining glass on the side and replace it with flyscreen. The whole idea was to make this little cabinet into towel storage to fit right outside my bathroom. Boy I’m glad I have tools. The staple gun came in really handy for putting in the flyscreen.

Once that was done and it was all cleaned up I began painting it with a ready made chalk paint. I say that cause most of the time I mix up my own paint colours and make my own chalk paint.

I used clear wax to finish it off, tinting some of it to create the old look where necessary as I went.

So here it is. Finished, in its place in the tiny hallway to the bathroom. I made a shelf in the top to hold hand towels, the bottom holds my bath towels. I put an old lace pillow case I was given in the window. This is a very traditional look: in the old houses here on Paros there were window cabinets cut into the thick stone walls. The women would put lace curtains in them to decorate them and hide what was inside. They weren’t usually used as display cabinets but for every day storage. I love the way this turned out.

Till I can find a better place for them, my cowboy boots sit underneath it, sort of on display too. And the paint colour I chose almost matches the little door I made to hide the electricity panel.

z

Shared at:

time flies – lockdown 2 day 148

Ramos and Annie resting.

I’m always busy but never seem to get everything done. Of course part of that is that I have a lot of lazy time – which I excuse as resting/taking care of me time. But in reality its square eyes TV watching time which I could very well use to create but I don’t.

Wow. That paragraph was smooth!

I’ve caught up with friends and their dogs a couple of times. That was fun.

I’ve been to the bank 3 times. Not so much fun.

Seriously. How many visits to a bank does it take to change a recurring payment from my aunt’s account to the nursing home?

Three apparently.

So far. Let’s see if today’s fix has taken…

Sheesh. I might have to go back to old style banking (the mattress).

Anyway… I mentioned a little cabinet I bought locally to fit in the tiny alcove/hallway between the living room and bathroom. I had planned to make a custom sized cabinet for there to hold my towels, but this is the right size and its so much easier to fix an existing cabinet than make one from scratch (when you want to make it from pallet wood and need to collect and break down pallets and don’t have a proper space to work yada yada).

This little guy had glass on one side and the front. I removed the glass on the second side and plan to put flywire there to let the towels breathe. In keeping with the traditional old piece I’ll put a cut lace curtain inside the glass front to hide the towels.

Here it is in the alcove… just enough space for my easel beside it. Perfect.

And guess what?

I’ve done exactly nothing to it since I got it (well, other than removing one glass panel). Its been way too windy to work outside – which is where I have to sand it. I can paint it in the living room. It IS my studio after all.

I still need to buy the flywire and trim to finish it off. So I have a fair amount of work to on it before its usable. Guess I better start at some point…

I also have the other cabinet I bought online which needs 4 new doors and 2 new drawers as well sanding and painting.

I have my work cut out for me.

Stay tune for updates… when I get to them.

z

LAZY struck again – lockdown 2 day 57

It started great. I got up, walked the dog and cat, fed the dog and cat and myself, did some stretches, loaded the tools in the car and went to my uncle’s house to use his garage to do some work.

On the windiest day so far.

Always remembering that my uncle’s garage is full of his stuff, junk, and a very large boat. Not to mention (often) my uncles and the odd Albanian worker. But the previous days the peanut gallery had been gathered around the area my cousin was having paved: sitting, watching, drinking coffee, telling the crew what to do, what they were doing wrong, making suggestions cause they know better, and – get this! – they even accused my cousin of not having any taste! The uncles whose tastes remain firmly stuck in the 70s and run to kitch paintings of dolphins, sail boats and blue painted ceramic pots.

You gotta laugh.

Anyway… I picked the worst day in the season to start a project up there cause not only was it too windy for the uncle’s to sit outside, it was so windy I couldn’t keep the door to the garage open either. Plus the crew wasn’t working on the paved area cause they’d run out of supplies, so a truck arrived to deliver all that. Then a man arrived to service the boat.

So two uncles, one cousin, a mechanic and me (and two dogs) trying to do things in a squeezy garage.

I called it a day early and went to glue a leg on a dresser for my aunt down the road and went home where I promptly did nothing for the rest of the day but nap and practice for the Netflix olympics. (I’ve now finished Fargo and am back onto the newest season of Vikings.)

This is the project I was working on. I found two bedside tables in the rubbish pile a couple of days ago. In bad condition, but they’re solid timber so totally usable.

One was missing legs and was a mess so I pulled that apart thinking I’ll re-use the legs and doors. I love the doors. They’d make a fantastic bathroom cabinet for instance. Or kitchen spice cabinet…

The other one was intact. Well, the box at least. I began thinking of ways to use it. I could have possibly just fixed it up, put the legs and doors back on and made it into a bedside table again, or a side table without the doors, just a shelf, would be nice… Or a cat bed.

I began to think cat bed was the way to go… I sanded the flaky paint off. I love flaky paint but this was too far gone. Its almost in perfect condition except for a tiny bit of chipped off laminated wood on the top at the back which I puttied up.

My idea is to put very short blocky legs on it to keep it off the ground, put a solid front with a cat door in it and put it on my front patio so I have two cat houses out there, at least one of which is pretty (the other being a bought dog kennel type, ie pretty unattractive). The main problem with that however is that I don’t have any undercover areas so it would be exposed to the weather which seems such a shame. Plus it would need lining inside to keep it from getting wet.

Maybe I need to stop thinking of making everything for me and think of selling it to someone with an undercover area and a need for an outside cat bed.

So now its been sanded and its ready to fix. I found two thick marine ply pieces I can use as doors to the front, I can probably re-use the old hinges – very thin piano hinges… There will be some fiddly work involved in putting it all together in a practical way, but it should be a fun project.

I will paint it with enamel paint. I have a mistint light blue aqua enamel I bought a while ago cause you never know when you’ll need that sort of thing. That should do fine.

Add a fluffy home made cushion and it will make some cat very happy!

Now if I can only get over working in an area which isn’t mine and where I have an audience… sigh.

z

paros day 18 – sewing table make-over

The sewing table make over is finally complete and its back home where it belongs.

I can’t find any good before photos so these will have to do…

The top wasn’t in bad condition but I put some thick plastic over it originally to keep anything I sewed clean. Since I also painted on the table when I lived at my grandmother’s house I didn’t want to get paint on it either.

It was basically a pretty boring brown table with lots of chew damage on 2 of its legs. It was given to me by a good friend (the one who owns the dog who eats table legs). You can just see some of the damage on the right hand side in the above photo.

Anyway, I’ve had it for about a year and it was time to repaint and finish it. I’ve shared some during pics somewhere in the blog but (again) can’t find them right now so you’ll have to trust me. It was pretty bad. It took a lot of wood filler to make the legs look NOTĀ  like a dog toy. But I managed more or less. I could have done more filler but a few imperfections are ok with me.

I sanded andĀ  re-finished the top using an oil based gloss to give it a really good shine.

I used DIY chalk paint to do the legs. It wasn’t my best paint, I’m still not quite used to what I can and can’t buy in Greece. Still, I made it work. No wax on it so far, but that’s ok. I love the look of it as it is.

I kept the original tiny plastic drawer pulls as they’re too cute to replace. Not to mention I don’t have a big collection of handles and pulls like I did in my workshop in Tasmania…

Lainee had a little trim today and is resting on the cowhide rug as I type this. She’s also happy the sewing table is home and thinks its a successful make-over.Ā 

Other than that I’ve been working on the bulldog, took Lainee out for a couple of walks and made semolina pudding. Yum. For once it worked out ok. Yay for me.

Today was a great day!

z

Shared at:Ā 

paros day 10: a day late

And saw tons of these wildflowers blooming… Not sure what they are but they look like a native/wild lupin.

So… I did continue my work on the current projects but nothing is finished yet. Everything seems to take so much longer than you think between cutting, gluing, drying, painting, drying…

However I realised yesterday that I hadn’t shared my new coffee table! Its is one of the first things I made once I got my groove back.

Firstly, some pics of the before: This is the coffee table I inherited when I bought the house. Lovely table but just too big for my tiny space.

One of the things I brought with me when I came from Australia was the legs off an old 50s table I loved. I mean I loved the legs, not the formica top. I always knew I wanted to make my own top for it and a round table to go into the living room here seemed the best solution.

This is the finished product…

Meanwhile, if you’re interested in the hows, here goes. I was looking for old timber and found some in the bin at the timber shop back when life was normal. I glued it together as the first step using my table clamps (cause ever girl should have those!).

Then I realised that one of the pieces of timber I had used had termites so I had to treat the whole thing and let it dry before drawing a circle and using the jigsaw to cut it out.

Naturally disaster hit about then as I left it where water leaked and the table split down the middle… one of the glued bits didn’t hold.Ā  I knew I’d have to strengthen the joins anyway so I reglued and cut out some ply pieces to attach underneath to act as a sort of binding, plus to give the legs something more substantial to screw into.

I used a combination of dark brown wood filler and a light coloured one to give the wood more interest.

Then I used my power plane and sander to create a nice smooth top and edges. I love the look of raw wood.

Last I attached the legs. Love those legs!

Et voila! A gorgeous round coffee table made by moi!

And here is it in the living room. Small enough to get around. Big enough to hold the necessities (but not big enough to become yet another crafting surface!), and oh so pretty.

I’ll end this post with a preview of another little project… Can you guess what it will be?

Oh, and a Baileys of course… It helps me sleep!

z

Shared at:Ā 

quick and easy computer station

I don’t know if any of you remember I bought an Ikea Ivar bookcase for my home. I’m all about storage since I do so much art and craft in my one room. I needed some serious storage space. You can read about the bookcase project here and here.

I love it. Its pretty and holds so much of my stuff. Nothing like being surrounded by your creative mess to make you feel at home.

Only problem was the computer ‘desk’ area…Well there were two problems – first was the fact that I need the laptop screen to be up higher but the keyboard lower for a more ergonomic workspace. I have a wireless keyboard so I can have them at different heights. I looked on ebay for a retractable keyboard shelf but decided to make my own.

Cause you know I have that insidious crafter’s syndrome:

I had a bit of scrap pine perfect for the job. After sanding, liming and varnishing the pine to match the rest of the bookcase, I joined it to the shelf with hinges underneath to be able to drop it down when I wasn’t using it. Mind you, since I made I’ve never dropped it down… Hm… At least I can if I want to, and that’s what counts!

To hold it in place when it was out yet allow for folding down, I cut two pieces of wood to act as my brackets. When I want to fold it down they swivel under the shelf.

Then the other problem… my laptop has had an issue with the screen for a long time. Its not the screen itself that’s the problem – its the wire connections. Although my laptop is so big and heavy its never really been something I open and close and carry around often, still, there’s an issue with the wires that connect it to the keyboard. Basically I’ve have to jiggle, poke and beg for the image to be clear and not all weird coloured. The reason I know its not the screen but the wires going bonkers is that when I hit the sweet spot it works perfectly. For about 2 minutes.

So a new monitor was on the cards. No reason to spend money on a new laptop since this one is still more than good enough for the stuff I do, so I bought a new monitor while in Athens over Christmas.

Of course that created another problem…

Like where to put the new monitor. How to set it up to keep the top of the laptop open and access the power button. I tried it on the shelf to the side but the cables wouldn’t reach. Time to put on the creative genius cap again.

This time I used bits of cut off legs I’d also collected (it pays to collect stuff which might come in handy one day) and a piece of MDF I had. Cause, again, I collected it…

Firstly I had to find leg bits the same height as my drop saw keeps throwing the fuse, I simple screwed them in place – I was too impatient, no time for pretty or neat here. It had to be high enough to hold the laptop underneath and allow me to slide my hand in to turn on the power. I had to cut out a section at the back to allow the screen to be raised permanently. Once I had it all fitting properly I limed it white to match the bookcase and set it up.

It might not be perfect but it works.

z

PS. Sorry for the bad photos… I’ve been using my phone more than my camera these days.