paros day 12: still not finished

I’m getting plenty of sleep. Please tell me why I’m waking up with a full set of luggage under my eyes every morning. And not top of the line luggage either, more like the cheap made in China stuff you get at places like the Reject Shop.

Today has been a more or less productive day without anything finishing anything…

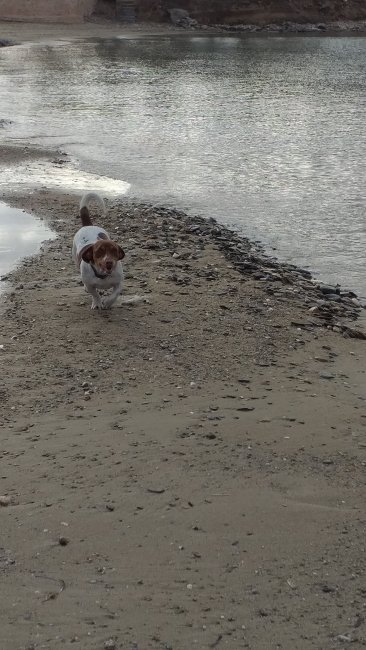
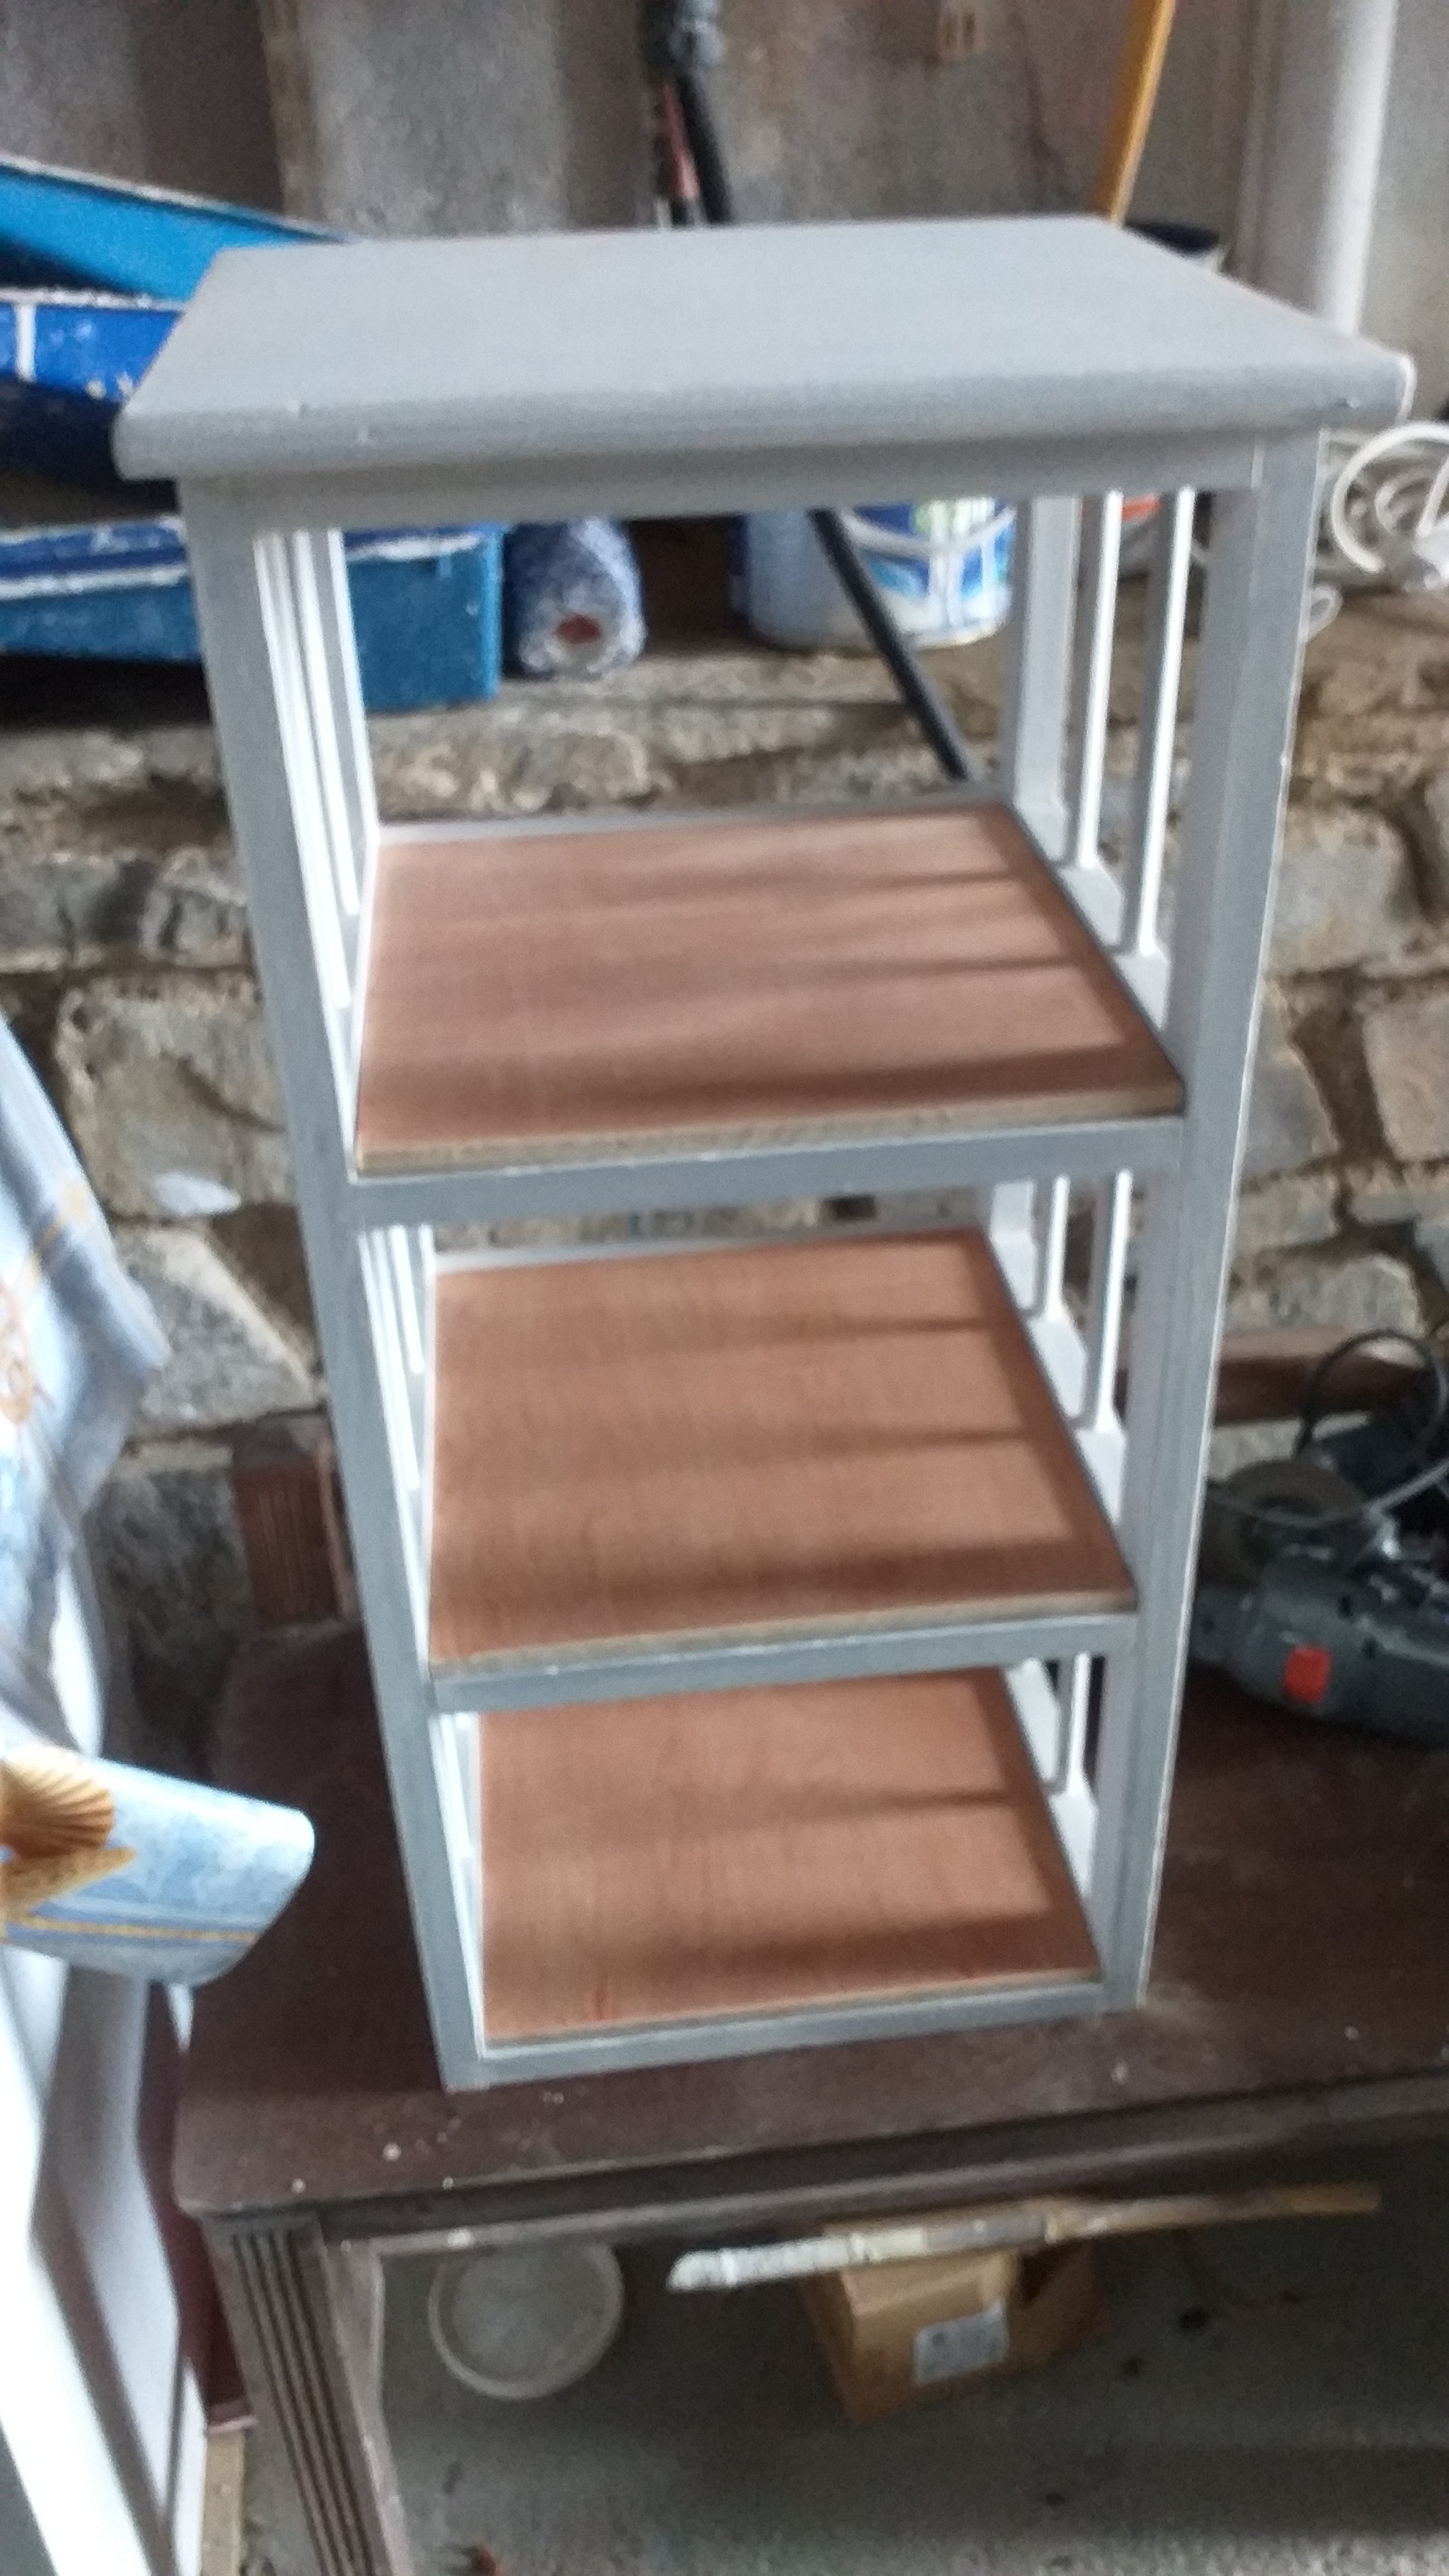
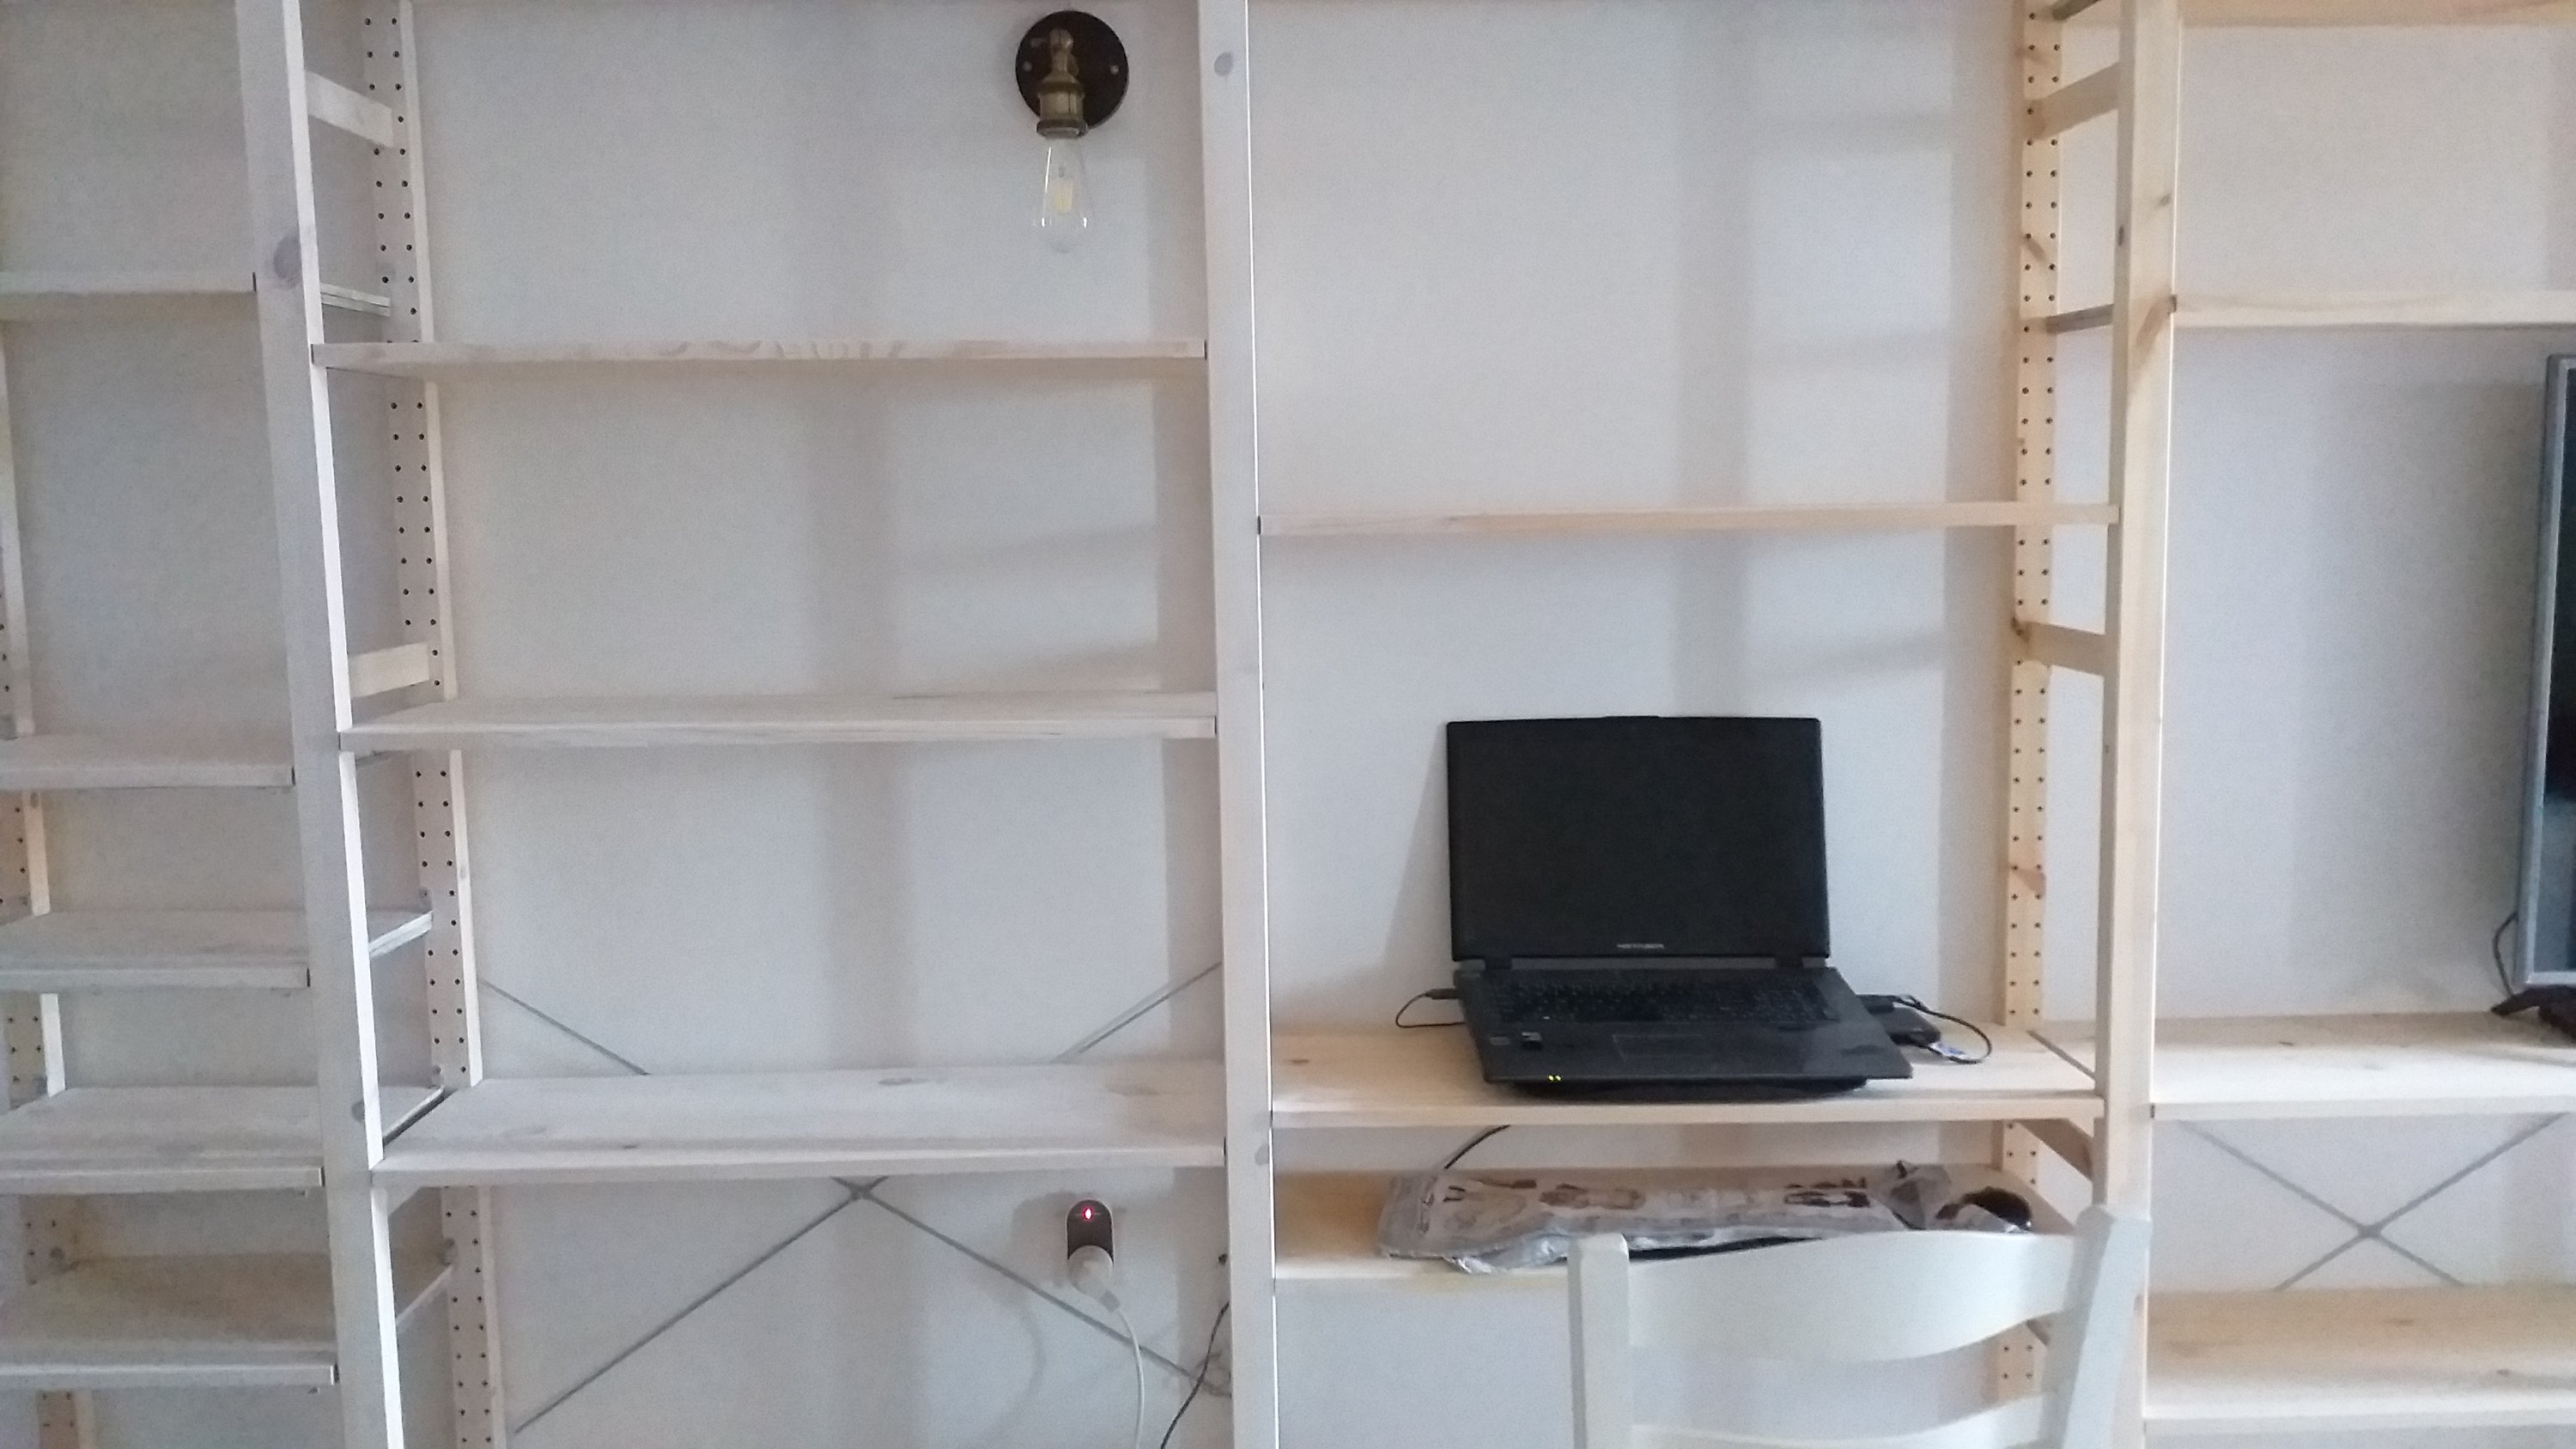
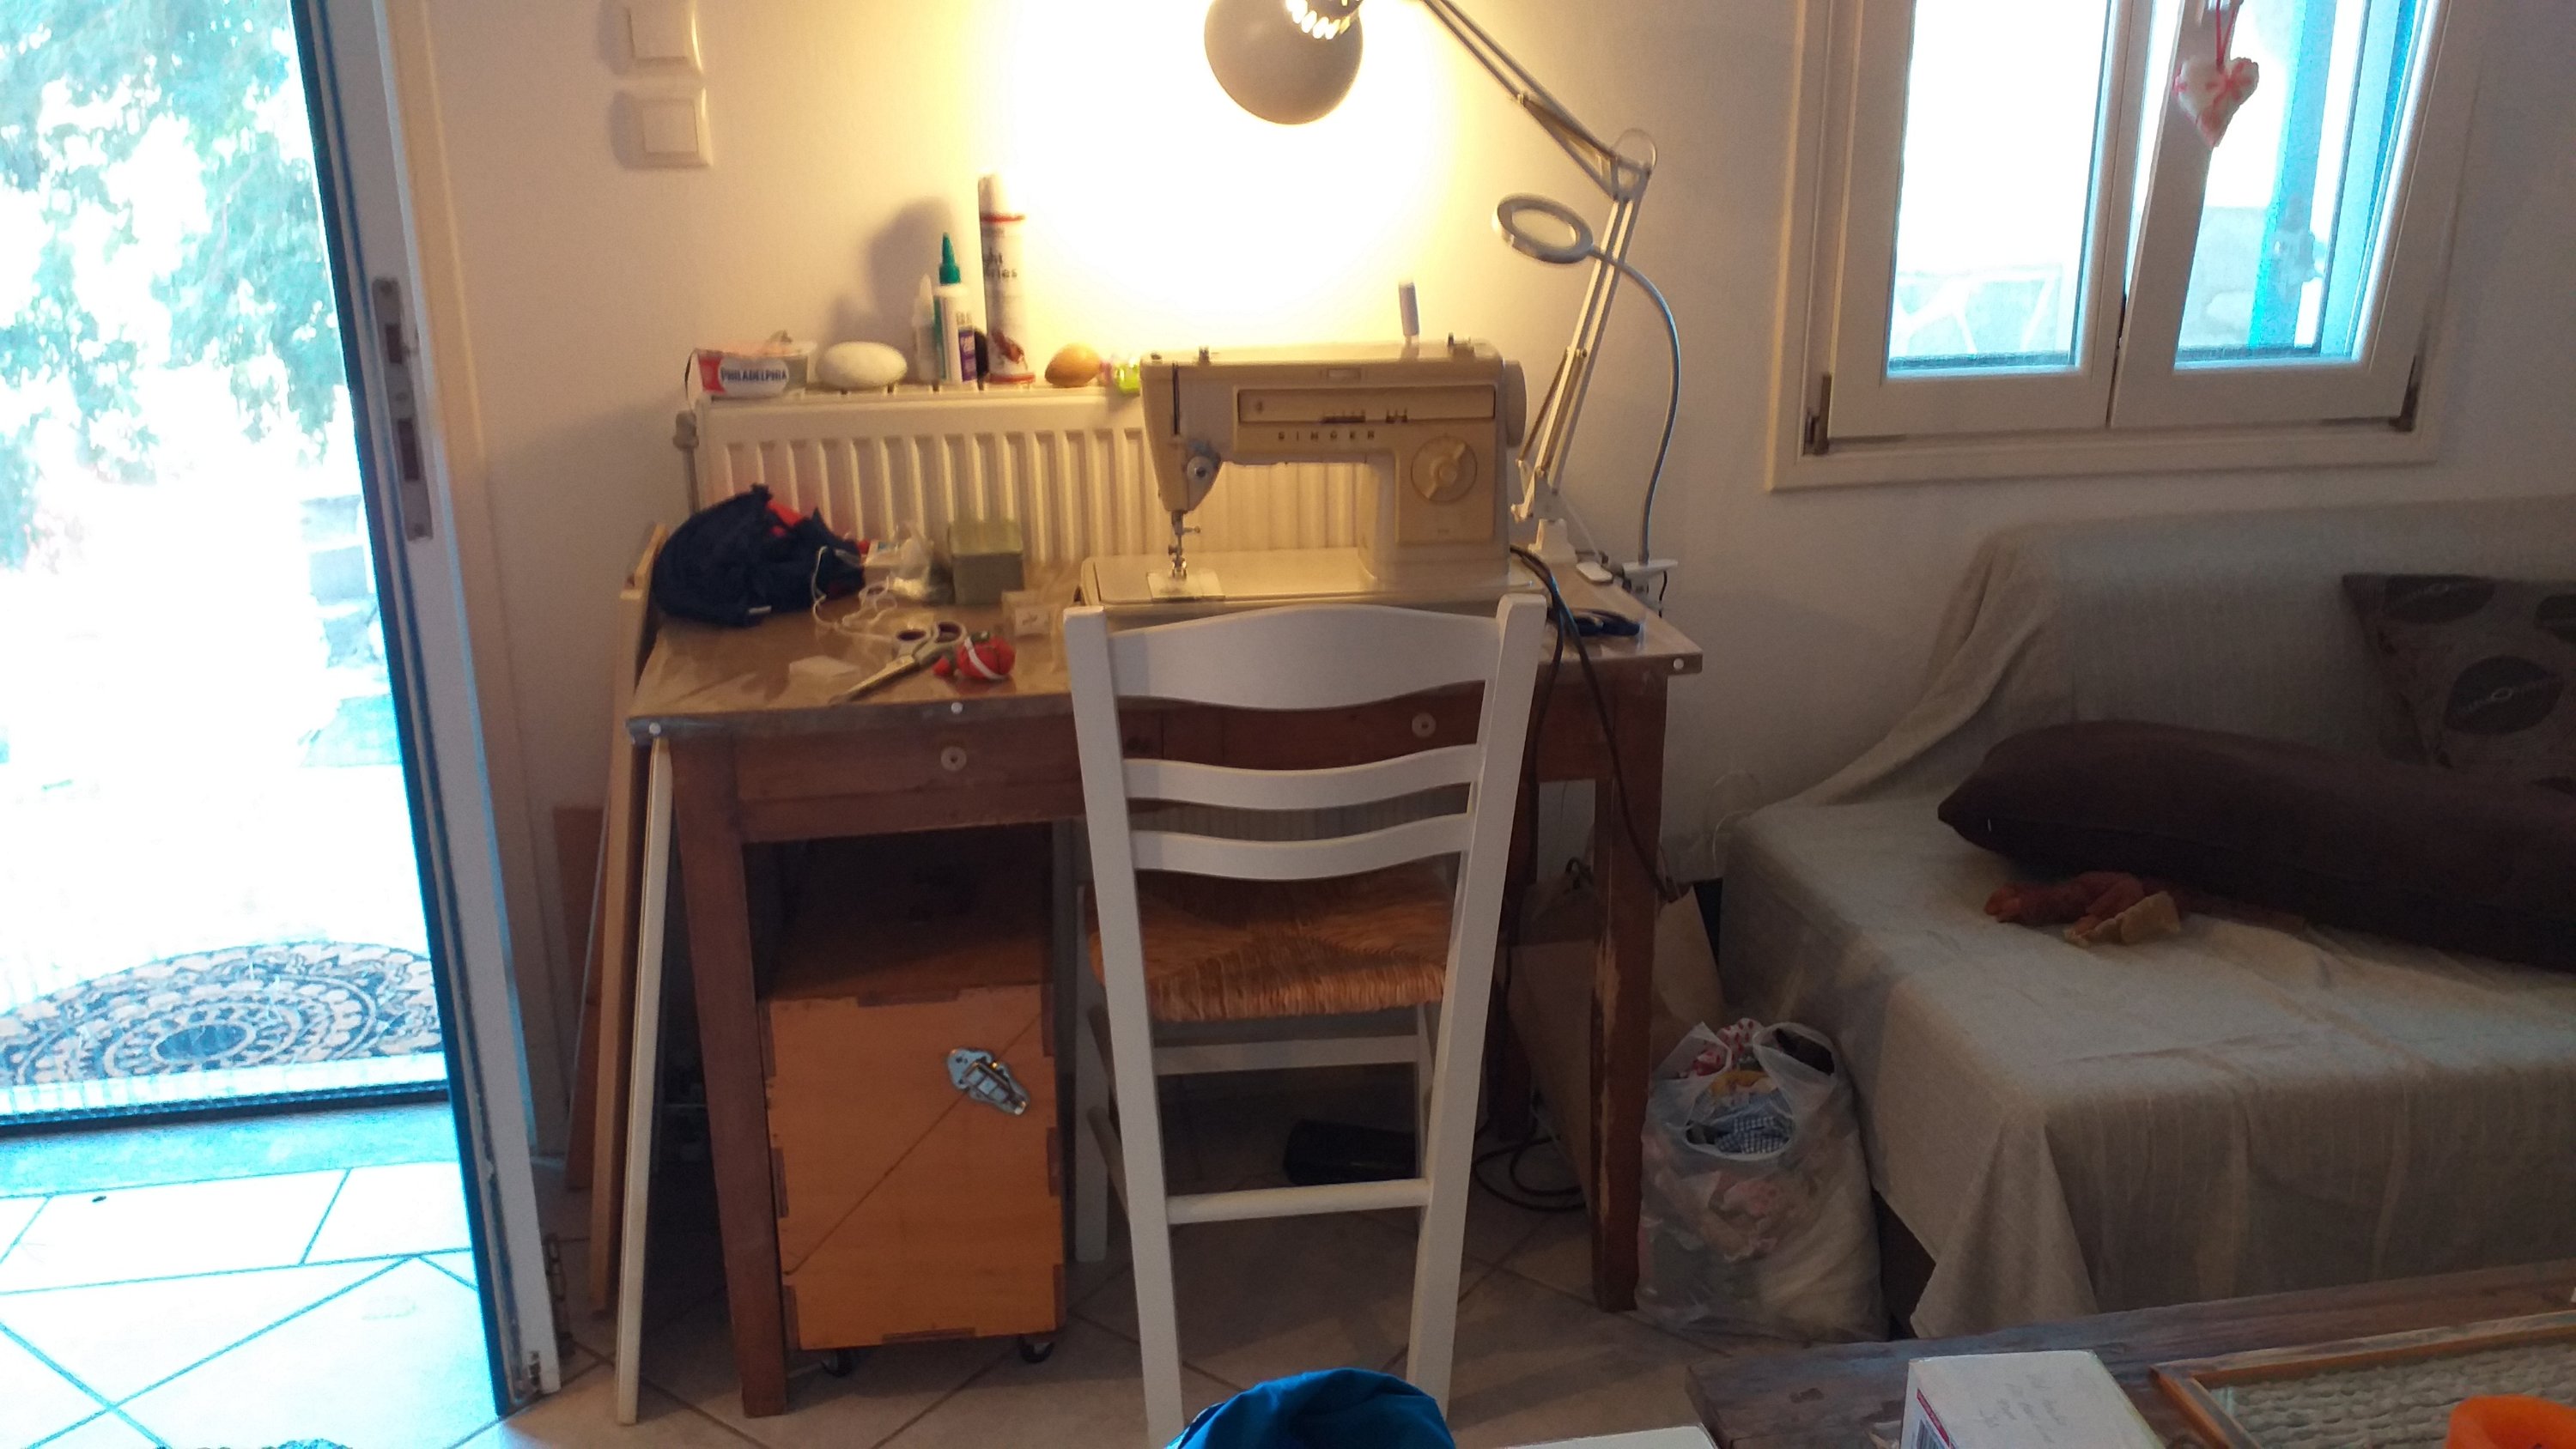
After a morning walk with Lainee I cleaned a bit, put some things away, moved other things a little further over so they wouldn’t be in the way. I flipped over the sewing table which has been lying on its back in the middle of my ‘living room’, glued the top down cause it was coming off and placed everything heavy I had on the floor on top of it (I’ll count that as clearing stuff away).

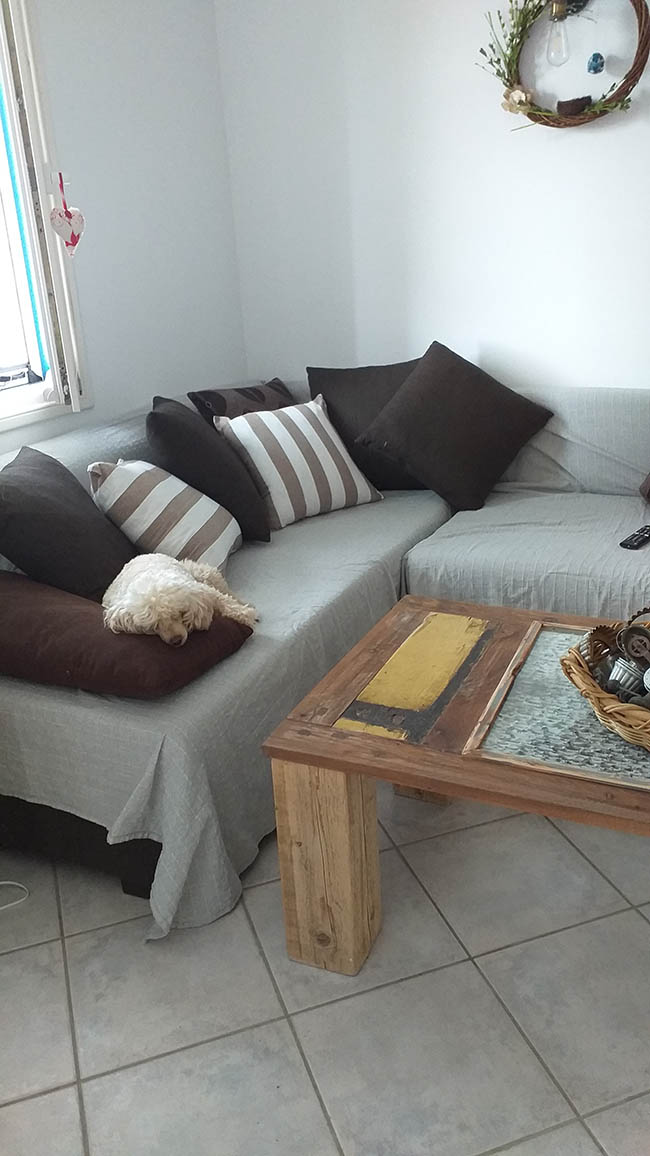
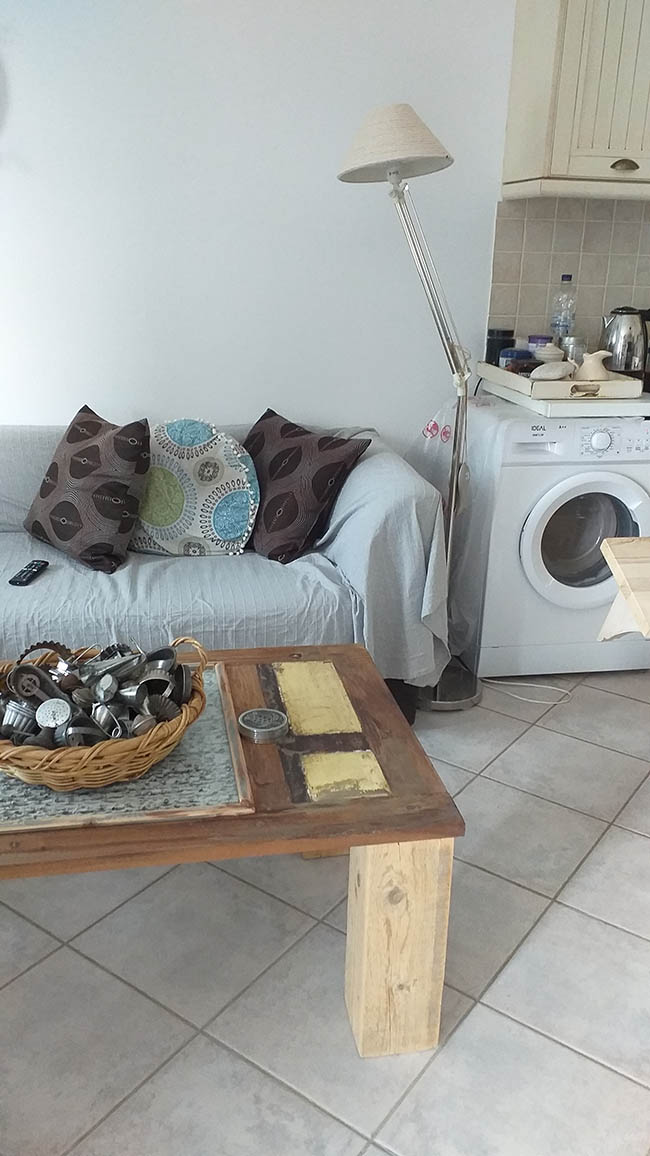
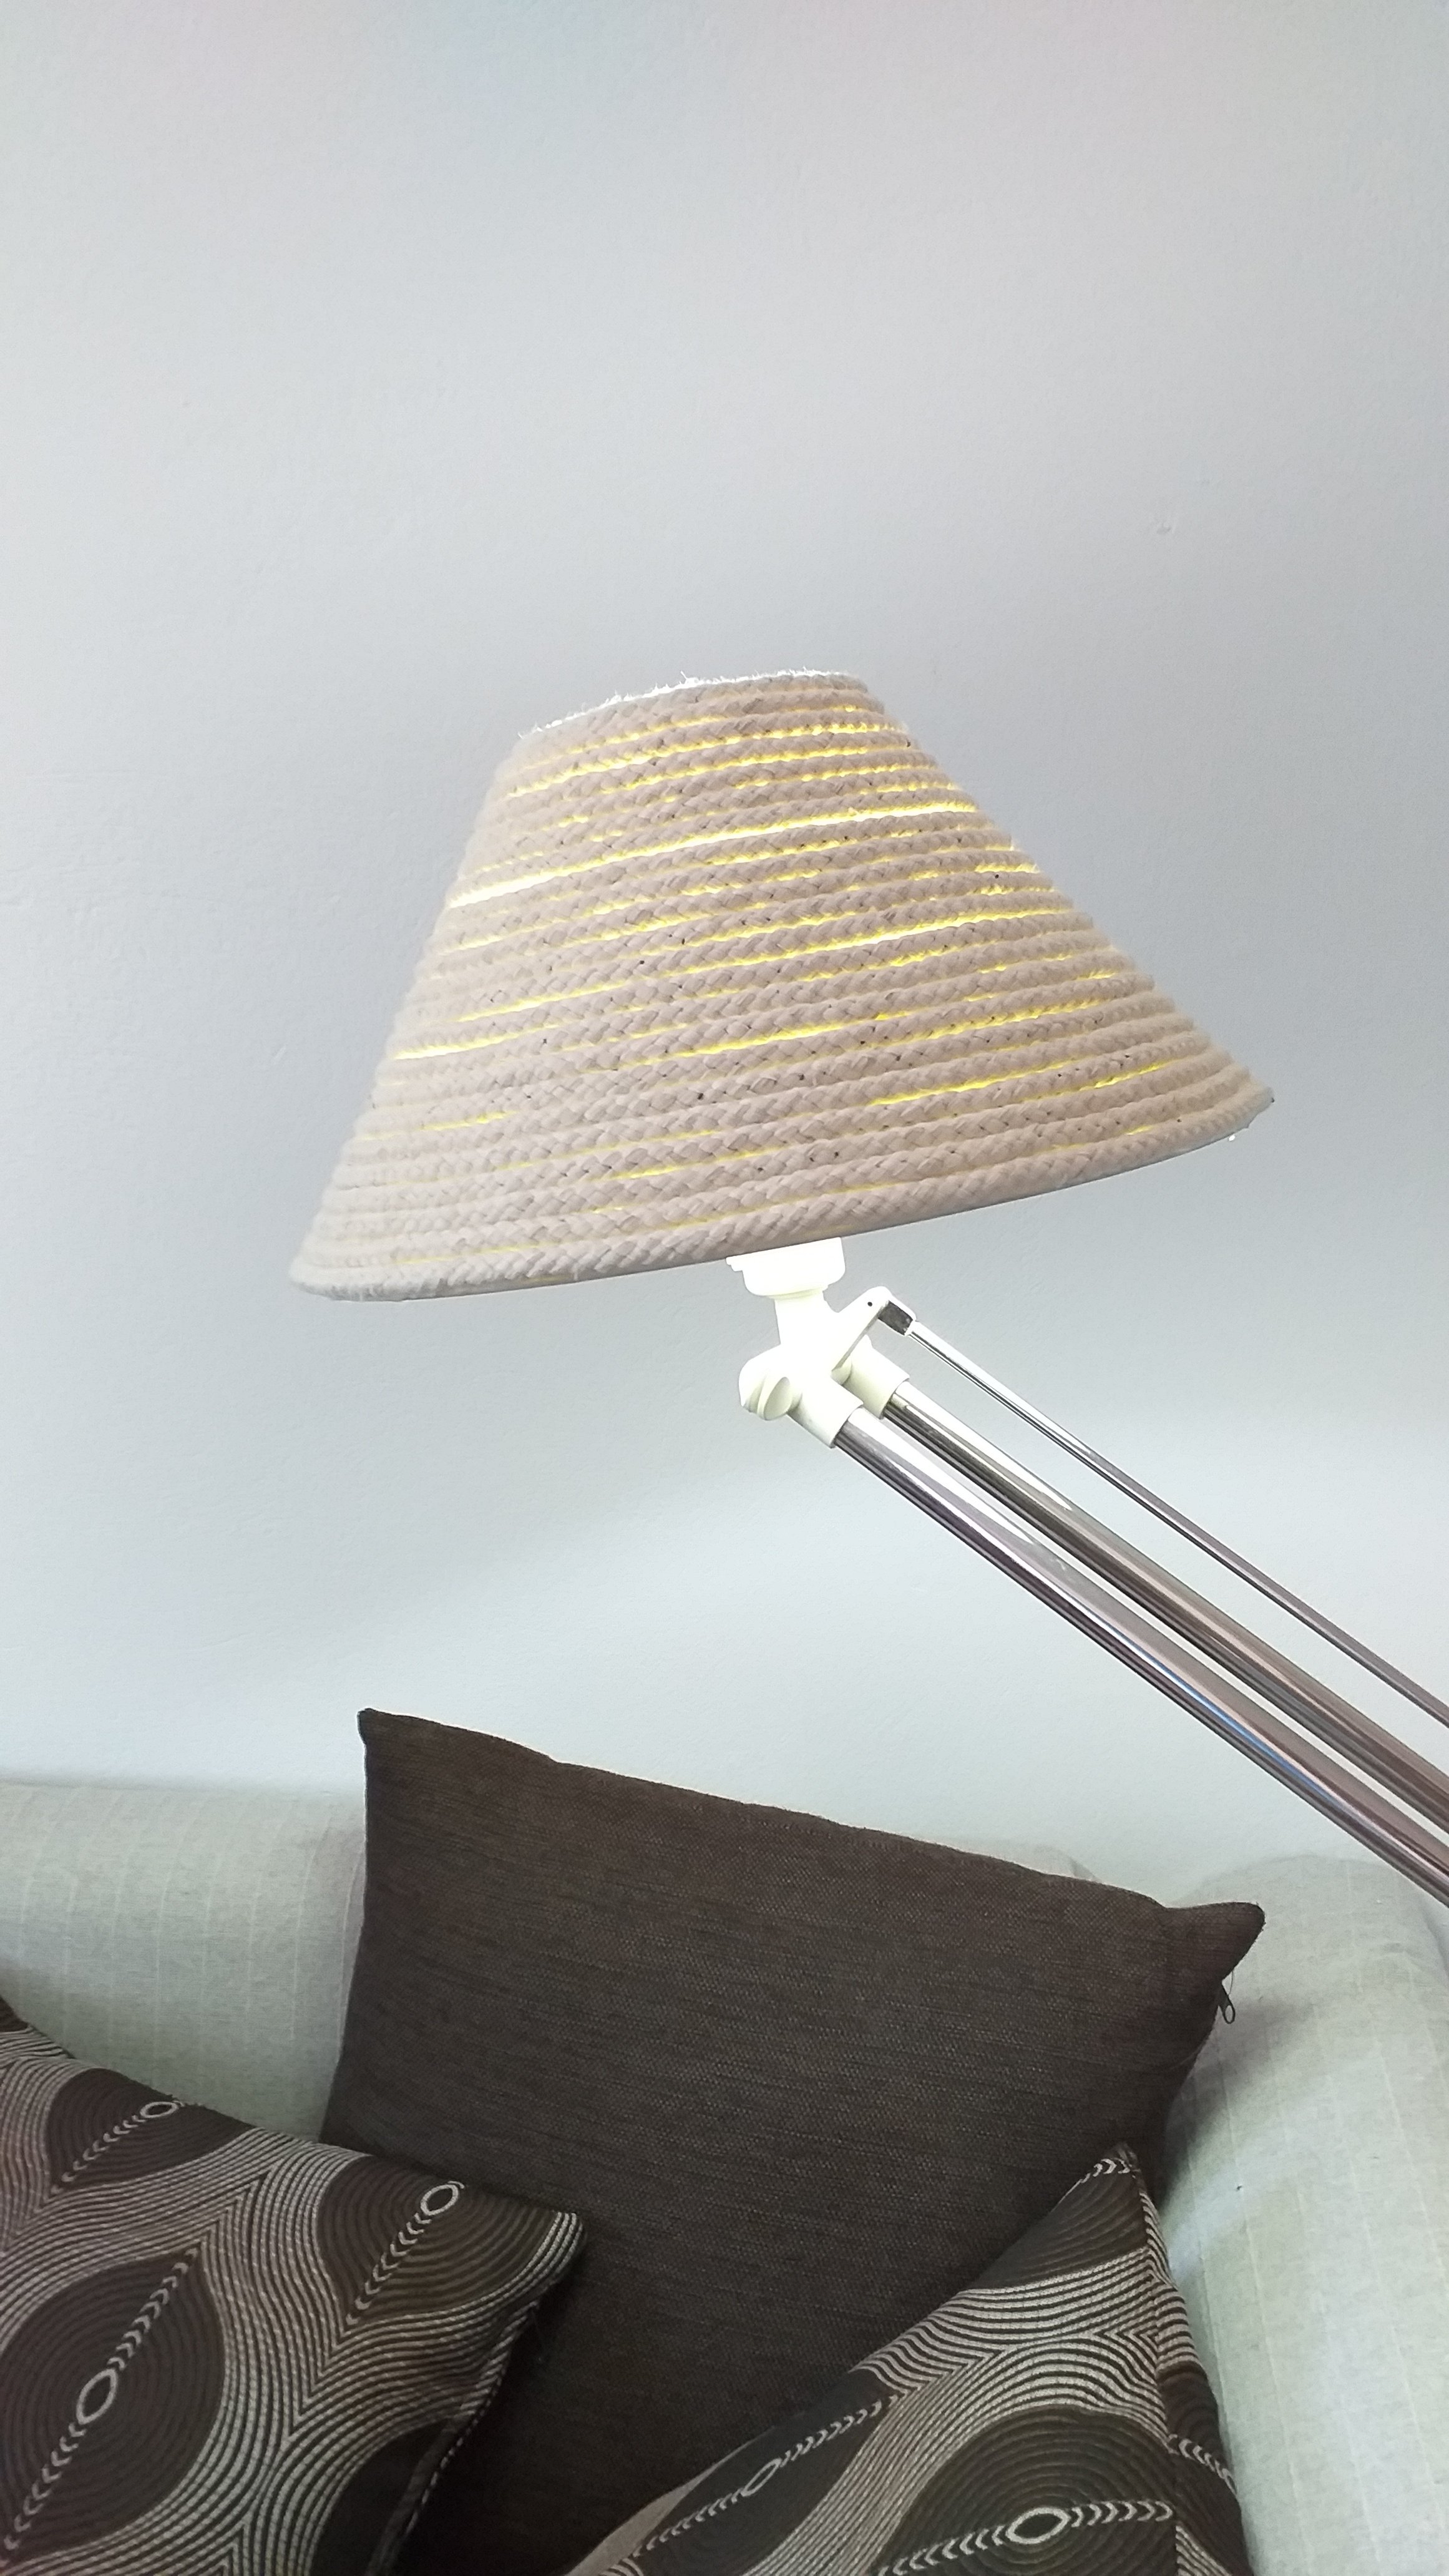
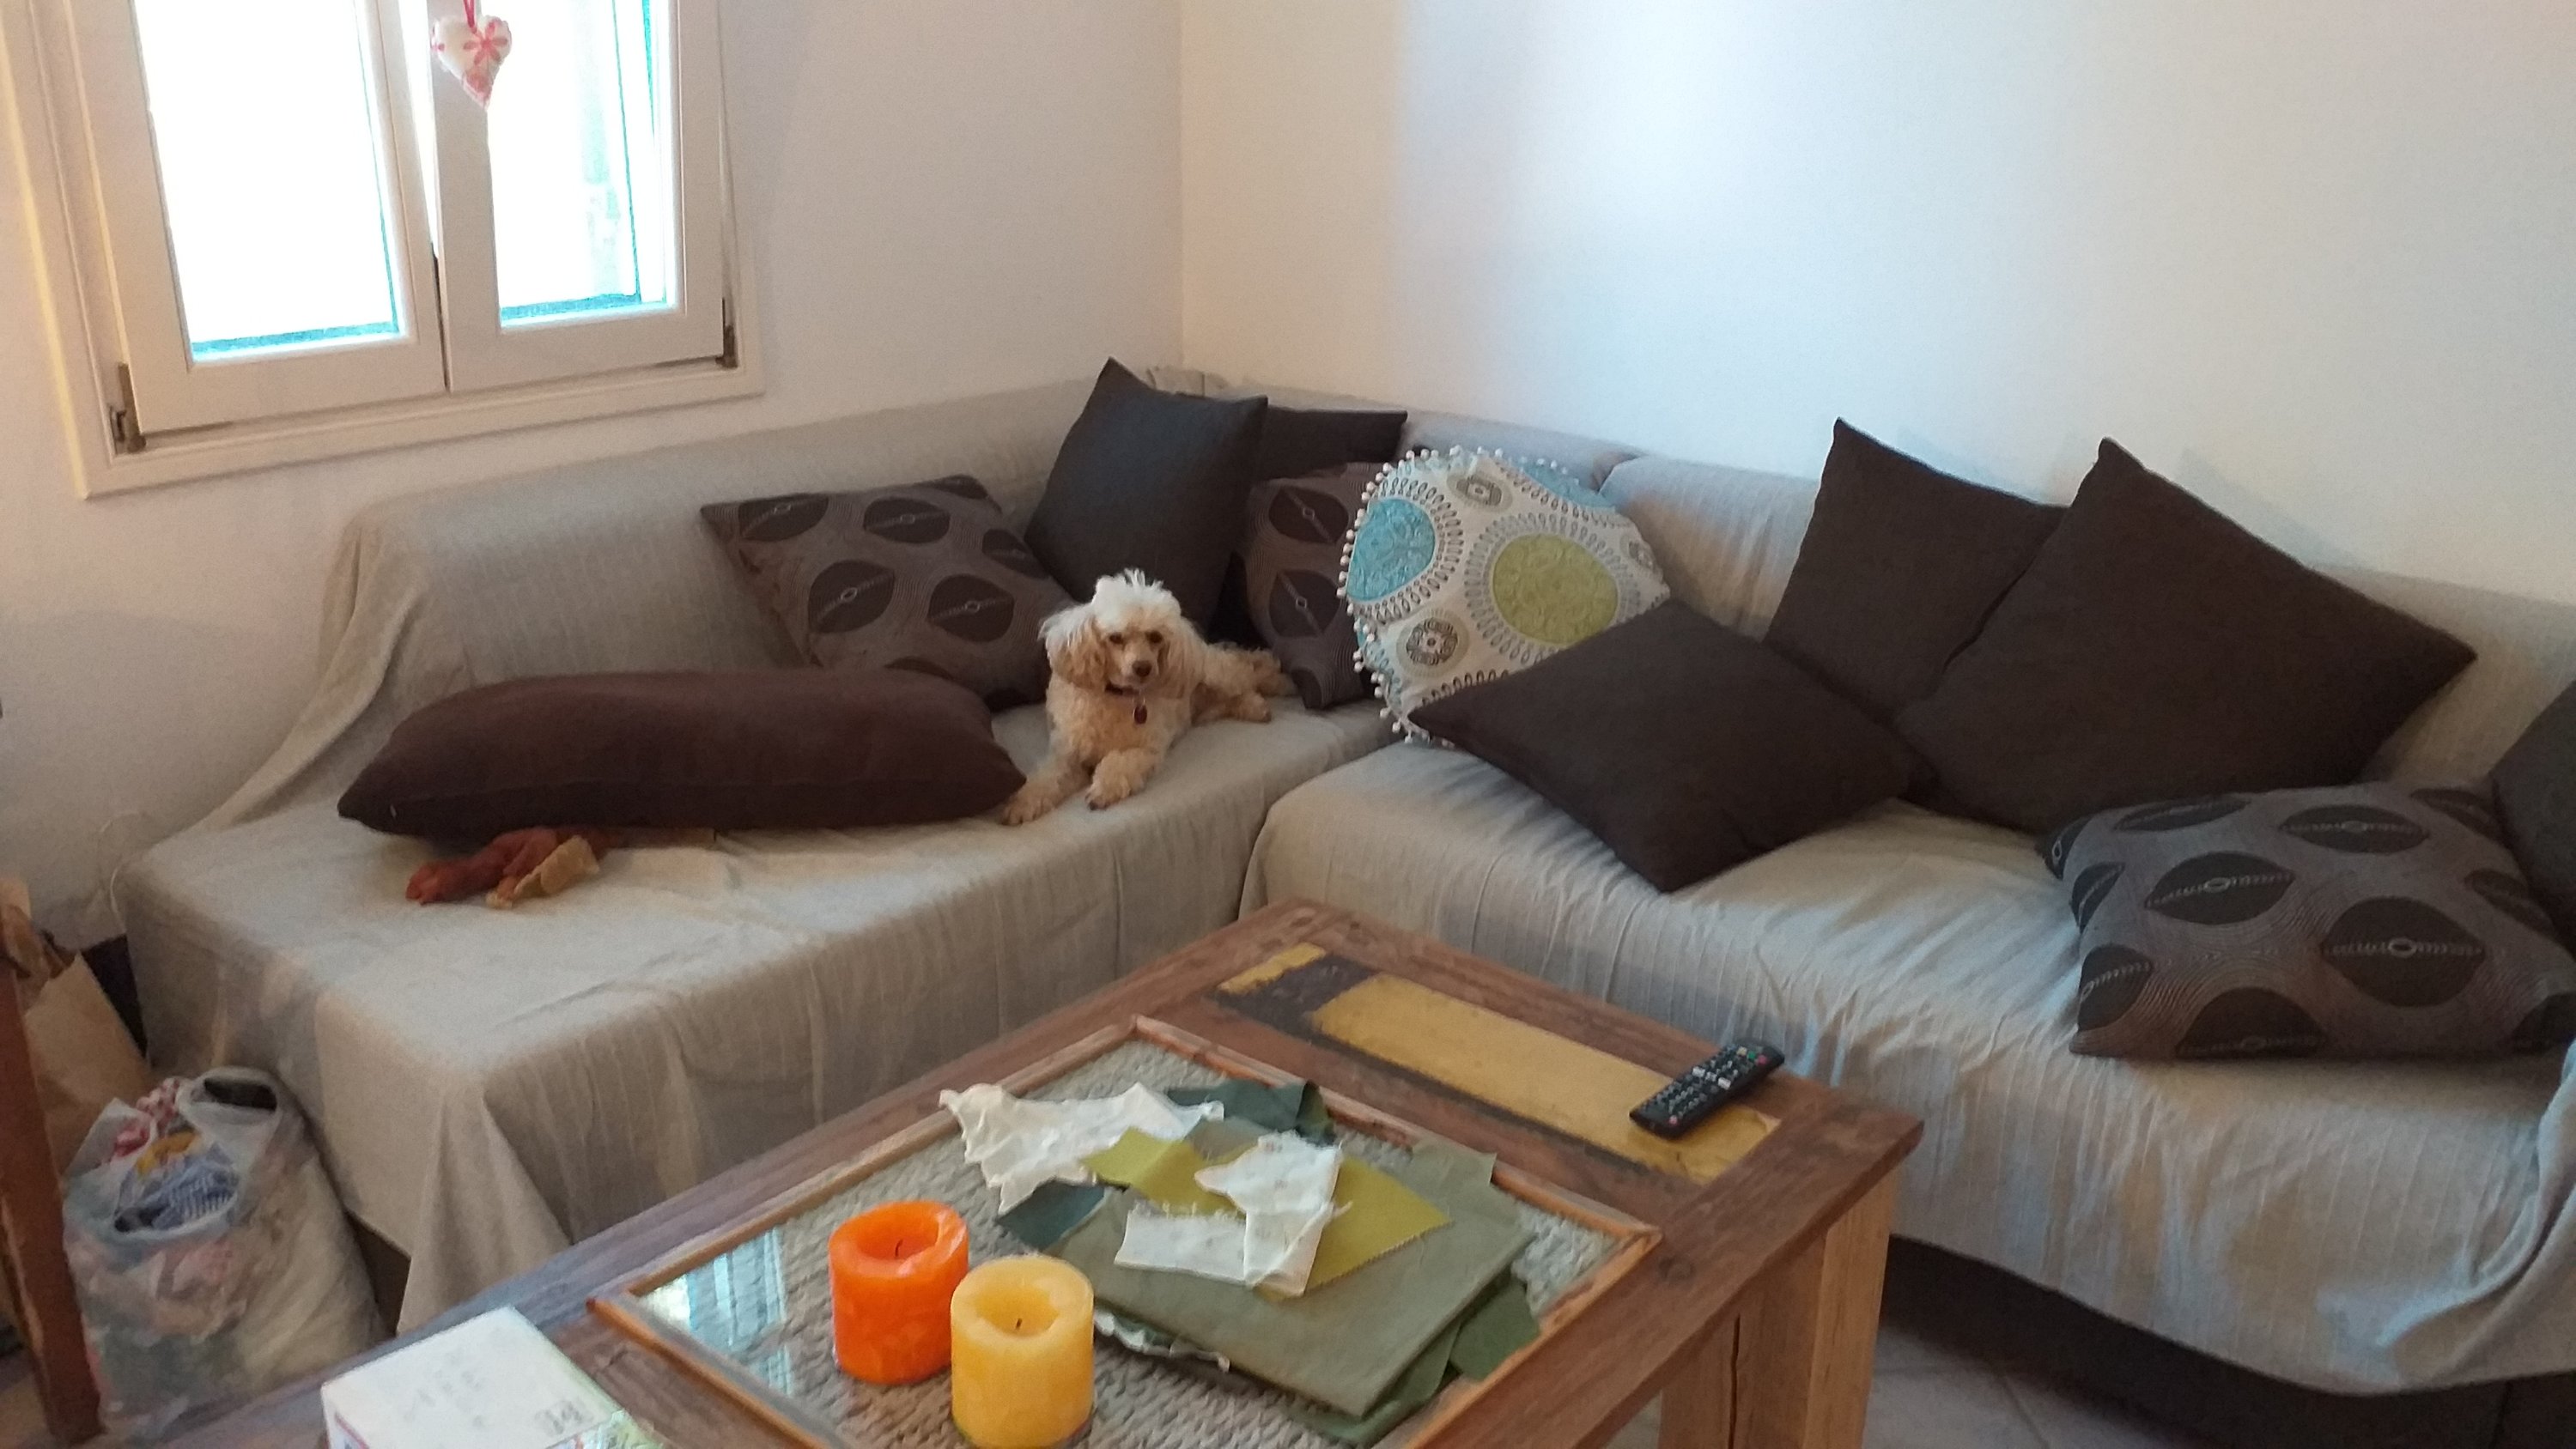
I also moved the couch around. Its in two parts, a corner unit. I basically pulled it out of the way to put up the curtain rod, cause with the couch where it lives (the only place it can live) I couldn’t reach the window. When I put it back I tried putting it back differently, the longer part of the couch on the kitchen wall, the shorter one under the window so I can reach the window but it doesnt work so well… I’ll have to move it all back tomorrow.

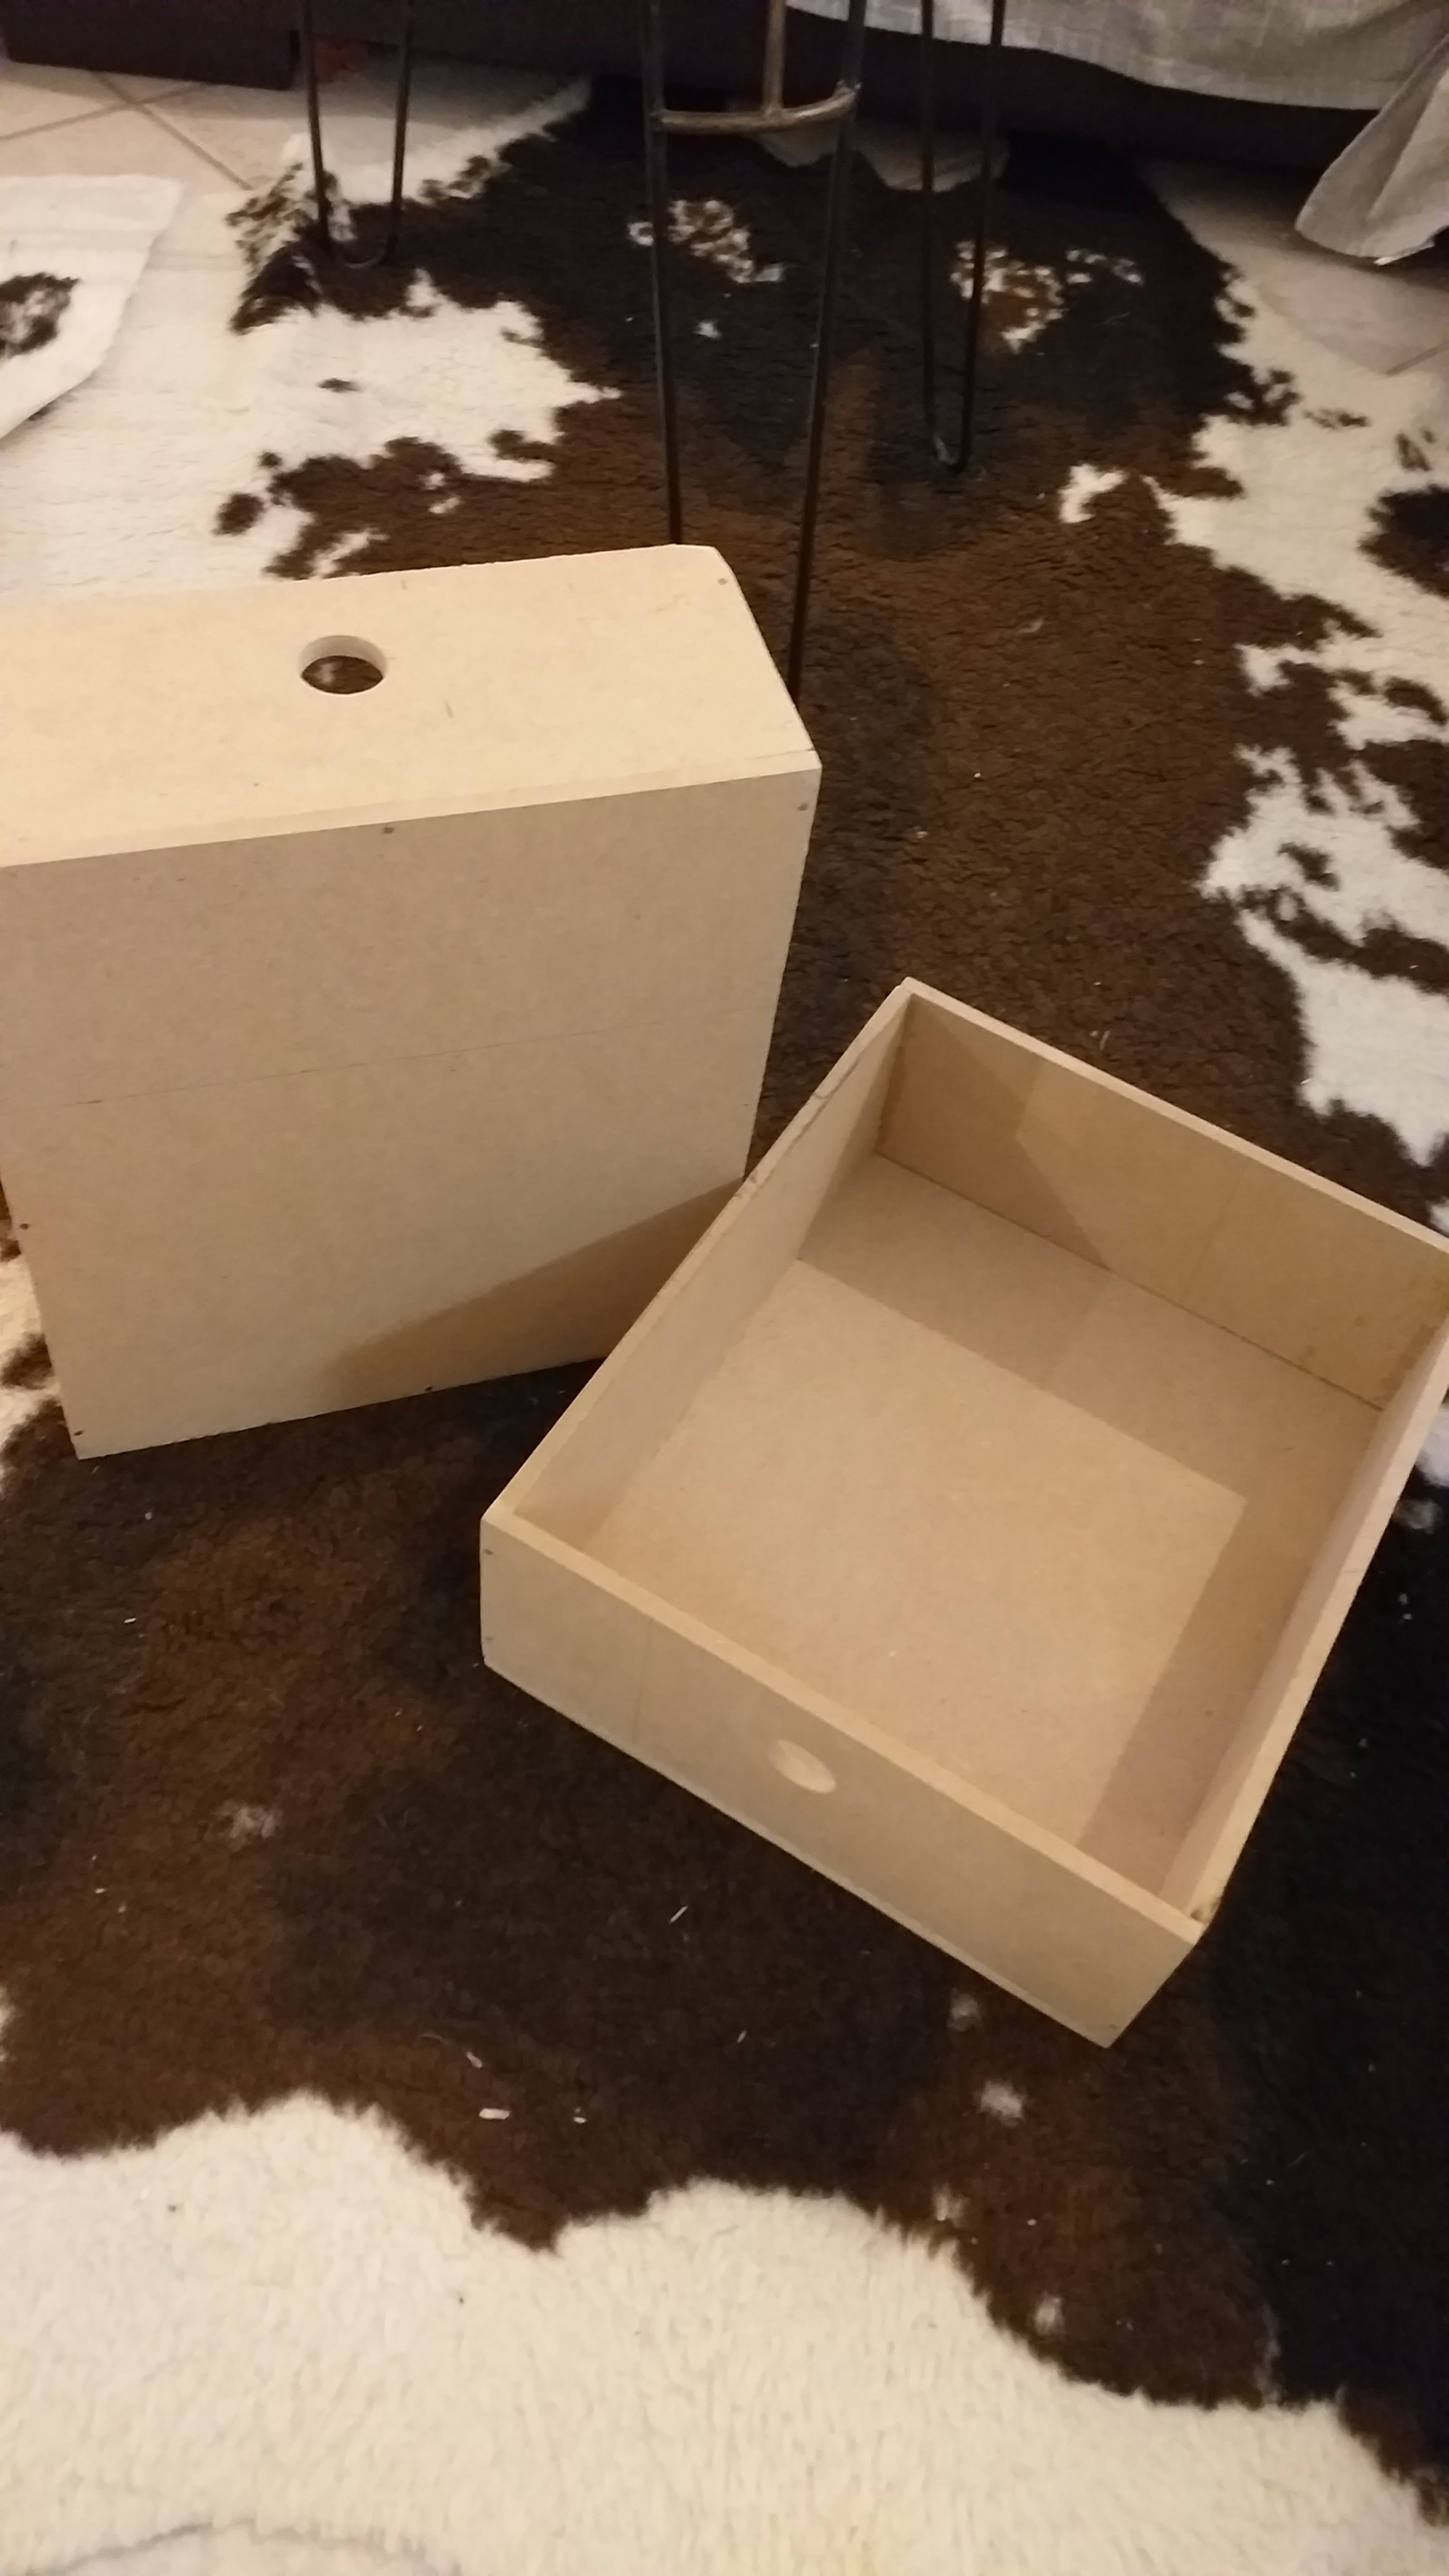
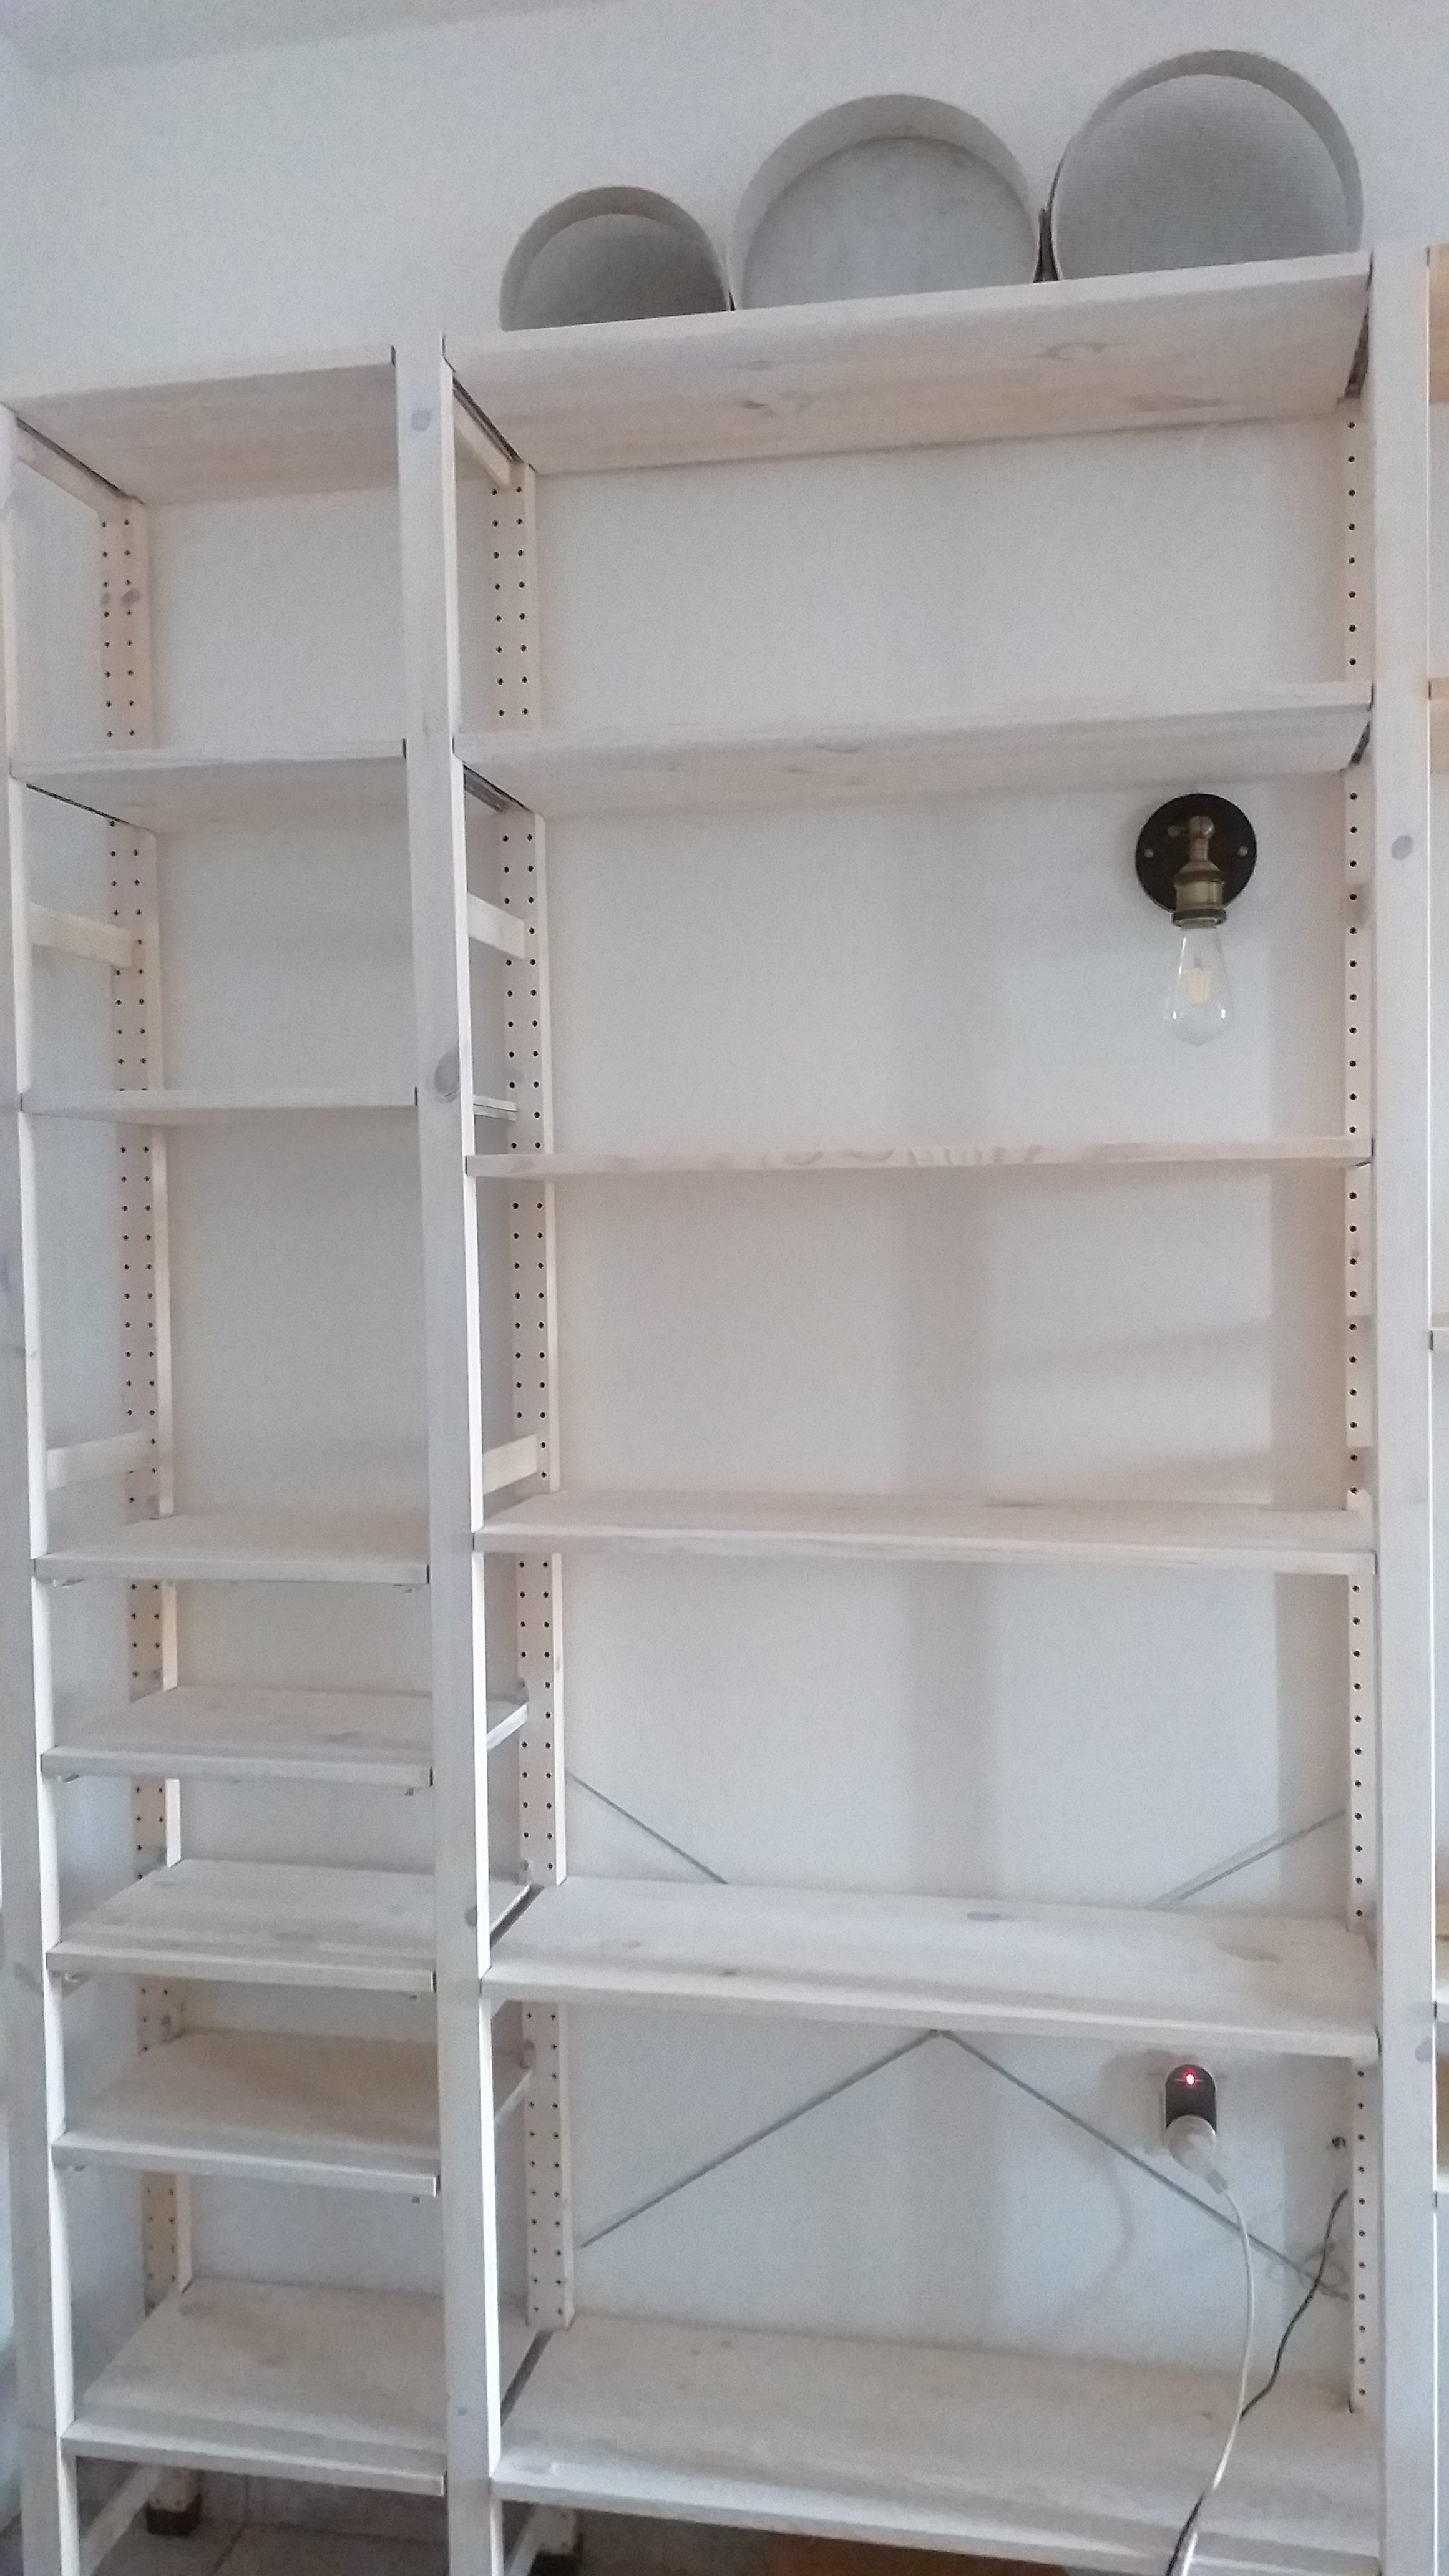
But I mentioned putting up the curtain rod. Here is a preview of the new rod:

curtainrod1

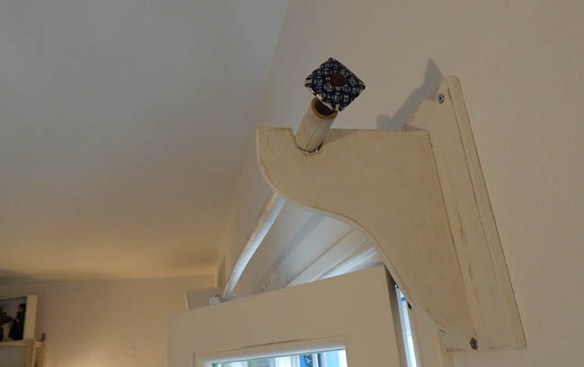
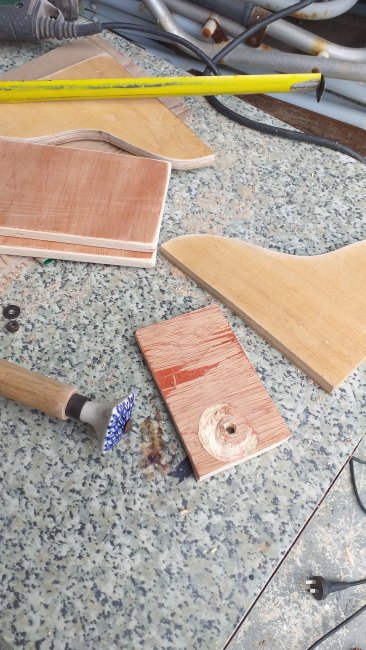
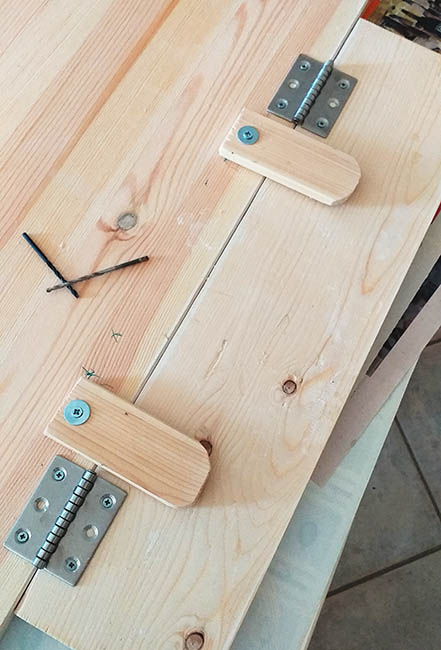
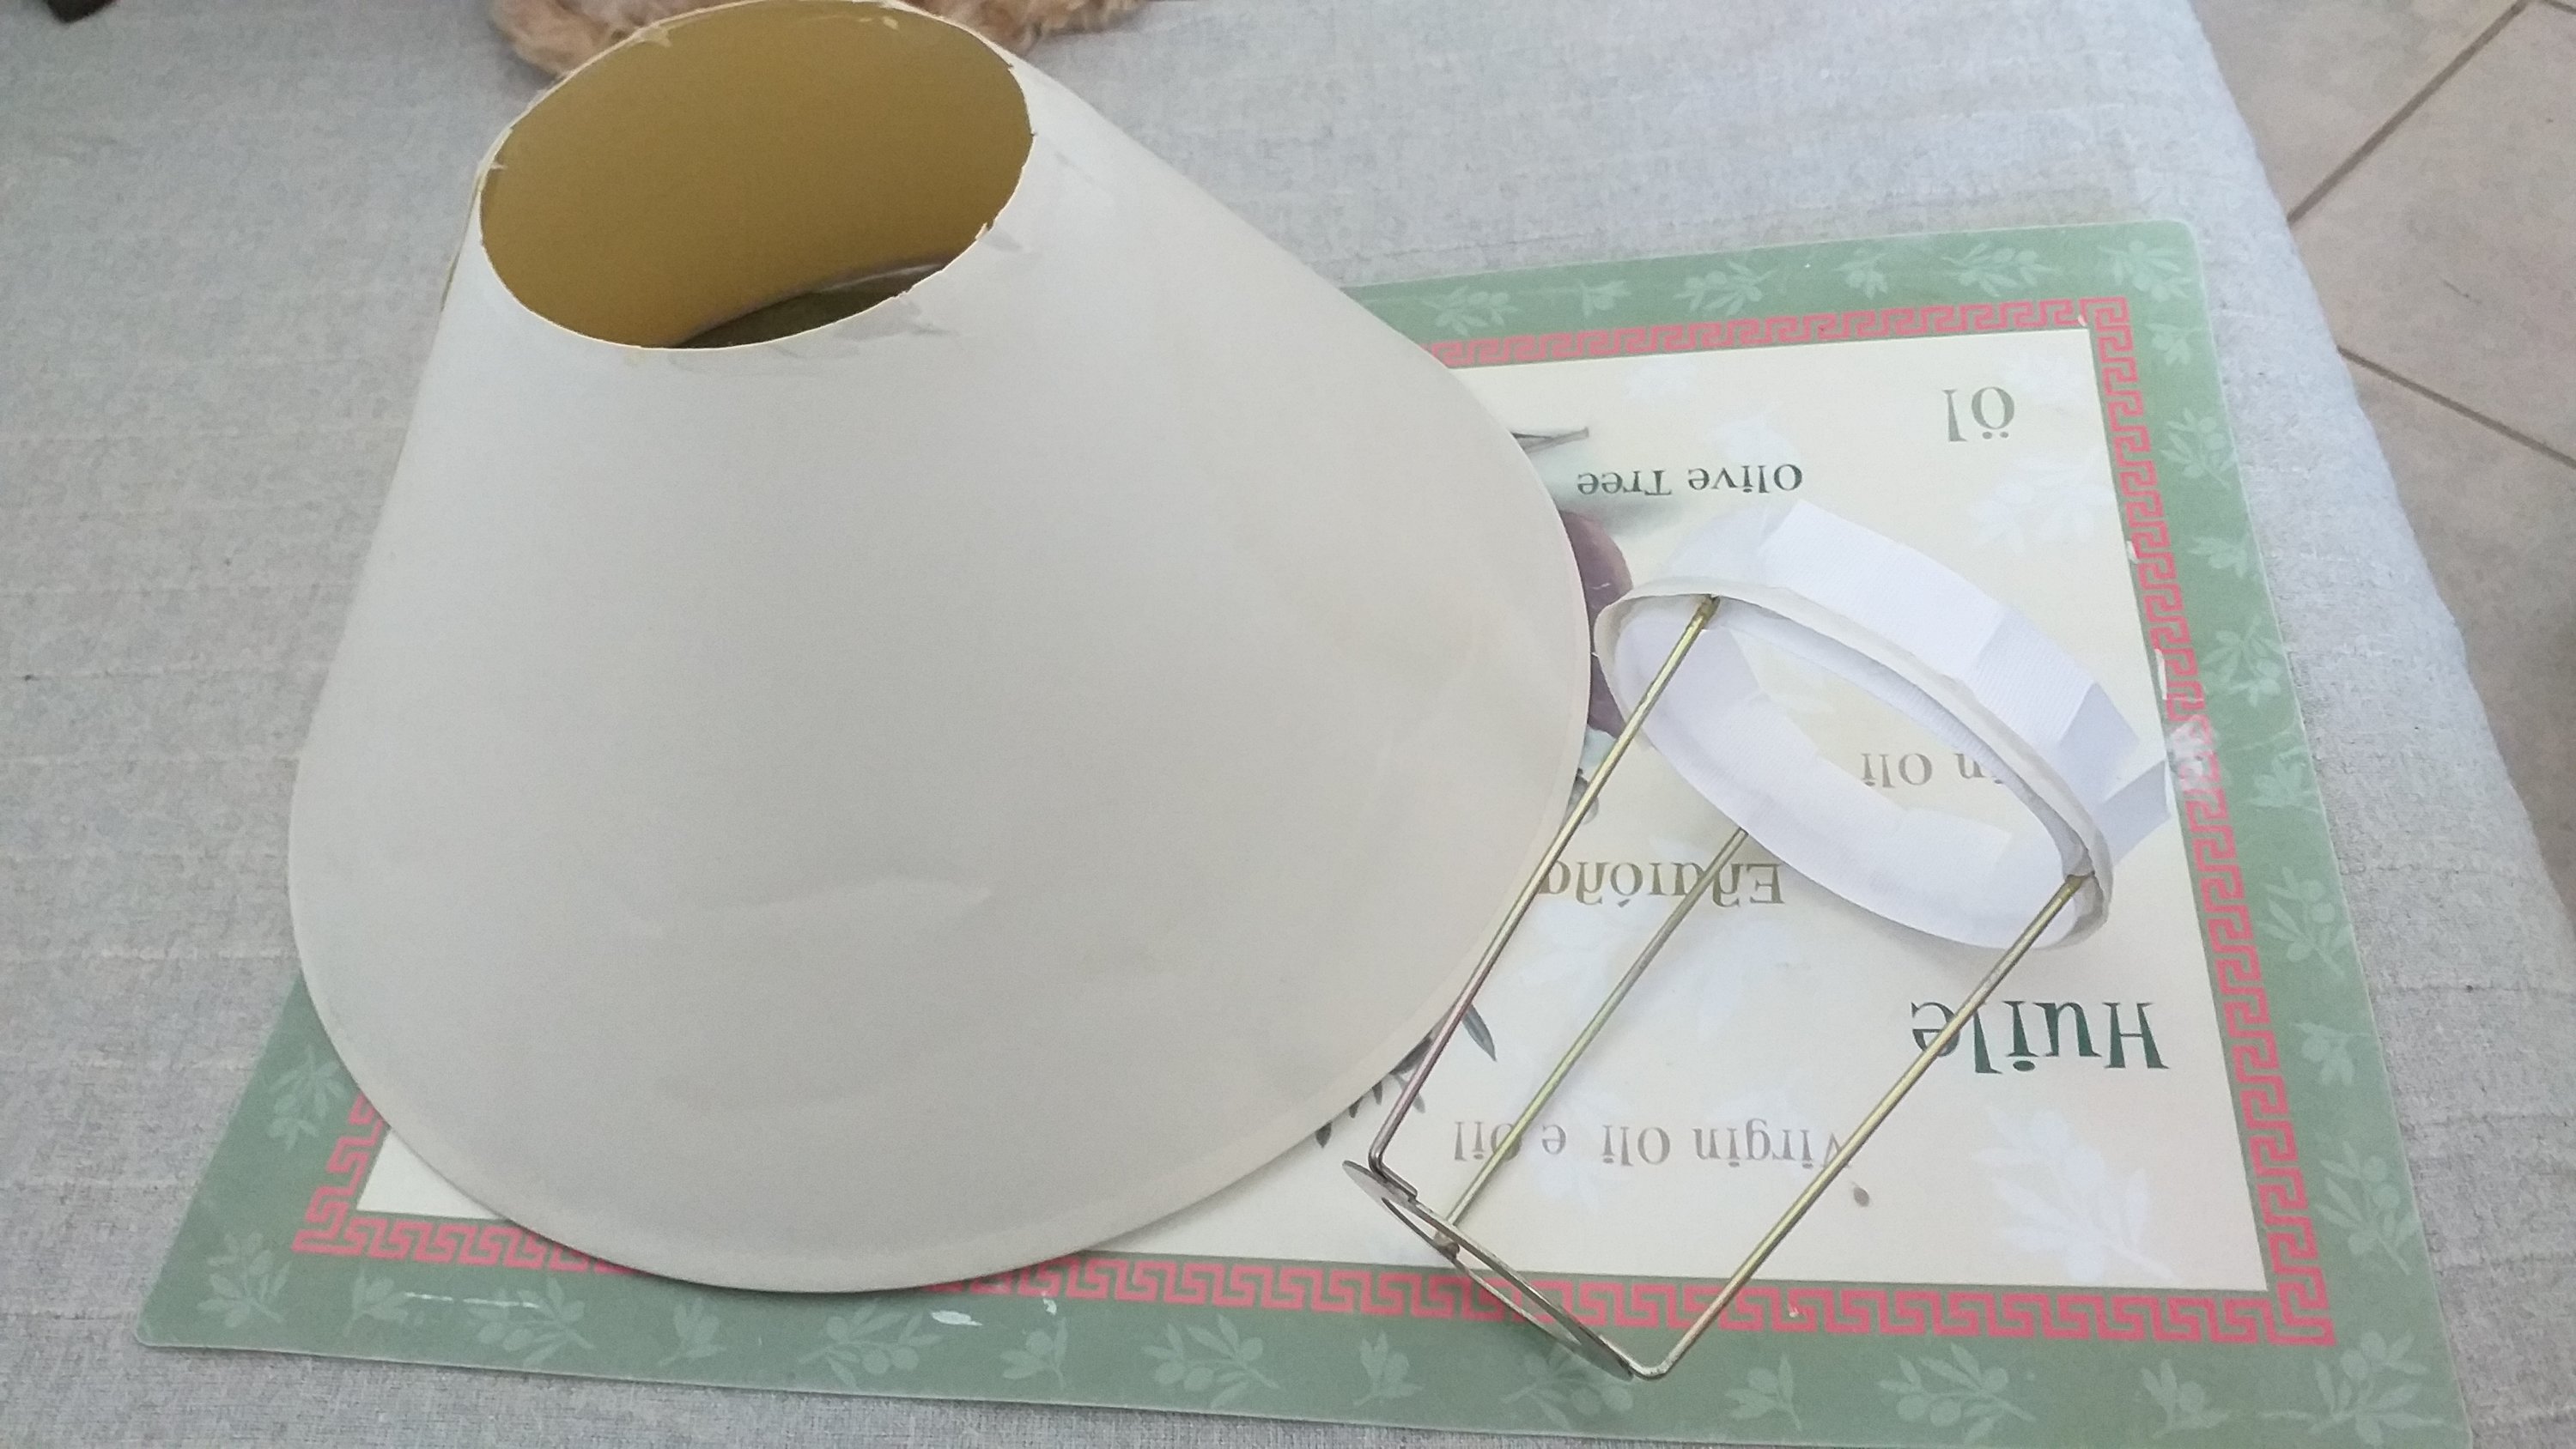
No curtain on it yet – with the crap piled high on the sewing table I can’t really use the sewing machine. Sure, I could use it on the kitchen table, but that’s currently the papier mache station… I’m building a lifesize bulldog as a gift for a friend who owns a tattoo parlour called – you guessed it – Bulldogs).

Here he is, headless and lying on his back.

bulldogbit

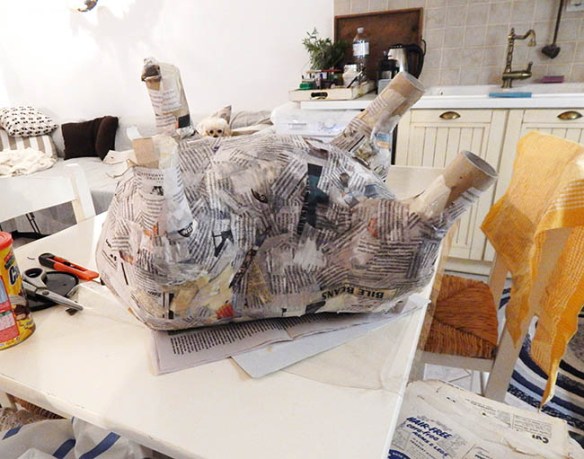
I really enjoy making animal sculptures out of papier mache but it is a long process. Luckily I have time… It involves shaping cardboard, joining pieces together to create a form, cutting (carving) and adding to get the form right and slowly building it up. Stay tuned for the head. Which I haven’t even started yet.

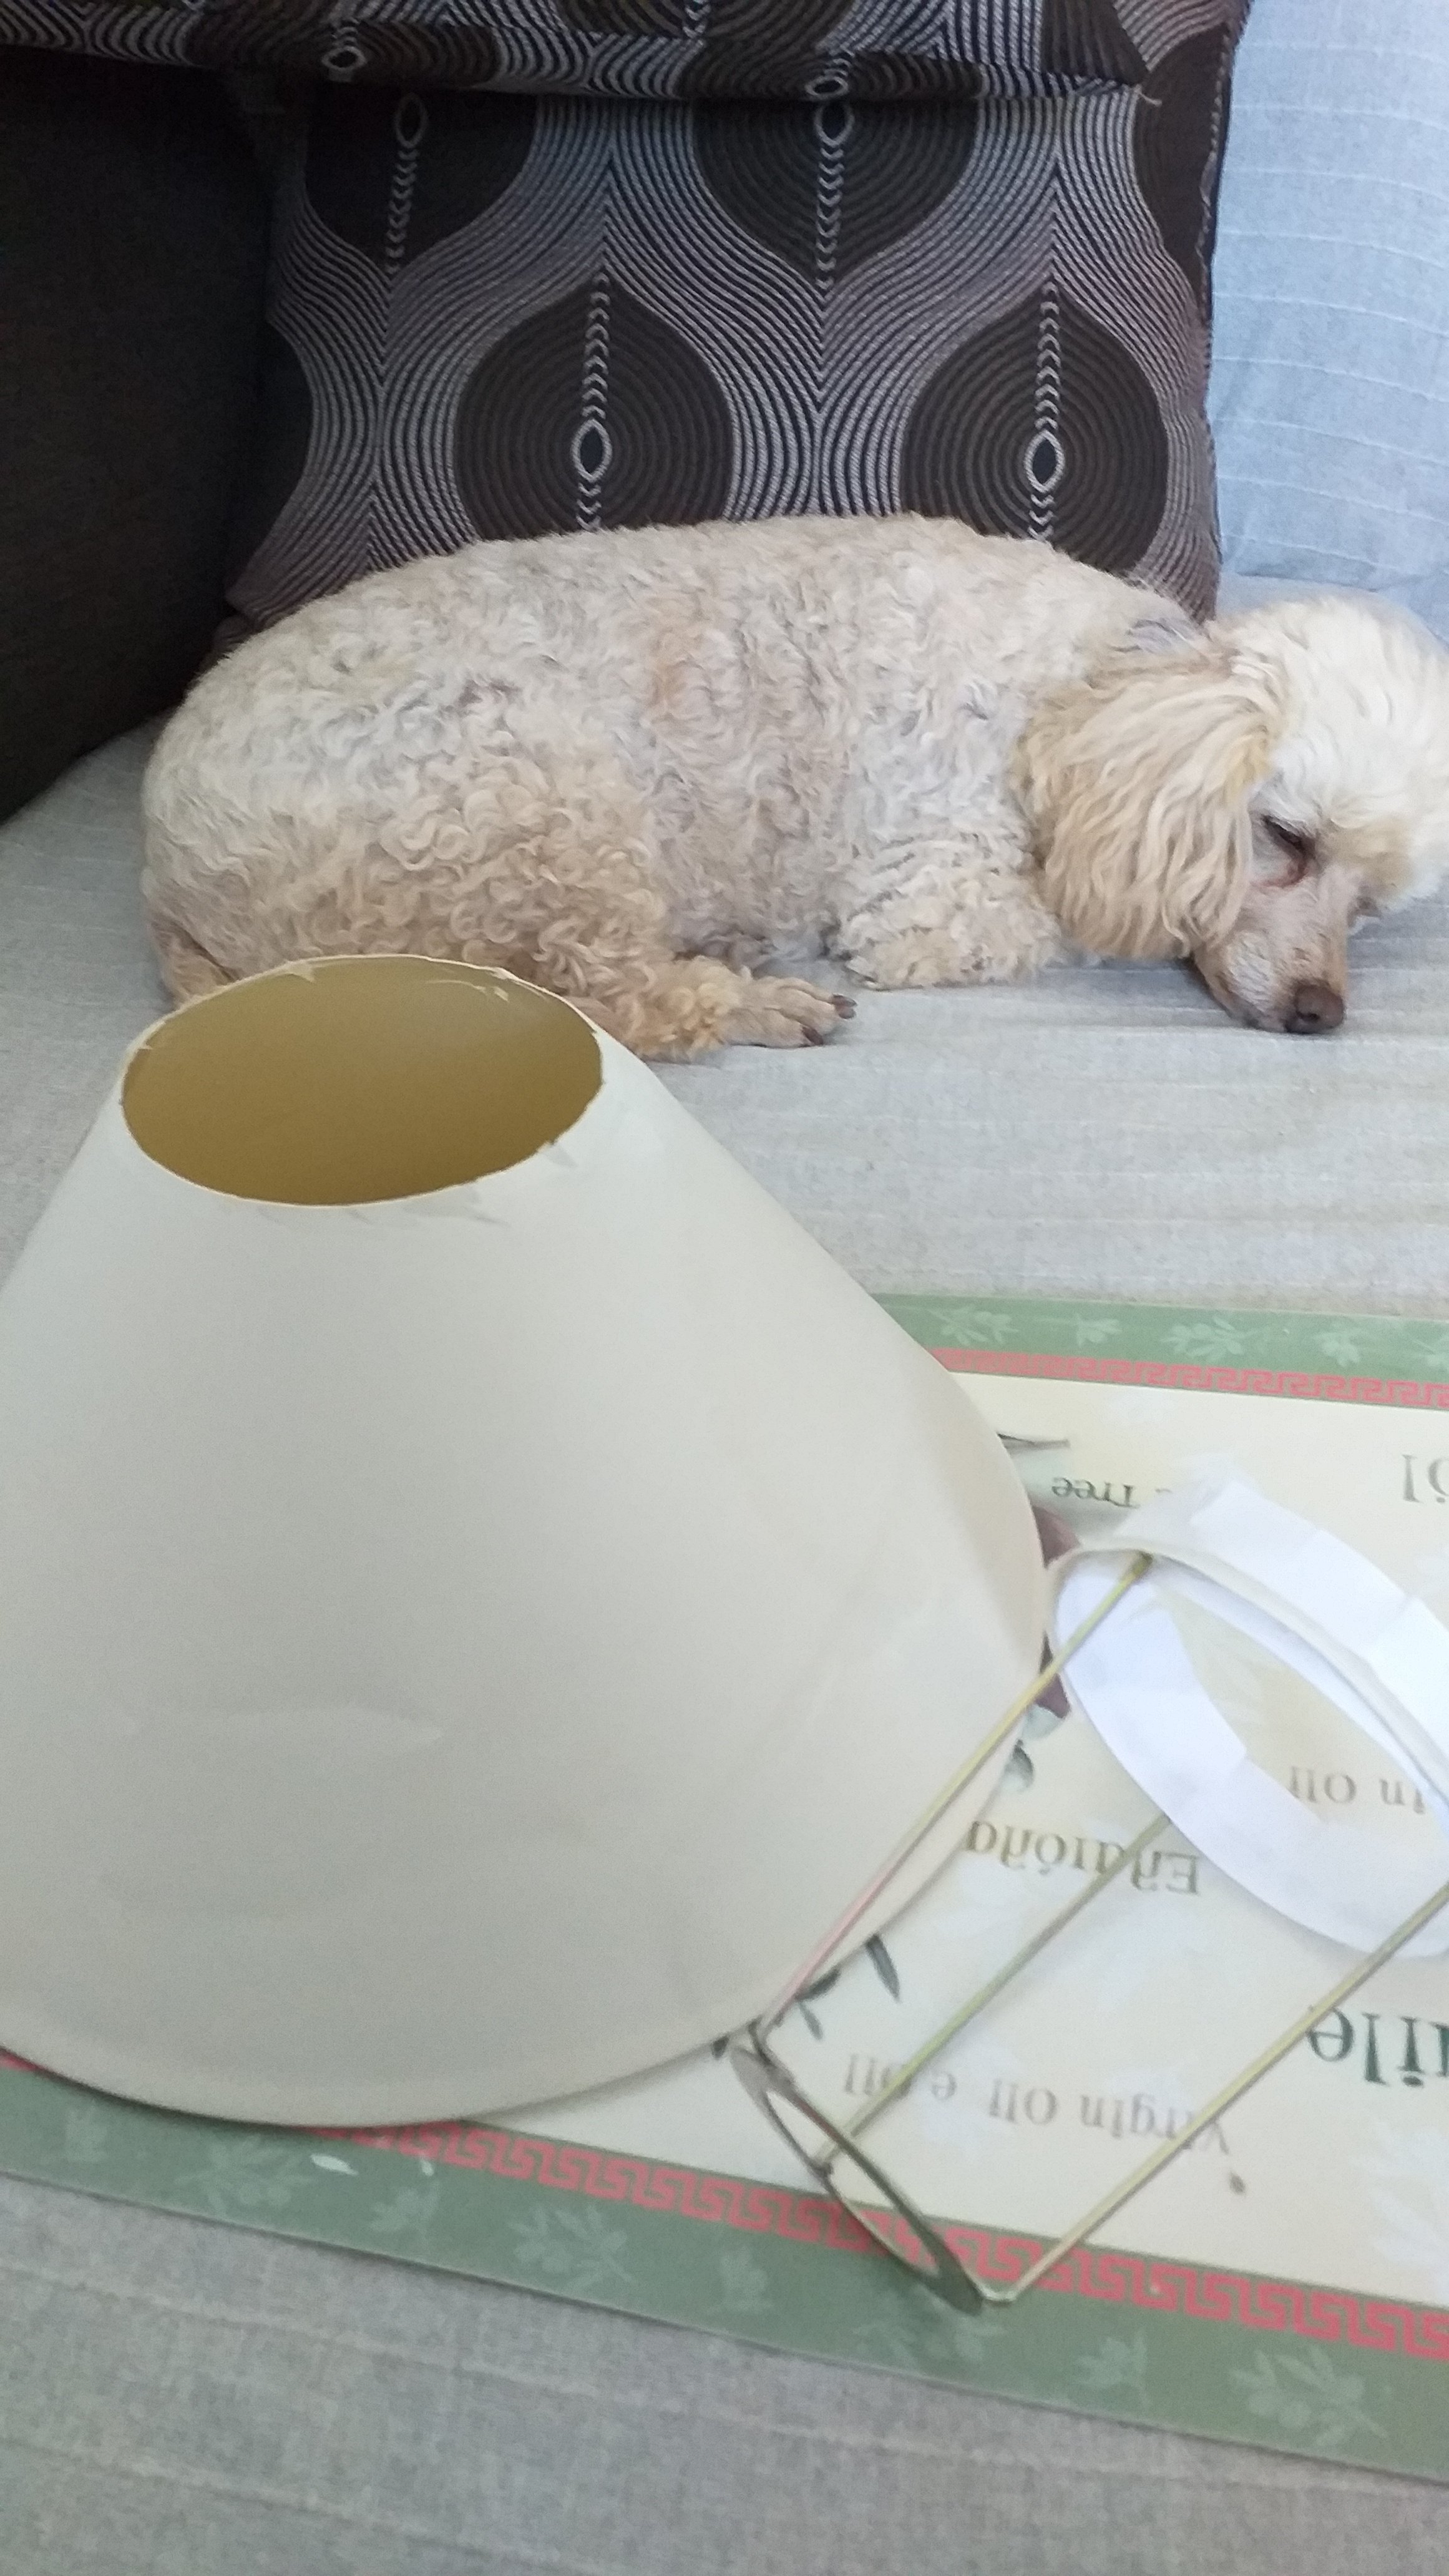
My washing is on day 2 of not dry yet. In fact its wetter today than it was when I hung it out there yesterday morning. Maybe it’ll dry tomorrow. Today has mostly been a stay inside day except for the morning walk which necessitated Lainee get rinsed off with warm water to get rid of the mud she’d picked up on the road. Other than a couple of quick pee breaks (mine inside, her’s outside!) I’ve been working on the aforementioned stuff and watching Sons of Anarchy.

Oh and I watched a great limited series called Unorthodox. I loved it, but then again I’ve always been drawn to stories about orthodox or hasidic Jews. No idea why. Ever since I read My Name is Asher Lev by Chaim Potok I’ve been a huge fan of his books and am intrigued by their lives. Then again, I’m also intrigued by the Amish. I guess its something to do with the concept of living in the modern world but refusing to be part of it and the problems that arise…

Anyway, too deep a conversation for now. I’m off to walk Lainee and watch a bit more SOA.

curtaintieback1

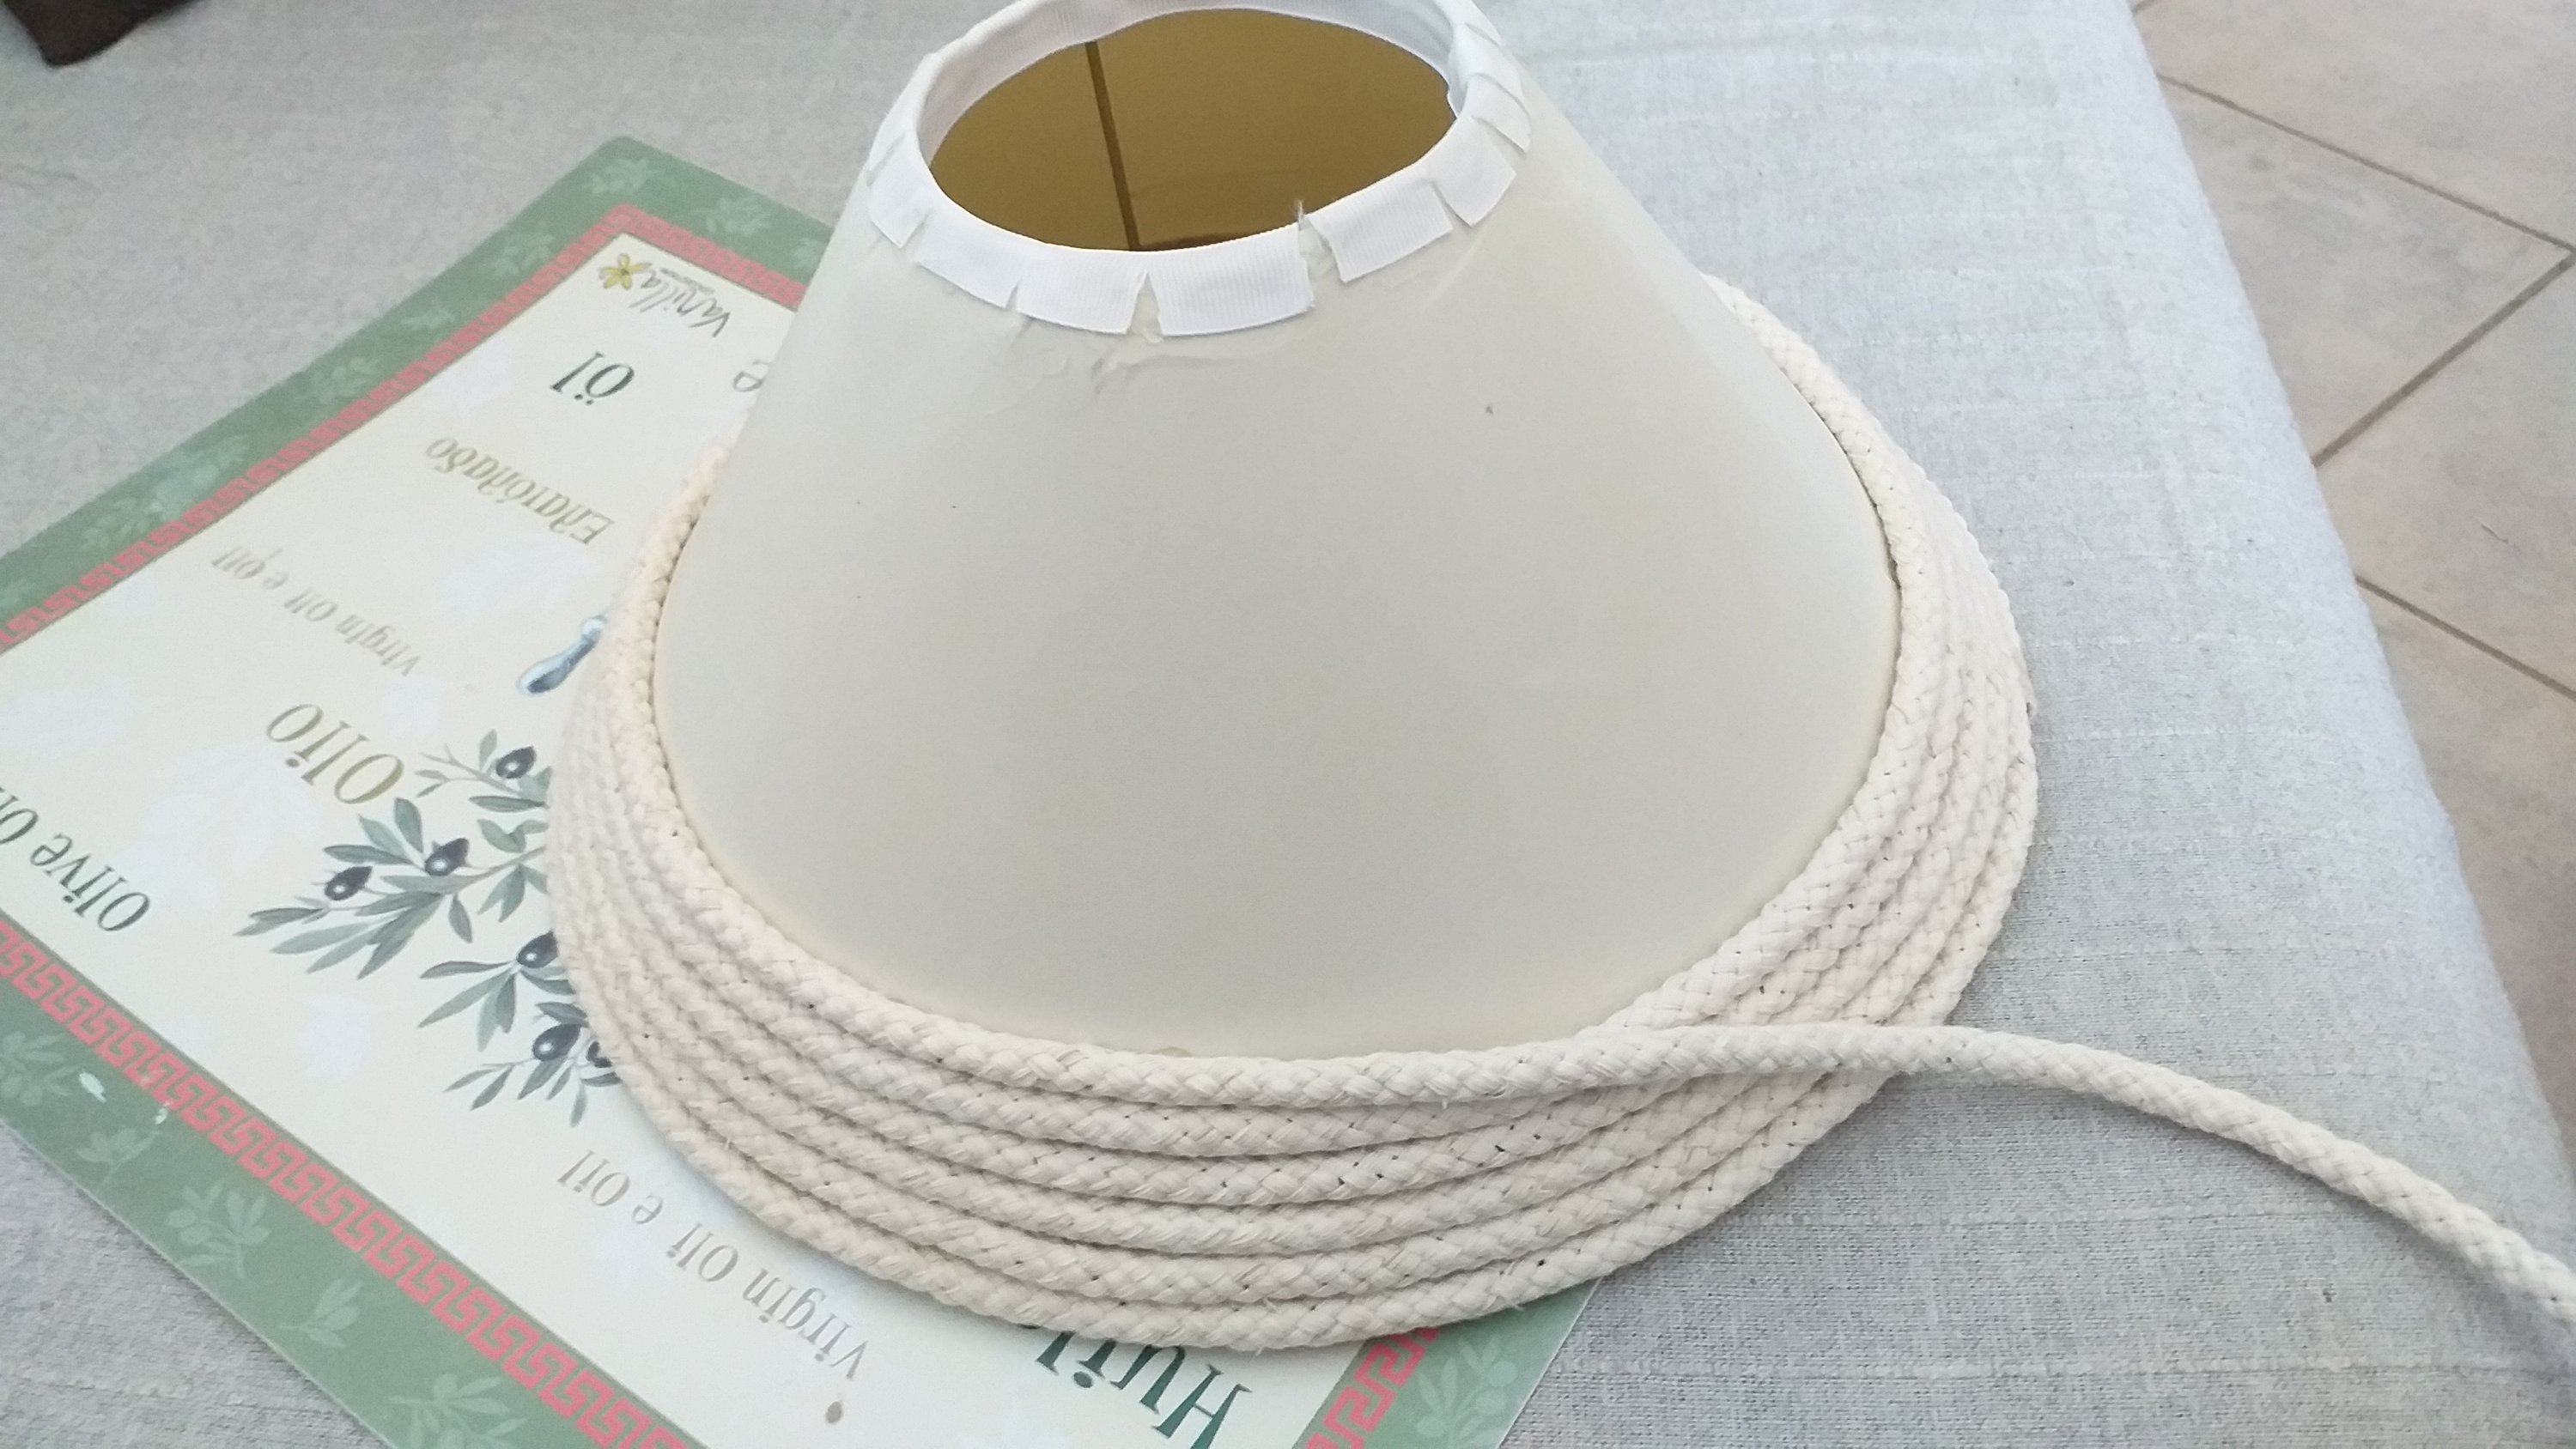
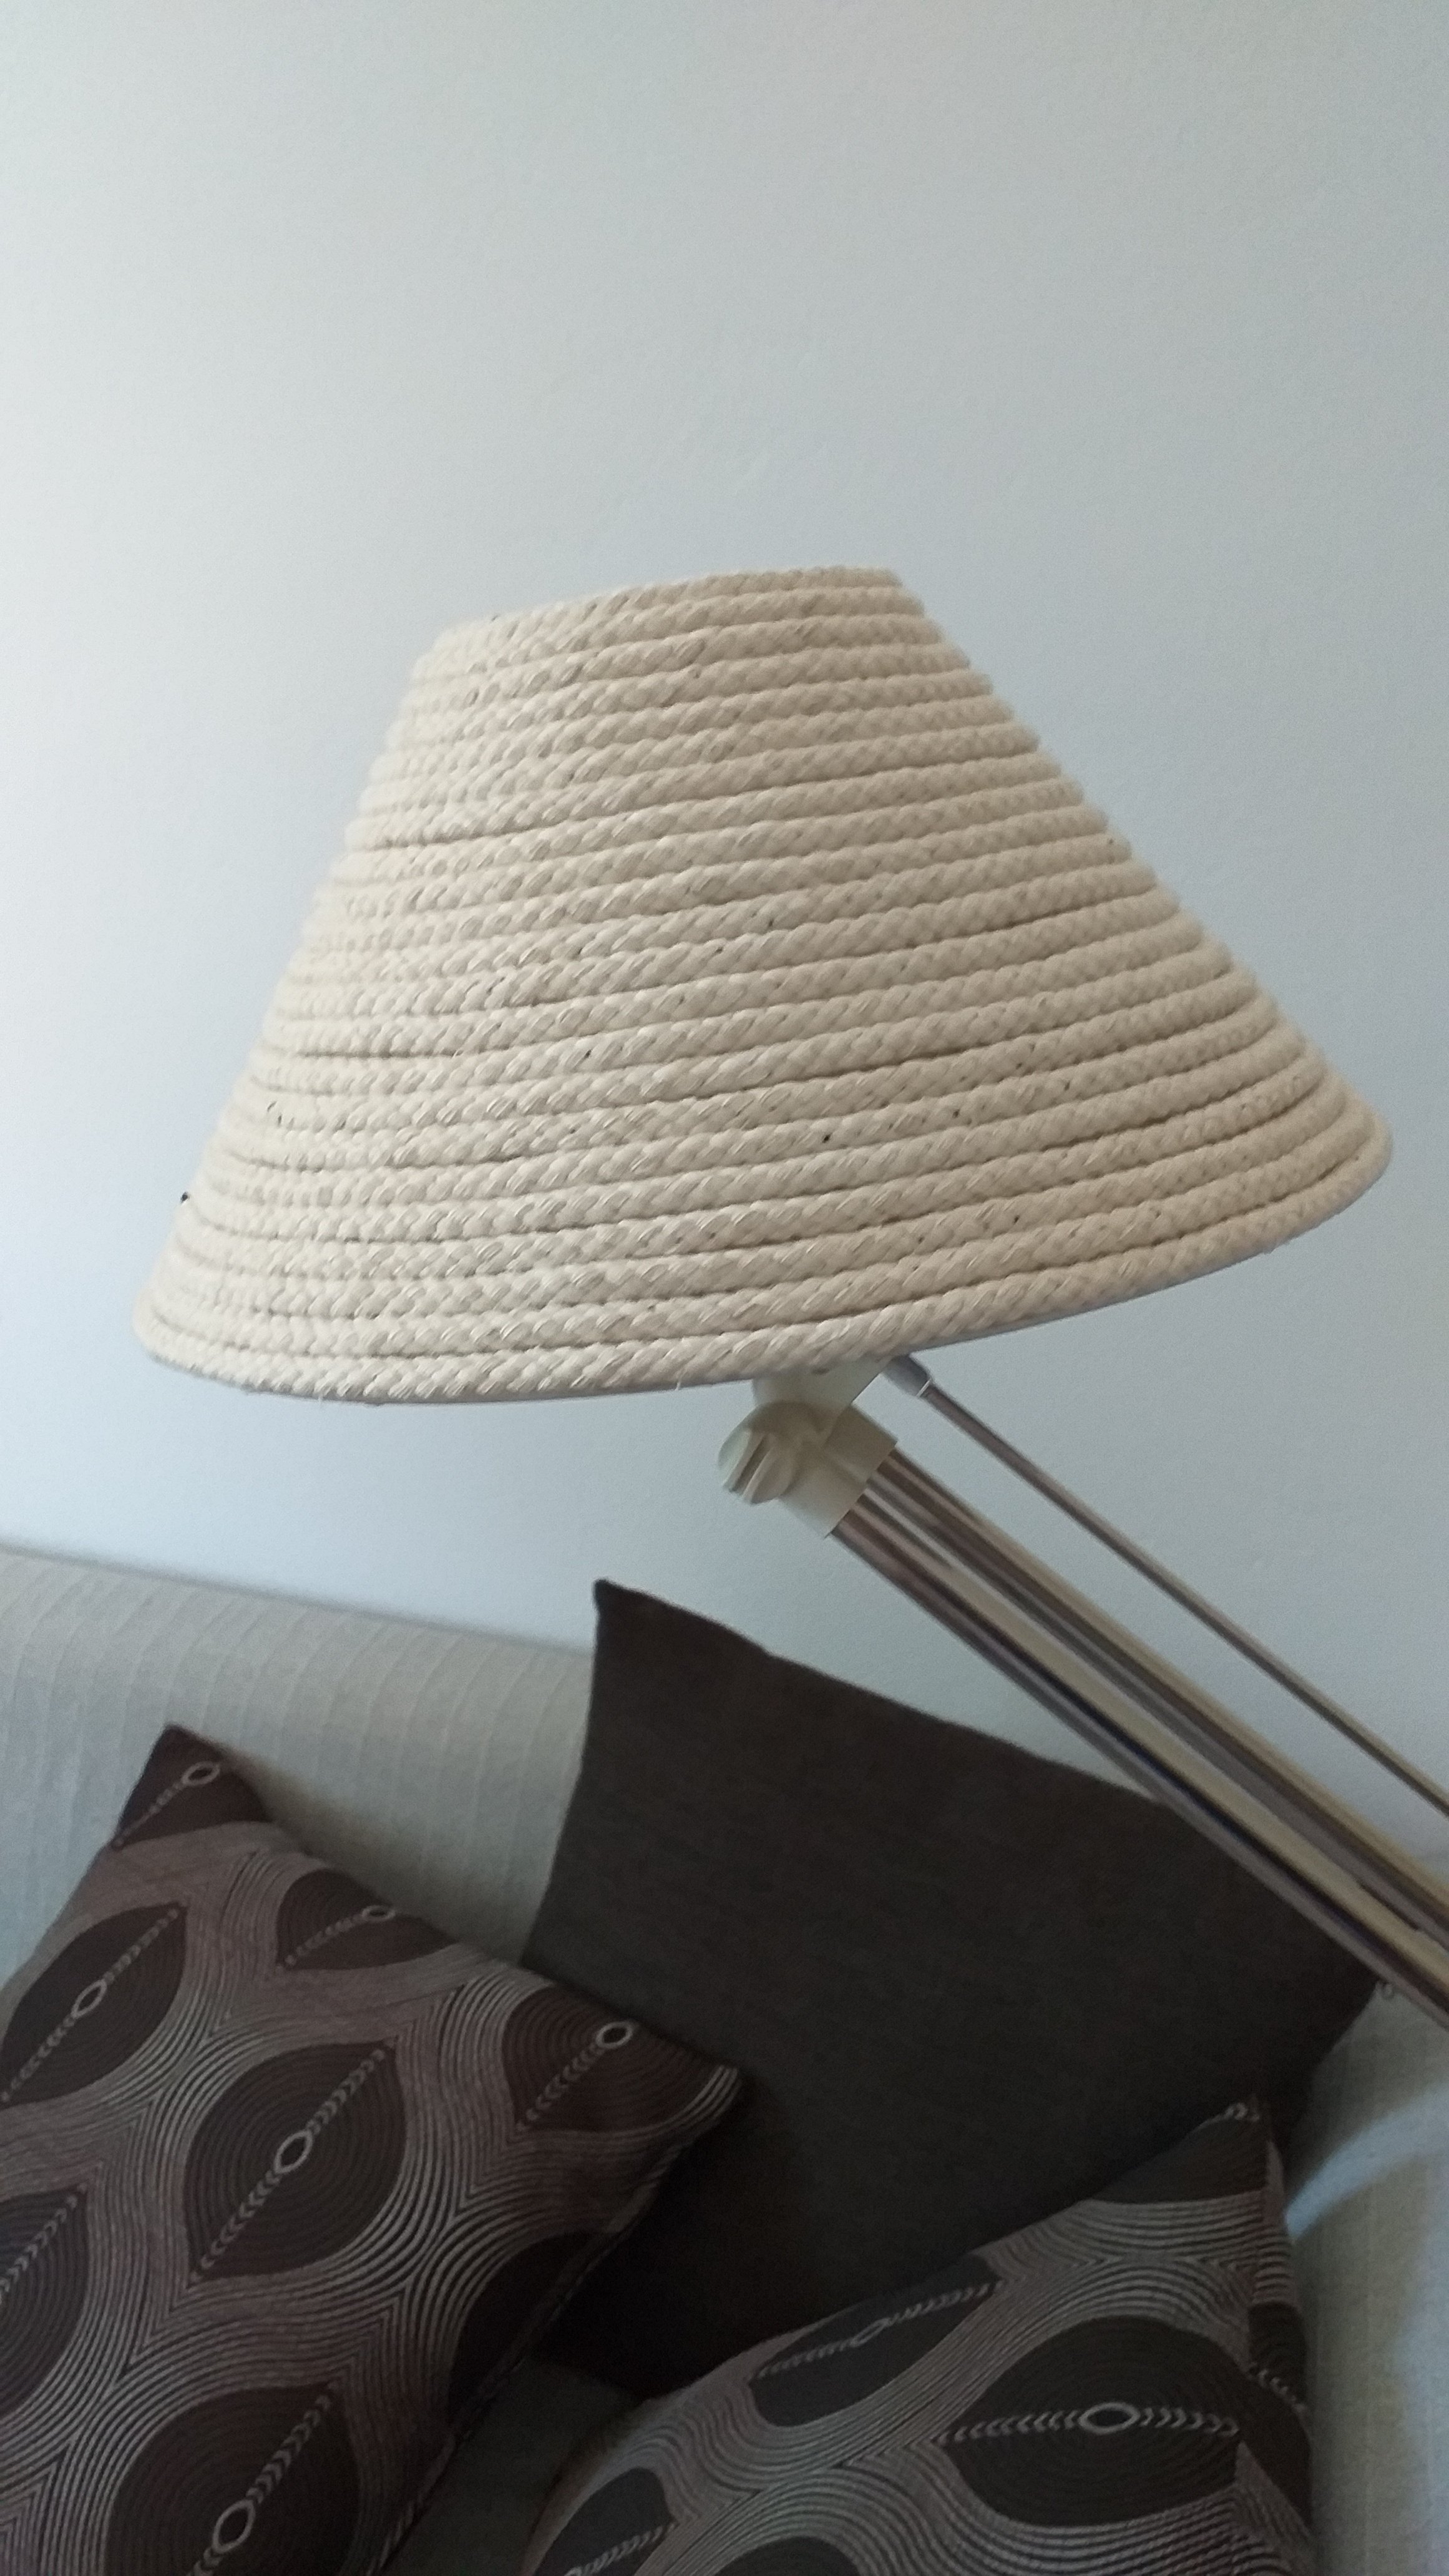
So, has anyone guessed what this is going to be?

z


paros day 11: losing count

One of the things you need in a small house is tons of storage. Especially if you have tons of hobbies. And I sure do. I dreamed of making storage boxes for the bookcase, then I thought, why not make them into ‘drawers’?

Apologies for the blurry photos… I really am not batting 100 with the pics lately am I? Mostly cause they’re taken indoors in artificial light and with a mobile phone. I better get batteries for my camera… then I’ll take better pics and replace these.

Still, you get the idea. Small boxes with holes for handles, to hold anything I need to hide away but still have easy access to.

I like them. I think I might end up making more of them later on… as simple storage boxes, not drawers. Maybe using a slightly thicker plywood instead of 9mm MDF which was very hard to nail without making a mess!

Meanwhile I also made one for the bottom of the bedside table:

This one serves the purpose of hiding all those cords which we all hate but are a necessity of life.

Today was a supermarket day. Mainly cause I needed to buy dog food for my uncle’s dog and a few odds and ends for myself, and when I got home this is what greeted me:

That’s NMC sitting in one of my pot plants!!! I fill them all with rocks and stones to stop cats from digging and pooping in them but there he is, sitting in one like its his throne! Not impressed… I hope the baby plant in that one grows and isn’t suffocated. Grrr.

On our walk yesterday I took some cuttings off plants I like and am trying to propagate them in pots on my porch. Time will tell if any make it. I had tried other plants before without success but I always hope!

No long walk today as its been miserable weather, wet and uninspiring. Hopefully the sun will come out soon and dry my poor washing!

On returning home with the groceries I also spent time ‘cleaning’ them as per that guy’s video on Youtube. Except I still brought in my shoes and can’t leave anything outside since I don’t have any weatherproof areas out there. I’m having a couple of thoughts on that… maybe when the weather is a bit nicer I’ll work on something. I’ll let you know.

z

paros day 10: a day late

And saw tons of these wildflowers blooming… Not sure what they are but they look like a native/wild lupin.

So… I did continue my work on the current projects but nothing is finished yet. Everything seems to take so much longer than you think between cutting, gluing, drying, painting, drying…

However I realised yesterday that I hadn’t shared my new coffee table! Its is one of the first things I made once I got my groove back.

Firstly, some pics of the before: This is the coffee table I inherited when I bought the house. Lovely table but just too big for my tiny space.

One of the things I brought with me when I came from Australia was the legs off an old 50s table I loved. I mean I loved the legs, not the formica top. I always knew I wanted to make my own top for it and a round table to go into the living room here seemed the best solution.

This is the finished product…

Meanwhile, if you’re interested in the hows, here goes. I was looking for old timber and found some in the bin at the timber shop back when life was normal. I glued it together as the first step using my table clamps (cause ever girl should have those!).

Then I realised that one of the pieces of timber I had used had termites so I had to treat the whole thing and let it dry before drawing a circle and using the jigsaw to cut it out.

Naturally disaster hit about then as I left it where water leaked and the table split down the middle… one of the glued bits didn’t hold.  I knew I’d have to strengthen the joins anyway so I reglued and cut out some ply pieces to attach underneath to act as a sort of binding, plus to give the legs something more substantial to screw into.

I used a combination of dark brown wood filler and a light coloured one to give the wood more interest.

Then I used my power plane and sander to create a nice smooth top and edges. I love the look of raw wood.

Last I attached the legs. Love those legs!

Et voila! A gorgeous round coffee table made by moi!

And here is it in the living room. Small enough to get around. Big enough to hold the necessities (but not big enough to become yet another crafting surface!), and oh so pretty.

I’ll end this post with a preview of another little project… Can you guess what it will be?

Oh, and a Baileys of course… It helps me sleep!

z

Shared at: 

paros day 9: progress

It rained all night last night. Not heavily, but enough that this morning I gave in to Lainee and drove the car to my temporary workshop. Then the sun came out of course, but Lainee was pleased. I contented myself with a short walk to the beach with Lainee and Spitha. 

Then I got to work. I feel like I’m getting somewhere now. The boxes/drawers I made yesterday were finished…

I’m using the MDF I bought for drawing boards for art classes that never happened. I guess I’m lucky I bought it. Soon I’ll run out of wood and although I’m told pallets are easy to find here, my car is way too small to fit them. I’m not sure what I’ll do, but I will soon need pallets to get with the next lot of things I want to make.

Using some more of the MDF I made the third and final draw for the bookcase and made another draw for the bottom of my new bedside table – it will hold and hide all the power cords:

I gave the curtain brackets their last coat of paint and will bring them home tomorrow (and the drill, and the drill bits, and the screws, and don’t forget the power cord with the australian plug on one end and the greek one on the other!) and hopefully will be able to put up the curtain and share pics. That will depend on whether my neighbour has finished with my ladder. Since he’s also spending time at home he’s been busy repainting his living room and needed the ladder…

Returning home I got back into my next project. There will be a detailed post on this later, but here is a preview:

This is the old key holder cubby from an old hotel I found at an antique shop. I have painted it and am now making little ‘drawers’ for it. Making those little boxes is doing my head in. We all know how great I am at measuring.

So basically, what I’m saying is that I have nothing finished to share but I do have a lot of projects in progress. And Lainee is keeping me company throughout.

Its late. I gotta get some sleep. Tomorrow is another day and I will have something finished to share!

z

paros day 7: being productive

It was a gorgeous overcast day today, warm, slight breeze, quiet… Just beautiful. Lainee and I walked to my uncle’s again this morning to continue work in his garage on the various projects I started. And this time I remembered to take my extension cord with the greek plug on the end so we had power!

I cut some odd bits of plywood to create shelves for this little stand thingy I got from what looks like a tip, acts like a tip shop but the owner treats like an antique store. Really. Its full of junk and he wants top euros for the crap.

Whatever. I picked this up on my last visit, it had only one half rotted basket in it, but I’m fixing it up. Details when I share the finished project, but what do you think… varnish the ply shelves or paint them? I like the look of plywood but don’t really like the edges.

I also continued with the painting. Right now everything is white as that’s pretty much the only colour I have. I can tint paint using my acrylics but am choosing to keep things simple for now.

My painting method is sloppy by design. The aim is to create a texture with the paint to make things look old, like they’ve been painted over 116 times in the last 6 decades. And treated badly to boot.

Since I had power and no curtain brackets, I made my own today. Of course I ran into problems. I always do. Sometimes its cause I don’t measure properly, can’t count, or am just a bit too carefree when I do things. As in ‘close enough is good enough’.

Let’s just say there was a bit of wastage involved. I obviously didn’t learn the lesson of measure twice, cut once. With me its more like measure twice, cut twice or more. Hopefully get it right second time. If not, sand and gap fill.

However today the problem wasn’t just with me. It was the tools.

Yeah. I know. A bad tradesperson always blames his tools, but in this case its true.

When I came over from Australia I brought all my tools… including my hole saw bits… When I was cutting a hole into the side of the kitchen cabinet to run the power cord through to the microwave, I bent the main bit which holds the round saw thingies. I did what you’d expect and rushed to the nearest hardware store and bought another set. Apparently I couldn’t just buy the drill bit holder thingy. I had the buy the whole kit.

This is what a hole saw kit looks like for those who don’t know. Except the one I have now is way thinner…

The kit I got is pathetic. I swear its made of tin. First time I used the smallest saw bit I bent it out of shape. Today I tried to cut a hole in a piece of plywood and this is what happened:

It just gnawed at the wood like a toothless beaver… Either this is the hardest ply on earth or that saw is pathetic. I’m going with the pathetic saw.

Of course I didn’t have my spade bits with me… man I miss having my own workshop where I have everything I ever needed and a lot I never did…

These are spade bits. Love spade bits… oooh yeah.

In the end I improvised. I used the jigsaw to cut out the crookedest semi circles you’d ever seen.

At least they fit the broom handle/curtain rod so I’m happy.

I mounted the brackets onto flat bits of ply so I can attach them easily to the wall, and voila. A couple of coats of paint and they’re ready to put on the wall.

Then I’ll have to figure out how to hang the curtain without rings, but I’ll work that out.

I always feel better when I’ve done stuff. Happy Zefi.

z

quick and easy computer station

I don’t know if any of you remember I bought an Ikea Ivar bookcase for my home. I’m all about storage since I do so much art and craft in my one room. I needed some serious storage space. You can read about the bookcase project here and here.

I love it. Its pretty and holds so much of my stuff. Nothing like being surrounded by your creative mess to make you feel at home.

Only problem was the computer ‘desk’ area…Well there were two problems – first was the fact that I need the laptop screen to be up higher but the keyboard lower for a more ergonomic workspace. I have a wireless keyboard so I can have them at different heights. I looked on ebay for a retractable keyboard shelf but decided to make my own.

Cause you know I have that insidious crafter’s syndrome:

I had a bit of scrap pine perfect for the job. After sanding, liming and varnishing the pine to match the rest of the bookcase, I joined it to the shelf with hinges underneath to be able to drop it down when I wasn’t using it. Mind you, since I made I’ve never dropped it down… Hm… At least I can if I want to, and that’s what counts!

To hold it in place when it was out yet allow for folding down, I cut two pieces of wood to act as my brackets. When I want to fold it down they swivel under the shelf.

Then the other problem… my laptop has had an issue with the screen for a long time. Its not the screen itself that’s the problem – its the wire connections. Although my laptop is so big and heavy its never really been something I open and close and carry around often, still, there’s an issue with the wires that connect it to the keyboard. Basically I’ve have to jiggle, poke and beg for the image to be clear and not all weird coloured. The reason I know its not the screen but the wires going bonkers is that when I hit the sweet spot it works perfectly. For about 2 minutes.

So a new monitor was on the cards. No reason to spend money on a new laptop since this one is still more than good enough for the stuff I do, so I bought a new monitor while in Athens over Christmas.

Of course that created another problem…

Like where to put the new monitor. How to set it up to keep the top of the laptop open and access the power button. I tried it on the shelf to the side but the cables wouldn’t reach. Time to put on the creative genius cap again.

This time I used bits of cut off legs I’d also collected (it pays to collect stuff which might come in handy one day) and a piece of MDF I had. Cause, again, I collected it…

Firstly I had to find leg bits the same height as my drop saw keeps throwing the fuse, I simple screwed them in place – I was too impatient, no time for pretty or neat here. It had to be high enough to hold the laptop underneath and allow me to slide my hand in to turn on the power. I had to cut out a section at the back to allow the screen to be raised permanently. Once I had it all fitting properly I limed it white to match the bookcase and set it up.

It might not be perfect but it works.

z

PS. Sorry for the bad photos… I’ve been using my phone more than my camera these days.

a simple plate display rack

When I bought my tiny apartment I had this space above my kitchen cupboards which was pretty much useless. It has a lip so anything you put up there is partway hidden, and its up high so you can’t fit large items.

The place is also small and the kitchen area has upper cupboards which means there was nowhere to hang a plate display rack for my pretty dishes. Dishes I brought back from Australia. I gave away, threw away and sold so much of my collectible stuff… I had to keep SOME of it. The dishes were one thing I kept.

The only option was to make my own dish rack to the measurements I needed. I had my tools, a porch, some scrap pine I’d picked up from someone who was throwing it out, the weather was fine so why not?

First step was to design the sides. I drew them on newspaper and cut them out using a jigsaw.

Next step was to stain them. I used the old steel wool in vinegar trick I picked up from Pinterest. No money spent on this part. As you can see though, each piece turned a different shade of brown. No worries. I was going to paint it anyway, I just wanted darker timber to show through the distressed corners.

After cutting the sides and bottom piece, I used a piece of compressed cardboard like stuff I found in a dumpster behind the timber store for the back. Its similar to MDF but kind of ‘furrier’ and not as nice. But its the back. Who cares?

I did have to buy a thin rod for the front to hold the plates in place. I drilled partway into the sides, added glue, then joined the whole thing together. Last minute I also added a couple of ‘feet’ to raise it above the top cupboard’s ‘lip’.

Once it was all dry and finished, I gave it a coat of primer and two topcoats of a simple acrylic paint I had on hand. Lastly I have the edges a little sand to smooth them off and add a touch of distressing, not too much. After all, the plates are the hero here, not the rack.

What I realised afterwards was that the rod was too far forward for the plates… what I should have done was put a slim piece of timber along the bottom to hold them in place. I like the rod so that’s staying, but when I get a chance I’ll add the timber stop at the bottom. Sort of a double protection from plates slipping.

I’ve made a temporary shelf which the antique bowls sit on. I’m not sure how I’ll deal with them, but for now this works. I may just make a proper shelf for them at a later date.

My finished display rack

I have three larger platters I also want to display on the other wall, leaving more space in my bookcase, so I’ll be making another, longer one. I still have my template… And I have scrap timber… I might make the next one slightly different or I might make it the same… who knows?

z

Shared at: 

slowly does it

It seems so long since I got my Ikea bookcase and thought about white washing it (or liming it or whatever you want to call it). I actually started on it about 3 weeks ago thinking “great, one evening to lime the entire bookcase, two to varnish, done in 3 days!”

Three weeks ago and this is all I’d done:

I’m ashamed of myself. Where is the Zefi I used to know? The one who works like a machine and gets things done? It seems she has some bad days at work and comes home to sit in front of Netflix all night eating chocolate… Not good. Especially after all the hard work I put in last year in Australia to lose weight and get fit…

Well, I finally got off my butt and did some painting the other day. Of course it went a whole lot faster once I pulled the whole thing apart to paint it… turns out shortcuts are longcuts… painting the bookcase without taking it apart was a stupid move.

I still have to do it in sections, but now I have the whole first section (ie half the bookcase) painted. I still need to varnish the bits I painted before I can put it back together and start on the next half. I can’t do it all at once cause I dont have the space. Its way too windy to varnish outside cause things will get stuck in the varnish. Liming was quick and I did that outside since I can sand any dead insects off anyway. Not that I need to… it dries so fast.

I wanted the wood grain to show through so I just used some white acrylic paint I found in the cabinet when I bought my place, watered it down and used a kitchen sponge to apply the paint, rubbing it in and spreading it over the timber. I found I needed two coats to achieve the look I wanted… but I’m halfway there on the first half now.

And then I hit a road bump. A big one.

Once I was ready to move onto part 2 of the first half of the bookcase (varnishing) I went and bought some varnish. I went to my favourite hardware store (favourite cause its owned and run by a woman) and selected the varnish I thought I needed – it was water based, in gloss (a new thing for me! I’ve always done satin before) and said protection and varnish on it in Greek and English… Then along came the MAN who works there and said, no, this is what you need. I didn’t even read the label well – mainly cause 1. it was all in greek and 2. I couldn’t see the fine print without my glasses.

I did what I knew better than to do… I just got what someone recommended like some newbie.

In fact, I feel like an ignorant newbie a lot here cause I don’t know the words for things in greek and the greek writing on packaging sometimes stumps me. You’ll see me at hardware stores going ‘buzz buzz’ to indicate a drill, doing little spirals in the air to indicate drill bits, etc…

So I got home during my break (split shift day yesterday) and got to work sanding everything. Then I dusted it all off and started painting on the varnish…

It had a bit of a smell. It was sticky on my fingers. It was quite thick. I had a quick read of the instructions, not really letting them sink in. I just worked away thinking that one liter of the stuff wouldn’t be enough – but they don’t sell it in bigger sizes…

I was just about to start on the shelves when I decided to re-read the instructions just to be on the safe side. Something just didn’t feel right…

Yep. It was oil based, not water based. A low odour oil based product. It was the five hour drying time that really woke me up. But the worldwide icon for dummies on how to clean up wasn’t on the tin, and the greek word for turps was nowhere to be seen. They recommended ‘brush cleaner’ for cleanup… I was thinking it was some kind of SOAP.

Sigh.

I was pretty annoyed at myself for being such an idiot and not realising soon as I opened the tin…

By the time I stopped I’d done three uprights and the only shelves I didnt remove – the ones that hold the drawers cause they are a pain to do cause they have those little lugs that hold them in place. I’m not that lazy, but when I removed them last time I ended up breaking one shelf end bracket thingy… I didnt want to risk making it worse.

Meanwhile I hated the look… the varnish went on dark, a yellowish tinge to it even though its clear varnish. It didnt seem as clear as the polyurethane I used on stuff in Australia. I was thinking that I’d get water based varnish to finish the bookcase and hope that the difference isn’t really visible.

Last night I had to sleep with the bedroom door closed cause low odour or not, it bothered me. But the good news is that this morning I liked the way it looked and felt. It dried lighter than it went on and I’m loving the gloss finish.

So now I’ve started I just gotta keep the momentum going.

Mind you, you’d think that would be easy… I can’t really be moved in till the bookcase is finished cause I can’t bring my stuff out of storage till I can put things where I want them. So I gotta get it done. I will get it done.

Just keep me away from Netflix and chocolate…

z

social commentary and a lamp

I’m currently reading a book where the main character made a comment about manners… like how it was so important for a man to treat a woman like she was a precious gem… holding doors open, being polite, buying flowers, etc. But, she said, his mama would have taught him all that…

It struck me as funny in a sad “that’s how it might be in the south (of the USA) but this is Greece” way…

The difference being that southern mothers do/did instill in their sons a code of chivalrous behavior towards women. By contrast, all most greek mothers seem to do is spoil their sons and raise entitled spoilt brats who expect some woman to treat them like their mother did…

Okay… not all greek mothers are like that, nor all greek men.

Just the majority.

And I’m allowed to ‘greek-bash’ cause I’m greek.

So there.

It reminded me of a story mom told me. She said that, when we first moved back to Greece eons ago, my father would help her wash the clothes when we were on Paros. Back then there was no running water to the house (let alone a washing machine!) so washing was done by hand at the well on the side of a hill. In full view of the entire countryside. Buckets of water would be poured into wash tubs in the morning and left in the sun to heat up so clothes could be washed in warm water in the afternoon. Buckets of cold water would be brought up to rinse them and they would be hung on the dry stone walks to dry. Dad always helped mom. It was a hard job – ever washed sheets or towels by hand? Even with running water you didn’t have to pull up from a well yourself?

Anyway, dad’s mother was shocked. And embarrassed. What would people think – my mom had dad doing the washing! It was a disgrace.

Anyway, enough about greek men and how we spent years ‘showering’ by bucket in our bathers in full view of the neighbours…

I wanted to share a small project of mine. I saw a floor lamp advertised on the local buy/swap/sell Facebook page and jumped at it. The shade was broken but the base was sturdy and since when has a broken thing ever stopped me before?

Photo of the lamp shade, broken.

Same photo panned out a bit so you can see Lainee overseeing the project. Just goes to show how effective cropping can be. LOL

Anyway, I collected the lamp and thought about how I could fix it, change the shade etc. There were tons of possibilities but the easiest was to simply mend the existing shade and use rope to update it. I had the rope after all… and the hot glue…

So that’s what I did. I used a wide old ribbon to reconnect the shade to the wire support and make it secure. Then I simply hot glued the rope to the shade. Instant update. Instant gratification. New lamp for reading or crafting on the couch.

Excellent way to spend an afternoon.

z

the next installment

First up, a work in progress photo of the Ikea bookcase. Love the Ivar system. So easy and adaptable.

This is where I had planned to put the bookcase. Notice the powerpoint I had added on the wall where I thought I needed it… See the light fittings. Now look at how things are now:

Ok, maybe its not that easy to see. Basically I first bought a 32in TV thinking I didn’t need anything bigger… I got it home and from the couch it was like “where is the TV?”… so I had to swape it for a larger one. 50in. Much better.

Of course that lead to a lot of changes. The TV needed to be opposite the couch, so I had to move the whole bookcase down. Not to mention the bigger TV wouldn’t fit in the bookcase as it was. I needed to cut the bookcase to adapt it to fit a larger TV. I did that by cutting the front upright in the middle section. I have a bracket I plan to put there for added support for the shelves above. I’ll do that when I start painting the bookcase as I dont really want to be moving the TV twice.

I had planned on adding a narrow section to the end near the door, now I added it to the end by the wall. That meant I had to move the power point as it was now in the way. That was one of those 5 minute jobs that took 2 weeks cause I kept forgetting to buy the right drill bit with the right screws and plastic sleevey things. THEN it took 5 minutes to do.

The bookcase is all secured to the wall at the to so there’s no moving it now.

I ordered my narrow section and realised I forgot to get the little black feet… and didn’t order enough shelves… so now I wait to get those bits to finish the bookcase.

You can see I’ve got one section set up as my laptop station. I’m still not sure if I’ll extend that with a fold down section for a keyboard… We’ll see.

Meanwhile its just a general storage area till I get myself sorted. But there are pockets of pretty. Like this one with the little cactuses I bought a couple of weeks ago. Real ones!

The little stool is something I picked up at an antique store. They are something every greek house on the island had in various sizes – my grandfather made 3 of them for his grandkids. This was a dark green which I painted white. Of course. Its so Paros.

And this is me, right? Brushes and tools, the industrial light fitting, an antique photo frame…

The little table Barbara gave me (thanks again) is my sewing table while it waits for its makeover. It will always be my sewing table, but it will be painted and mended where Petey (her dog) snacked on it.

Another Zefi touch is the covered shoe (and other) boxes. I mean I couldn’t just have ugly boxes holding stuff on my shelves. I used brown paper bags from shops to cover those 3 and an old table cloth to temporarily cover the large one. The bigger shoe box holds the power cables cause who wants to see those?

Outside the front things happened for a while… My uncle and his buddies came over to install a sail for me. A nice big rectangle one. To keep the resin off the pine tree off any furniture I put out the front. They also did a few things out the back for me. The triangle sail to stop the hot afternoon sun from coming into my bedroom and provide some privacy, a washing line (no one seems to have those here… like, what? there is only so much you can fit onto a clothes airer!) And they put up a bamboo screen to the yard next door which does get occupied at times.

Well, in theory the front sail was a great idea. Till the wind grabbed it and ripped the post out of the wall.

Back to square one on that…. Now I’m thinking I’ll put the small triangle sail out the front and see how that goes and move the big rectangle one to the back where its protected from the wind. And next year, before things get busy, I’ll organise to build a pergola for the front. A real one. Built from timber. The wind shouldn’t take that one!

Meanwhile the coffee table is a craft station. I still haven’t recovered the dark brown cushions, I want to cheer the place up a bit. I did make the round cushion cover removable using fabric scraps I had on hand so it can be washed.

And Lainee keeps me company no matter what I’m doing. She’s settled in really well. Still very shy around people but loves other dogs and gets so excited when she sees one.

She’s begun to wag her tail for me, not often, and play short bursts of happy poodle. But the moment I try to join the game she stops… Its so sad. I don’t know why she’s like that. She doesn’t seem to get playing. She’s glued to me like a siamese twin, yet if I call her she will cower at my feet. And if anyone approaches her she just looks really worried.

Still… she’s improving all the time and I’m so glad to have her. She is the sweetest dog in the world and she’s helped to heal my aching heart from losing Montana and Romeo. And not being there when Montana died. She was such a special girl and I adored her. And Romeo was my boy from the day he took his first breath. Leaving them was one of the hardest things I ever had to do in my life. But they both found amazing homes with people who adore them. Its all I could want for them. It was just unfortunate that Montana only had a few months to enjoy the love of her new family.

Enough of that. It will make me cry.

I’m off to work now. No rest for the wicked. I hope that come off season I can get into a better routine and start making things again. Then I’ll have more stuff to share.

z