the next installment

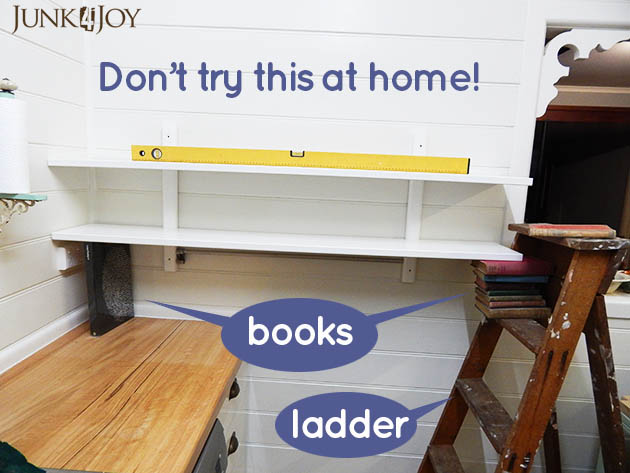
First up, a work in progress photo of the Ikea bookcase. Love the Ivar system. So easy and adaptable.

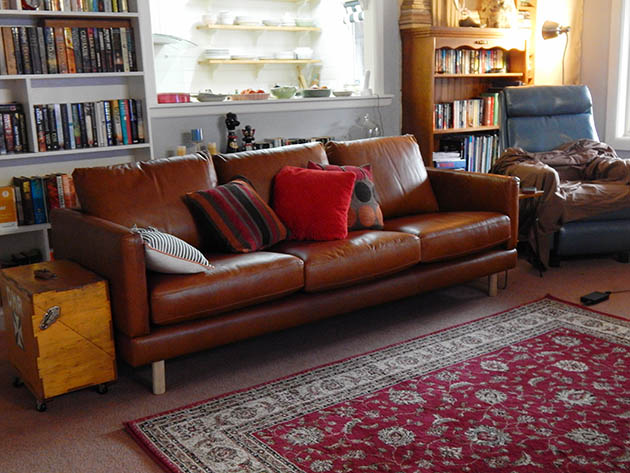
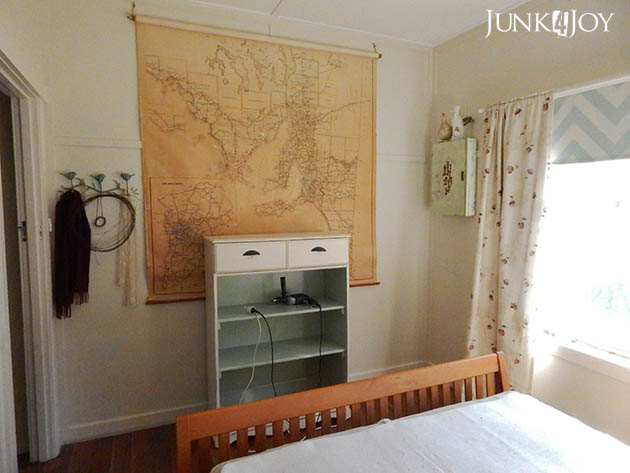
This is where I had planned to put the bookcase. Notice the powerpoint I had added on the wall where I thought I needed it… See the light fittings. Now look at how things are now:

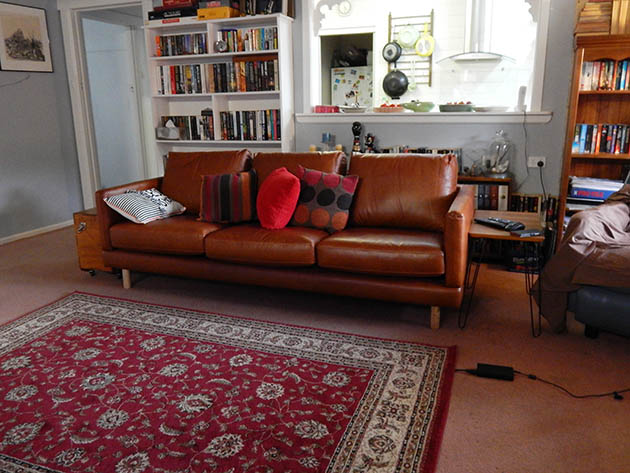
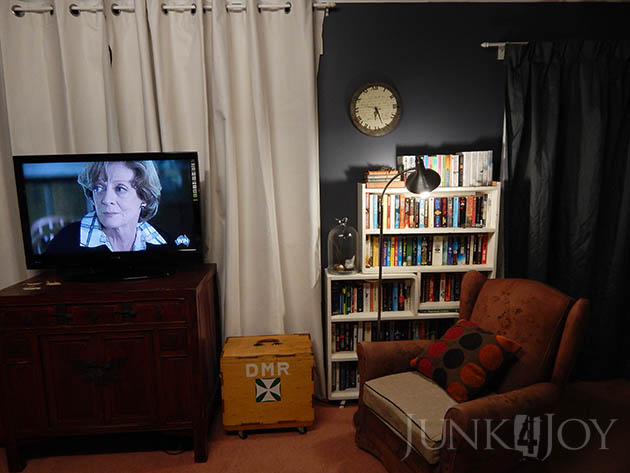
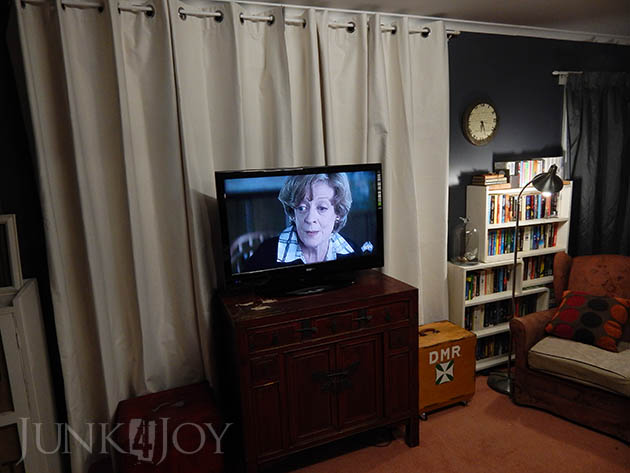
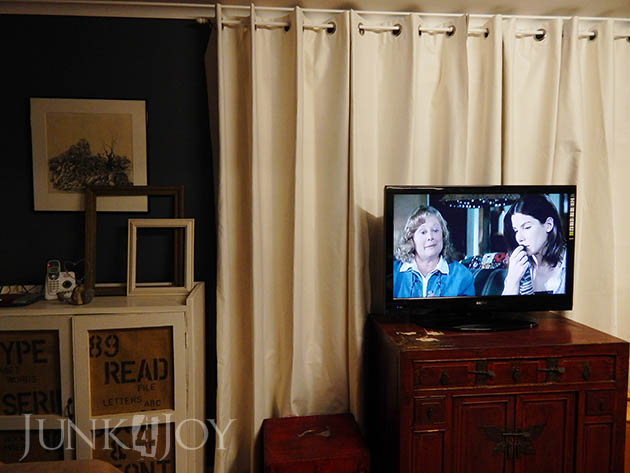
Ok, maybe its not that easy to see. Basically I first bought a 32in TV thinking I didn’t need anything bigger… I got it home and from the couch it was like “where is the TV?”… so I had to swape it for a larger one. 50in. Much better.

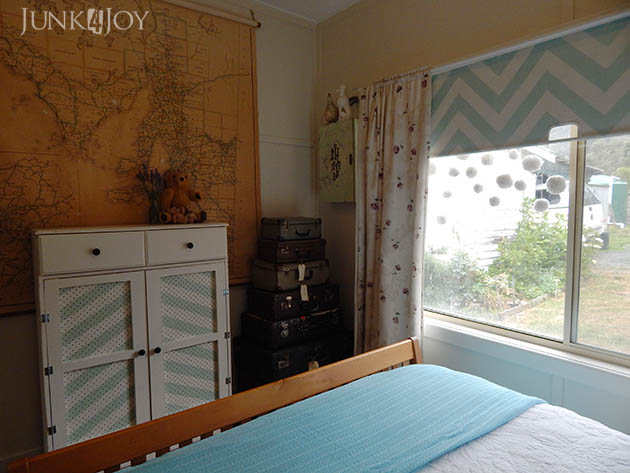
Of course that lead to a lot of changes. The TV needed to be opposite the couch, so I had to move the whole bookcase down. Not to mention the bigger TV wouldn’t fit in the bookcase as it was. I needed to cut the bookcase to adapt it to fit a larger TV. I did that by cutting the front upright in the middle section. I have a bracket I plan to put there for added support for the shelves above. I’ll do that when I start painting the bookcase as I dont really want to be moving the TV twice.

I had planned on adding a narrow section to the end near the door, now I added it to the end by the wall. That meant I had to move the power point as it was now in the way. That was one of those 5 minute jobs that took 2 weeks cause I kept forgetting to buy the right drill bit with the right screws and plastic sleevey things. THEN it took 5 minutes to do.

The bookcase is all secured to the wall at the to so there’s no moving it now.

I ordered my narrow section and realised I forgot to get the little black feet… and didn’t order enough shelves… so now I wait to get those bits to finish the bookcase.

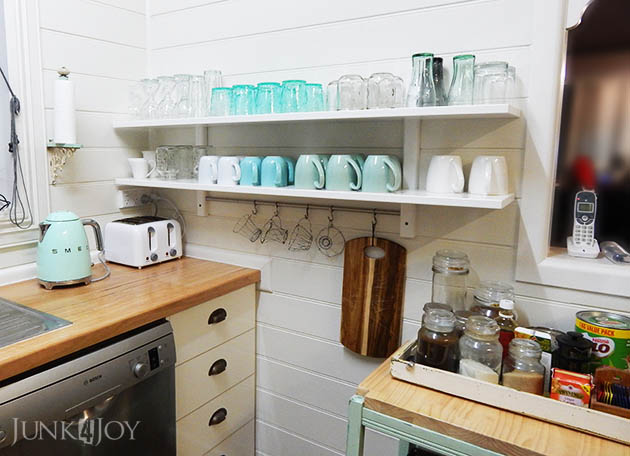
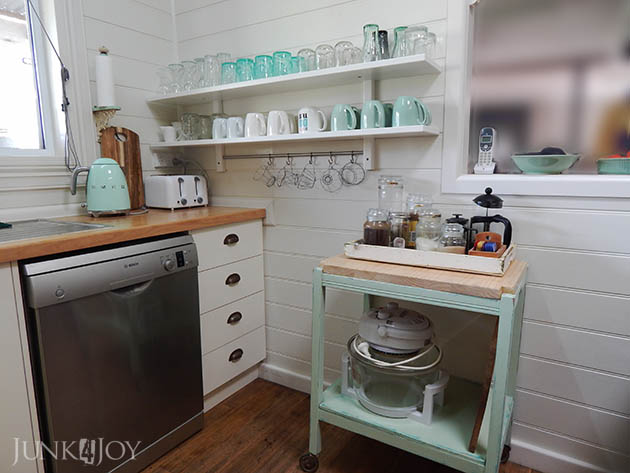
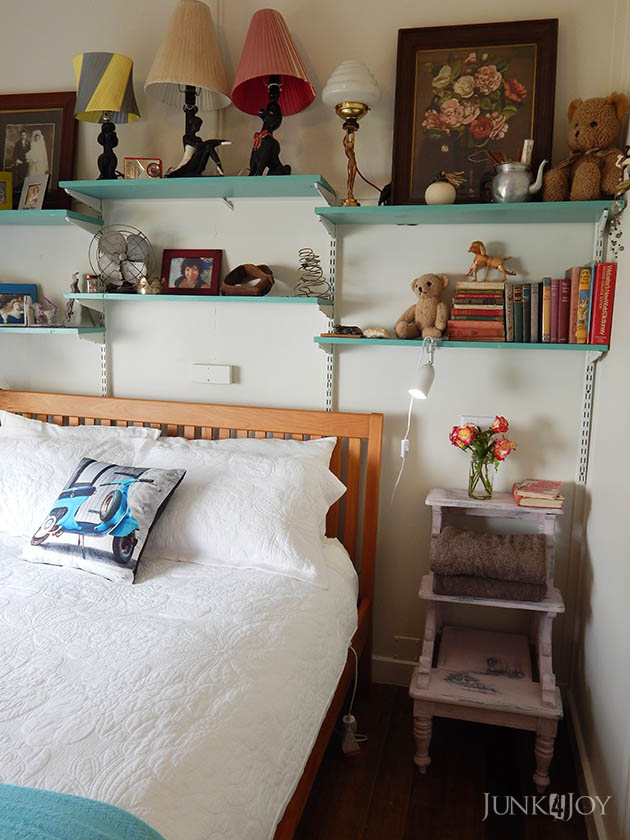
You can see I’ve got one section set up as my laptop station. I’m still not sure if I’ll extend that with a fold down section for a keyboard… We’ll see.

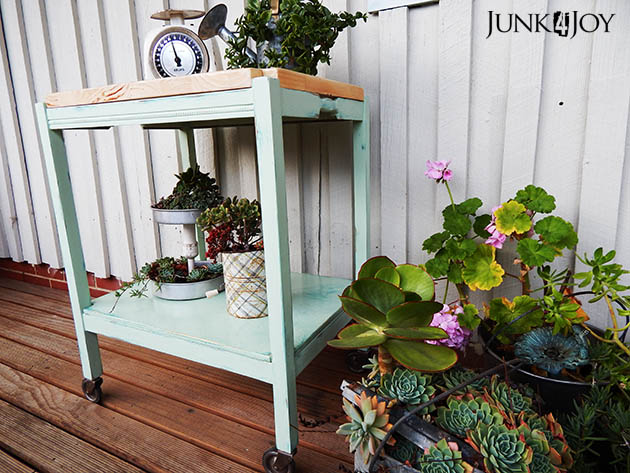
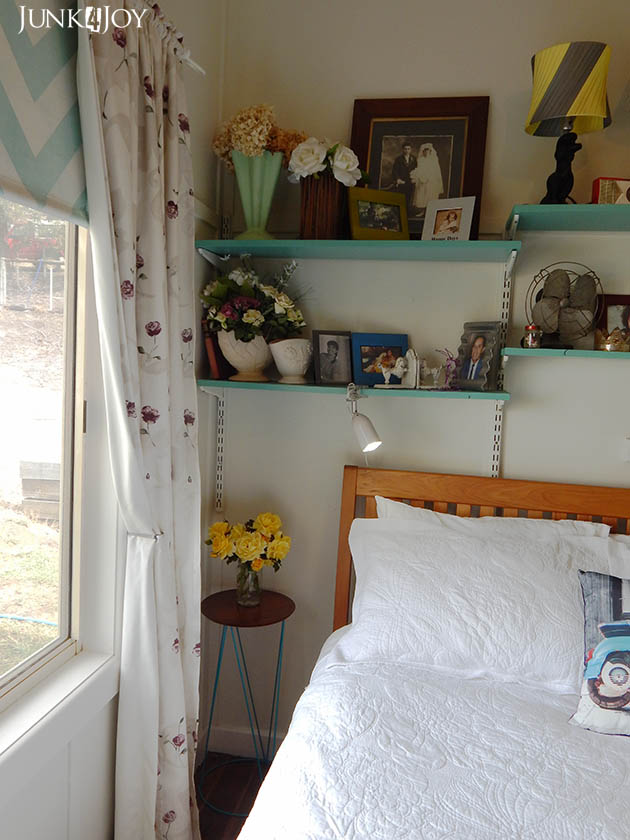
Meanwhile its just a general storage area till I get myself sorted. But there are pockets of pretty. Like this one with the little cactuses I bought a couple of weeks ago. Real ones!

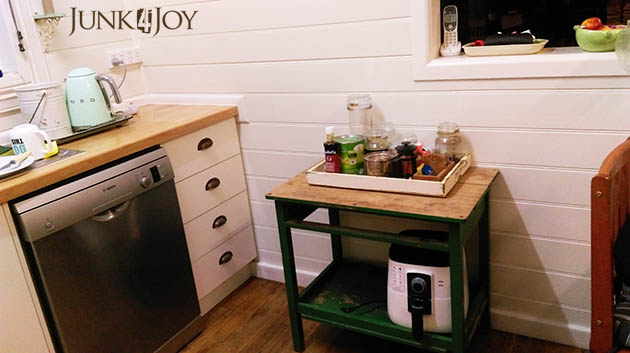
The little stool is something I picked up at an antique store. They are something every greek house on the island had in various sizes – my grandfather made 3 of them for his grandkids. This was a dark green which I painted white. Of course. Its so Paros.

And this is me, right? Brushes and tools, the industrial light fitting, an antique photo frame…

The little table Barbara gave me (thanks again) is my sewing table while it waits for its makeover. It will always be my sewing table, but it will be painted and mended where Petey (her dog) snacked on it.

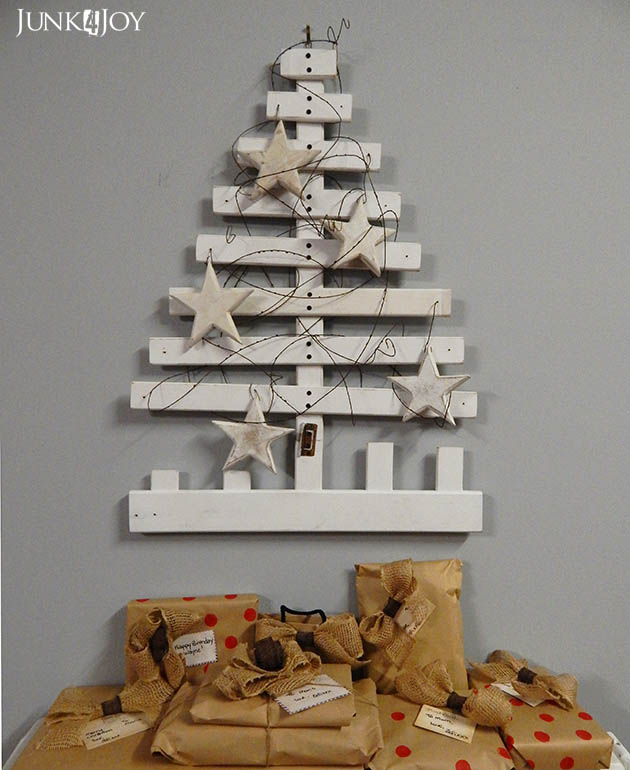
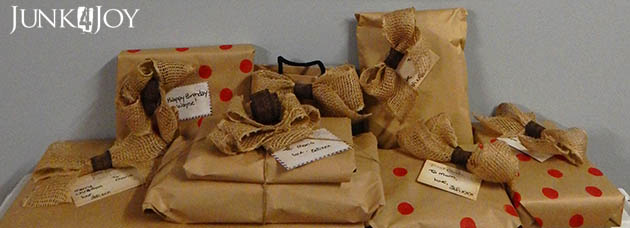
Another Zefi touch is the covered shoe (and other) boxes. I mean I couldn’t just have ugly boxes holding stuff on my shelves. I used brown paper bags from shops to cover those 3 and an old table cloth to temporarily cover the large one. The bigger shoe box holds the power cables cause who wants to see those?

Outside the front things happened for a while… My uncle and his buddies came over to install a sail for me. A nice big rectangle one. To keep the resin off the pine tree off any furniture I put out the front. They also did a few things out the back for me. The triangle sail to stop the hot afternoon sun from coming into my bedroom and provide some privacy, a washing line (no one seems to have those here… like, what? there is only so much you can fit onto a clothes airer!) And they put up a bamboo screen to the yard next door which does get occupied at times.

Well, in theory the front sail was a great idea. Till the wind grabbed it and ripped the post out of the wall.

Back to square one on that…. Now I’m thinking I’ll put the small triangle sail out the front and see how that goes and move the big rectangle one to the back where its protected from the wind. And next year, before things get busy, I’ll organise to build a pergola for the front. A real one. Built from timber. The wind shouldn’t take that one!

Meanwhile the coffee table is a craft station. I still haven’t recovered the dark brown cushions, I want to cheer the place up a bit. I did make the round cushion cover removable using fabric scraps I had on hand so it can be washed.

And Lainee keeps me company no matter what I’m doing. She’s settled in really well. Still very shy around people but loves other dogs and gets so excited when she sees one.

She’s begun to wag her tail for me, not often, and play short bursts of happy poodle. But the moment I try to join the game she stops… Its so sad. I don’t know why she’s like that. She doesn’t seem to get playing. She’s glued to me like a siamese twin, yet if I call her she will cower at my feet. And if anyone approaches her she just looks really worried.

Still… she’s improving all the time and I’m so glad to have her. She is the sweetest dog in the world and she’s helped to heal my aching heart from losing Montana and Romeo. And not being there when Montana died. She was such a special girl and I adored her. And Romeo was my boy from the day he took his first breath. Leaving them was one of the hardest things I ever had to do in my life. But they both found amazing homes with people who adore them. Its all I could want for them. It was just unfortunate that Montana only had a few months to enjoy the love of her new family.

Enough of that. It will make me cry.

I’m off to work now. No rest for the wicked. I hope that come off season I can get into a better routine and start making things again. Then I’ll have more stuff to share.

z

the blind – a win and a fail

blind1

I really hated the blinds the house had when we bought it. They were all like this above: cheap and salmon. Eek.

I made curtains for the other windows but never got around to doing it for this small window in the corner of the living room. Not only was it ugly and cold in winter, but to add insult to injury the blind broke so wouldn’t go up and down and would actually fall on you if you tried to raise it.

It was time it went.

Actually it’d been time it went about 7 years ago, but hey… I was busy, ok!

My idea was to make a padded blind, inspired by something I saw on the Ikea website in their ideas section. My plan was to use a dropcloth (I love the natural colour) and get some batting for the inner layer. I kept putting it off cause I’d have to buy the batting…

Then Romeo decided to help me out. When Montana began having continence issues I bought some cheap single bed doonas from Kmart and use those as dog beds. I fold them up and put them into covers and voila – instant, easy to wash and dry dog beds.

Well, when Romeo gets bored he loves to attack his bed… He ripped a hole in the cover and tore a whole section of doona, leaving me just enough for the blind! He wasn’t being naughty. He was being helpful!

blind2

This is the corner now, much better without the salmon blind. The pics aren’t the best but hey, I did the best I could. Don’t complain.

blind3

The whole thing wasn’t as easy as I thought. The doona made it quite unwieldy to sew and I can’t sew a straight line if my life depends on it.

I also made a couple of mistakes. The idea was that I’d use large hooks and put rings on the blind so you could chose how much you wanted it gathered. You know… halfway, three quarters, all the way, etc.

First mistake was in calculating the length, I didn’t take into consideration the hooks, so the blind is a big too long. Even when I replaced the hooks I planned to use with smaller ones.

blind4

The other error was where I put my rings. I put them on every crooked line when they only needed to go on every second one, and i needed one at the bottom which I missed. Oh well.

blind5

blind6

So, I have a very crookedly sewn, nice thick and warm blind which is helping keep the house warmer in the cold. Its a win… even if there are a few failures involved.

z

Shared at:

1-Funky_Junks_Party_Junk_link_party.29-AM

my new butter dish

butterdish2

I had this longing for a butter dish. Well… when I did the Easter sideboard display I wanted a butter dish. Badly. I thought it’d look really nice with the fresh hot cross buns.

I didn’t have one. Obviously. Otherwise I’d have used it. So I looked around for a bit. Didn’t find any I liked. Not in my price range anyway. My price range is narrow…

Anyway, a post on Facebook reminded me that I desperately needed a butter dish in order for my life to make sense, so I started looking again. On ebay of course… I wanted vintage. And found this!

butterdish1

This is the butter dish of my dreams! I saw it and knew I wanted to hold it and love it and call it my very own!

When I saw it I thought the bottom was bakelite and I love bakelite. But its not. Its glass, and somehow that’s even better!

And I’m using way too many exclamation marks!!

butterdish3

How do you like my new butter dish? I love it. As you may have noticed. It’s the perfect colour for my kitchen too. It was made for me. It was fate. That’s why I couldn’t find the right one at Easter… cause I was meant to have this one.

To quote Garrison Keillor – “isn’t it nice when things just work?”

z


new kitchen shelves

Last weekend, Saturday evening to be exact, I got a surge of energy and decided it was time to put up the IKEA shelves I bought months ago. They’re from the Varde series (with those dots over the ‘a’.)
Since I was doing this on my own, and these shelves are incredibly heavy, I had to find ingenious ways to do get them up and level. I don’t advise doing it this way, but needs must…

I’m nothing if not inventive. And stubborn. I got the shelves up.

I had planned to put 2 of these units up (I bought two, making it 4 shelves) but I changed my mind. I decided one set was enough. Not so ‘cluttered’ feeling…. The space above the shelves gives you room to breathe.

For another thing there was no way I could get the other shelf up there by myself, so the decision was easy.

I had always planned to have my mugs and glasses on shelves, on display and easy to access. I love the look and I’ve been the right ones to suit the kitchen. I did have some pale blue mugs but they’re going. I found mint green ones at Kmart that are the perfect colour!

The green glasses are from Freedom. I’ve had those in my wardrobe since we finished the kitchen.

These shelves have a rail with 5 hooks underneath. Since I’d planned to have another shelf unit above this one, the wire cups I made were meant to hang higher, more at eye level. But now there is no top unit they have to hang lower. 

I love open shelves in kitchens. I know things get dusty but I’m perfectly willing to get stuff down and wash it once every now and then.
So, my shelves are up. Its only been about two years since we started the kitchen renovation!
z

our new old kitchen trolley

Today I thought I’d share the fun makeover of a sidewalk find.
Last year I picked up this pitiful serving trolley from the side of the road. The top was broken off, it had no lower shelf and it had at least 3 layers of bad painting… one of which was peach.

Well, that had to go!

I’d always planned to have a movable kitchen trolley in our kitchen but there’s really no room for it. Here you can see the original little side table I planned to make into a trolley for the kitchen.

I brought it in cause Wayne had bought a couple of appliances that were taking up space on our kitchen bench. I needed more space. But this little green side thingy wasn’t the right size… it was nice and narrow and had a drawer (missing in the photos for some odd reason) but it was too long, forcing the table over too far.

See that big blank wall? Watch this space…

Anyway, the little trolley is a bit better in proportions. Its not as long so the table doesn’t have to get shoved over too far, and its not too wide, allowing the dishwasher door to open when its in place! AND its taller and already has wheels!
It was meant to be! Thank you hard rubbish collection day!

This is a project I got the bug to do one afternoon and I almost finished it the same day. Basically it took me one afternoon and 4 weeks to finish.
Thanks to a broken finger.
I used the off cut of the pine slab I had left over from making the kitchen shelves. I cut it to fit on the top. Since it was a lot thicker than the previous top, it sits up above the trolley sides.

I cut the bottom shelf out of a piece of leftover plywood from the TV cabinet/room divider. (I’ll need to buy more plywood to finish that now as I keep using the bits I planned to use.)

The reason it took so long to finish was the whole circumcised finger thing. That put a damper on my creativity for a while. The main work was done though, all it needed to be finished was a couple more coats of polyurethane.

I could do those with one hand.

Once those were done I only had to lug it up to the house using one hand, one arm and one hip.
In pieces.
Then I put it in place and started using it.
Done.
Not bad for a piece of rubbish.
z

shared at:

the couch – finally

A long long time ago I talked about how much I wanted a new couch. I had my heart set on leather, brown leather. I really really wanted a brown leather couch. I was sick and tired of fabric couches which ended up being covered in dog hair and smelling of dog. Thanks Barney. Poodles don’t shed! Or smell doggy.
My first preference was a chesterfield. An old chesterfield. Brown. Worn. Soft.

But do you have idea how expensive those things are? As expensive as a new leather couch. Plus almost impossible to find. Sure, I found a few I drooled over… in Sydney. The price of the couch plus shipping would have killed me.

Then I began to think of club lounges. The solid, chunky blocky type.

Not as shiny as that… softer, cosier…

Couldn’t find one I liked that I could afford.

So I began looking at stores in Hobart and found this one at Freedom. The Hermitage.

Not exactly the thickest of chunky club lounges, but very comfy, in a lovely dark brown, studs at the bottom… I was ready to buy.

If I could have afforded it.

So I started saving.

Then, somewhere along the line I began to think of tan leather… lighter colours, not so heavy looking… I think it was the mid-century looking TV divider I built which changed my mind on style of couch. So I began to look for a couch like this one…

Better yet this, Freedom’s Copenhagen 3 seater.

I was totally convinced I wanted this one. I dreamed of it. It was even more expensive than the Hermitage, but I wanted it.

Till I went in and sat on it… and slumped back and almost slid off it.

It was too deep, I couldn’t sit in it properly. I’d have preferred that when I was younger and could get up off a couch without having to roll off, but not so great now I’m older, fatter and I almost need help hauling myself off deep low furniture.

Bean bags are a nightmare these days!

Anyway, I spend a lot of time in Freedom testing their couches. In the end I picked this one. The Bonnie 3 seater.

Not as long as the Hermitage, not as deep as the Copenhagen, not as soft as most of their couches. A firmer, higher couch. Easier to sit up properly in and get up out of.

I can get off this one without looking like a floundering whale.

Here it is in the living room.


I need to make new cushion covers. I want a bigger rug. I need to get rid of the awful carpet. I want to get rid of wires everywhere. I want a full wall of books behind the couch but till then I wonder if I should paint the timber bookcases white so they’re all the same colour.

But at least I have my leather couch!

And bonus: the dogs don’t like it! They only get on it if I’m on it and have a throw over me. Fantastic. I was worried they’d damage the leather with their nails.

Another bonus is that Wayne won’t sit on it either – he’s terrified he might ruin it and I’ll kill him.

z

the kitchen sink

When renovating the kitchen, I chose a double sink (1 and 3/4 actually) with a single drainboard. I mean, I had a dishwasher, right? I no longer needed all the drainboard space to drip dry all the dishes I wash.
Well, what was happening was that piles of dirty dishes, cups, cutlery and other items would pile on the benchtop and sit there waiting for me to put them in the dishwasher, which meant I had to first empty the dishwasher… 
Wayne hates things stacked IN the sink cause he can’t fill the kettle or whatever, so they ended up on the one drainboard, then overflowed onto the other side on the bench.
The mess wasn’t the issue. I mean I can turn a blind eye if it means not having to do a chore, but the items sitting on the benchtop have caused the varnish in that area to flake.
I should have used oil based varnish. Live and learn.
Now, the sensible thing would be to NOT pile up dishes, to put everything in the dishwasher soon as it was finished with, empty the dishwasher soon as its finished, etc.
But who am I kidding?
I’m not that person. I try, but I can only sustain an immitation of  “Perfect Housewife” for a few days, then I lapse straight back into “Slovenly Housekeeper”.
So… I found this cute little enamel tray in my stuff. 

I’d forgotten I had it.

See, cleaning up occasionally is a good idea!

Anyway, I put some rubber stoppers under it which do two things: they stop it from sliding and they keep it off the bench so water won’t sit under it and do further damage to the bench.

Its the spot we can now rest dirty things till its time to put them in the dishwasher, allowing the sinks to remain free so we can actually use them.

Funny thing… since I put the tray there there’s been no mess in the kitchen. I put things in the dishwasher and empty it straight away.

Relax.

It won’t last.

z

final guest room reveal

Its been a gruelling few days, but the house is finally ready for mom’s visit.
I’ll start by sharing the guest room, but before I do I’d like to thank my friend Patrice for all her help today. Without her I’d still be walking around in circles, overwhelmed by the task ahead of me.
So here is the guest room before (right after I decided the old office would make a better guest room – that post here):
And here is is now, with the bed made, the ladder bedside table and fresh flowers.
Before:
After:
Yes, you’ll notice something new… the linen cupboard has doors! More on that later.
Enjoy some more photos of the guest room. Mind you, the shelves aren’t really ‘dressed’. They’re just ‘there’. I had to draw the line somewhere or I’d still be working.
A nice, light, bright and welcoming room. And just to make it a big Christmassy, I hung these little twigs with felt shapes I made last year near the door.
I think mom will be comfortable in here, don’t you?
I know I’m very pleased with it.
z

this year’s christmas tree

Its not exactly what I’d planned, but I love it.

I had planned a 3D tree, made using old timber on a central rod. Then I found the old crib sides I used to use as dog barriers when I lived in Fentonbury and thought “hey, I’ll use the slats!”…

So I cut them up for branches. I drilled holes in the middle. I cut blocks to go between the branches. I drilled holes in those. I created a base for the rod. I put it all together and went “yeech”.

Then I found myself with all these cut up slats – luckily not all had holes in them – so I went for plan B.

And this is what I ended up with:

Pretty huh?

Yes, I know its a bit wonky… but you know me. Nothing is ever quite perfect. I’m of the ‘close enough is good enough’ school of DIY.

I used the base I cut the slats off as the bottom, I like the way it grounds it. I had to stick the trunk slat back onto the base so I used an old hinge.

I then decorated it with the timber stars I bought a few years ago and some brown, natural looking, florist wire I’d had for years (I knew I’d find the right project for it one day!)

Its hanging in the middle of the living room, right over the air conditioner. Basically, its on the only bare wall I have. I’d been wondering what I’d put there, well, problem solved for the next few weeks. Gives me time to think about future displays.

Did you notice I put the presents under the tree (on top of the air conditioner?) They won’t stay there. When I clean the old grate we use to hold firewood for the wood heater I’ll put the presents in that.
Don’t know about you, but I love wrapping presents. I’ve had a thing for plain brown paper for years now, adding different embellishments each year to pretty them up. This year I made large bows from burlap ribbon and a brown linen type ribbon.
The spotted paper was something I saw at a shop while browsing… I thought “I’m not paying that for wrapping paper!” so I made my own. I love the way it looks having plain and spotted paper wrapped gifts together.
I’m all excited now. I can’t wait to get stuck into getting the house ready for Christmas and mom’s visit.
I’ve already started in the garden. There’s been weeding and some new planting (to fill in gaps) and heaps of general cleaning in the yard. Still much to do on that front!
I’ve also started building my tv unit/room divider. 
Its a big job and I can’t believe I’m doing it, but after months, years even, of thinking about it and hesitating and doubting myself, I suddenly got hit with inspiration. Before I had time to rethink it I’d measured up and gone out and bought plywood.
Its half done now. I’m thinking it’ll be a work in progress. The base part is done except for putting the legs on. Then I can move it into the house. It’ll need polyurethane to protect it and I’ll need to do the back, but it can be used and I can rearrange the living room the way I’ve been planning to for ages!
Later I can build the rest of it. The idea is to make it so it can be pulled apart in case I want to move it one day, thus making it in 2 stages works for me.
But more on that later. When I have decent photos to share.
Other than that I’m doing great. Well, other than the wisdom tooth I had pulled out last Friday cause it was loose (and turns out it had an abscess). And the fact that its now more sore than it was on Saturday. Thank goodness for strong pain killers! 
I’m falling apart.
z

Shared at:

white eyelet curtains

A friend of mine at work once asked if I accepted charity. I said sure, I’m not too proud. Anything you don’t want, give it to me. Old things, broken things, whatever. I’ll most likely want them.

After all, I’ve worked hard to earn a reputation as a junk-addicted crazy poodle lady.

So, when my equally crazy friend Patrice asked if I’d like the old curtains from her living room, I said yes. Of course.

I’d admired those curtains before. I love eyelet curtains and I love white curtains (says the woman who bought metres and metres of grey and silver curtain fabric to make curtains for the living room). Anyway, they’re not old. She’s only had them for about a year.

Worst thing wrong with them was the bit of cat hair on the bottom, but hey, whats a few cat hairs between friends?

She also gave me a few plastic curtain rings and a couple of brackets to re-hang the dark grey curtain over the door … that’s our front door, the one we never use to walk in or out of the house, and it lets in so much cold wind in winter that I always hang a curtain over it. This year I couldn’t find the curtain I’d used last year with its rings and brackets so I improvised. Not always a good thing. I had to take it off and put it up again, but it works better now.

But back to the white curtains Patrice gave me. They’re nice and long so I did what I’ve never done before and hung them up as high as I could. We have a  pretty low ceiling in our living room so that’s not really high, but turns out its the right height for the curtains. No hemming needed.

Patrice, bless her little cotton socks, also gave me some plasterboard toggle thingies for mounting the brackets. Well, after mucking around for ages, searching for the right brackets for the curtain, compromising on ones that ‘will do’ and fiddling with toggles and screws, I got them up.

All while listening to The Secrets of the Ya Ya Sisterhood. Great movie.

I really like them.

Now I think I need to buy enough to do the other window which looks to the front of the house. They come ready-made as continuous curtains at Spotlight.

Next time I’ll make sure I have the right brackets… and the right plasterboard fittings.

That’ll make life easier.

Oh, I have a new drill. Its a cheapie that Wayne got me a couple of months ago. Its much lighter than my trusty old one which was probably my first power tool ever. And its got a chuck which is probably better for me as I can’t really hand tighten enough.

So there you go.

I finally did something.

z