What do you call it? A roost? A home? A box? I have no idea. But I’ve made our segregated couple a new home. These two live in Stalag 13 – a dog run converted to a chook pen.


Why are they segregated you may ask. Well, basically the rooster needed to be put in a safe place or his son was going to kill him. Then I couldn’t leave him lonely, so I got him a hen from the feed store. I didn’t want to pen one of our free range hens as I thought it’d be cruel to cage a girl who’s known freedom. This little girl was born and bred in cages so I figure that she’s happy not having to share her space with a lot of other girls.
So here are the steps to making this wonderful creation. In case you were wondering. If not just skip this post.
Believe it or not, I started by making a nesting box. I was dreaming of the day I’d open a lid and reach in to a clean poop-free box and remove fresh, clean eggs, without having to get down on creaky knees and grope through chicken droppings to get them.
Here is my box. I’m so proud. Don’t ask me for a tutorial on this. You really don’t want to make anything the way I do… But let me just say I only cut one piece of timber wrong! Honestly. That’s a new one for me. Especially working on angles ..I failed geometry. And the teacher was right… I did need it…
NOTE: This nesting box and roost is made up entirely of offcuts of wood I had in my workshop.
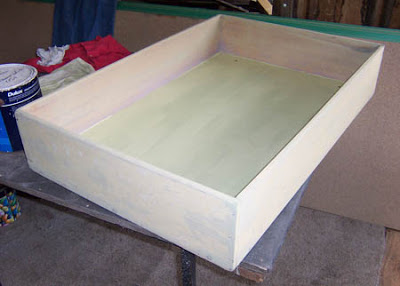
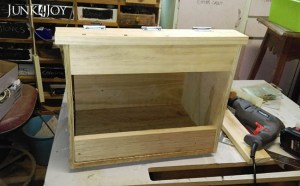
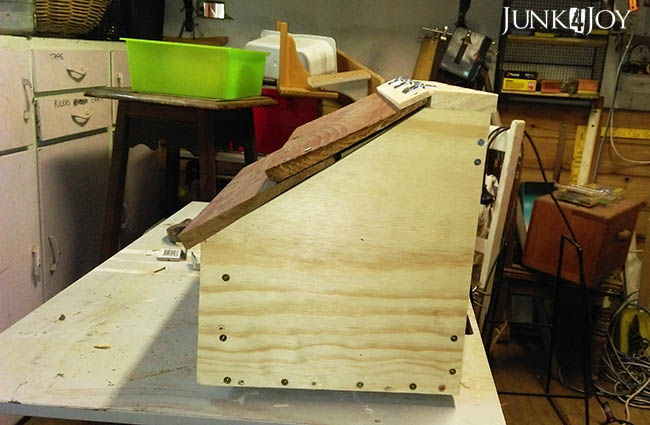
Let me try to walk you through it, I cut a base the size I thought the hen would appreciate. Then I put a front and a back on it, the front high enough to hold in bedding, the back high enough to give the hen head space. Since I really suck at putting sides on things I used brackets to put the back on. I’m a cheat. I’m comfortable with that.
To make the sloping sides, I held a piece of plywood up and kind of drew where I thought the sides would meet the back and front. Then I used a ruler to draw a line between them and cut along those lines. Once I was happy with side #1, I traced it onto another piece of plywood and cut that too. I used screws to join them together.
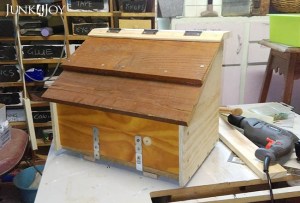
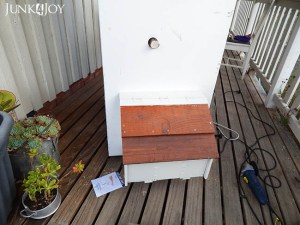
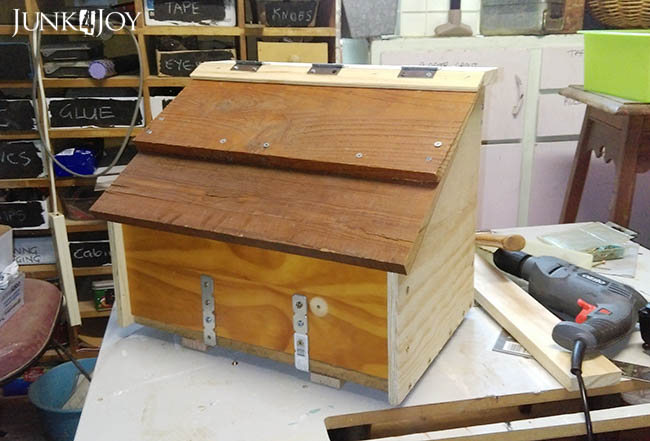
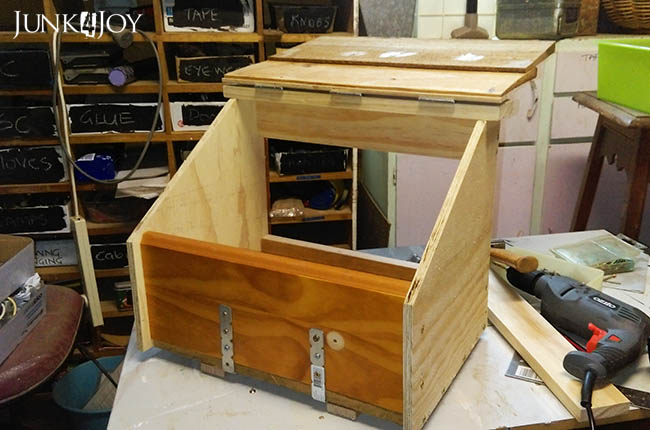
I added a piece of pine to the top and to the front for the lid to swing off. This is how the box was looking at that stage.

I used some offcut pieces of cedar cladding for the roof. I had to add a thin strip of pine at the top in order to hold the screws. Turns out cedar is really soft and breaks easy. Who knew?
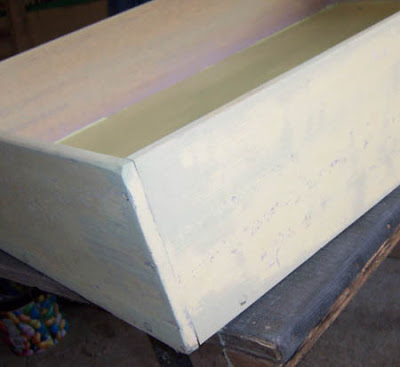
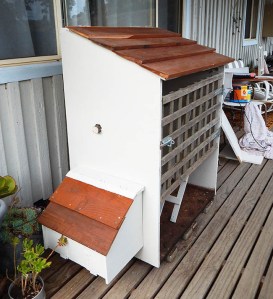
Result, a stylish nesting box. I hope the hen is pleased. I gave it couple of coats of the same self priming exterior paint that I used on the house, except for the roof which I simply gave a coat of polyurethane.
So there I was, nice nesting box, nowhere to put it. I was trying to think of how to make a home for the chickens in Stalag 13 when I had a revelation. In the middle of the night of course. Lying in bed, not able to sleep cause of nesting boxes and angles going through my mind, when suddenly it was KAPOW.
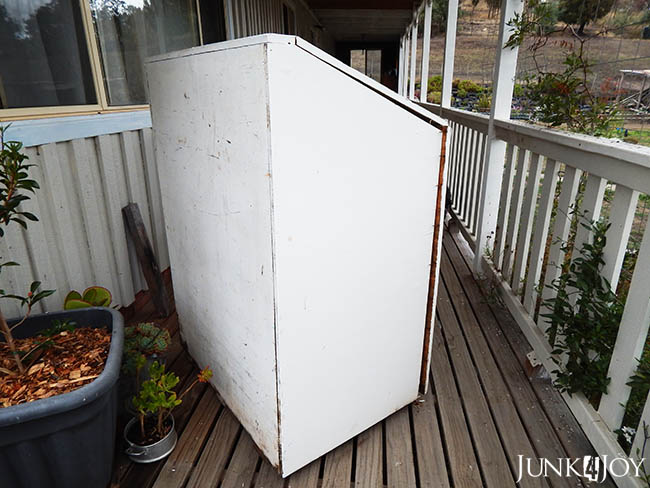
The wood box!
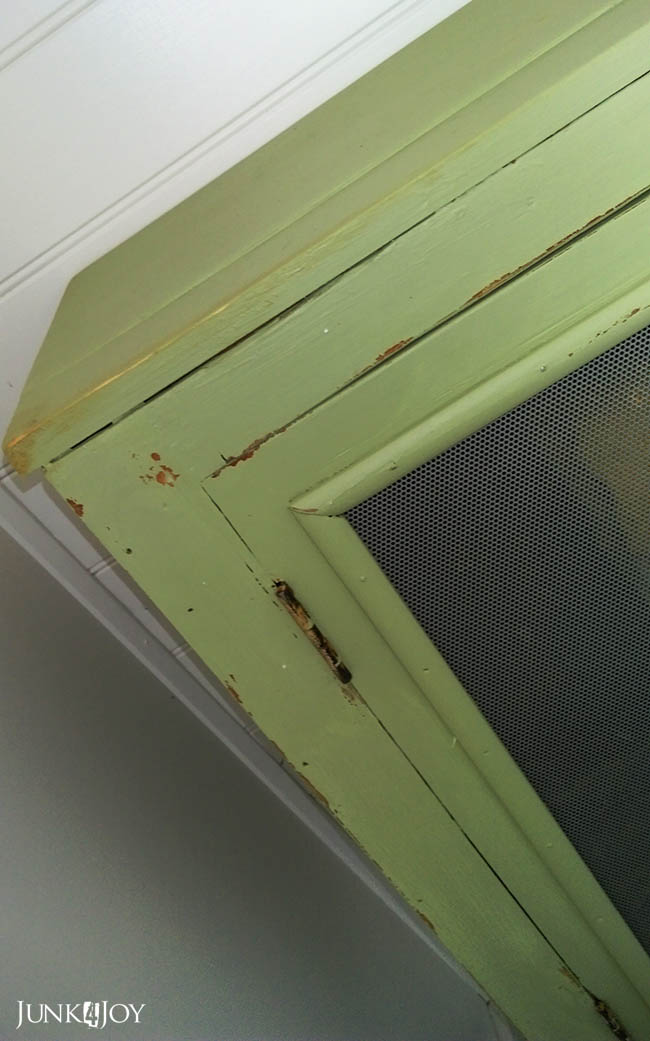
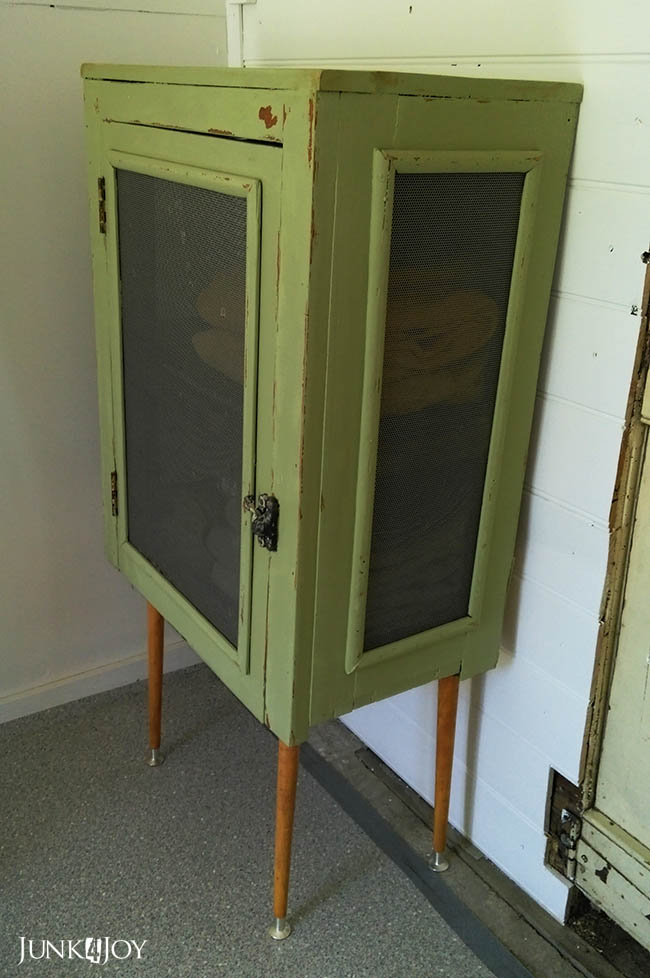
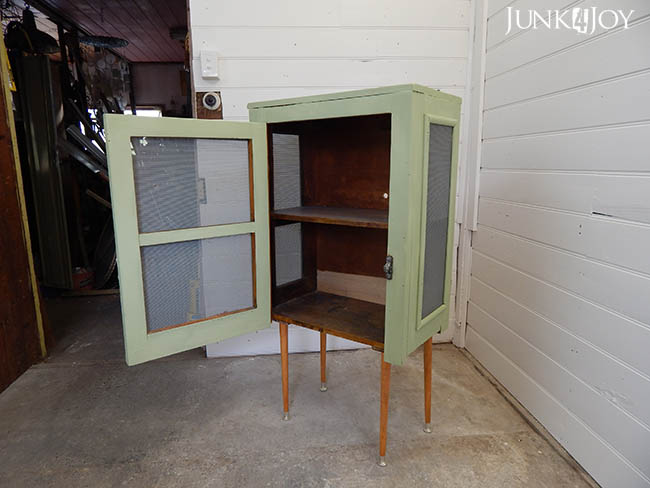
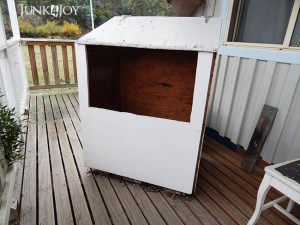
We’ve been using this as our wood box for the last 7 years. I think it may have been a feed bin in a previous life. I’d given it a coat of paint and Wayne cut half the front out so we could reach in for our wood and put it on the back porch. We used to keep the smaller, kindling type of wood in there. But we now have air conditioning. And a broken wood heater… so… we don’t need the wood box!
In my sleep deprived state I knew it was the answer to my prayers. I didn’t have to make a home from scratch!

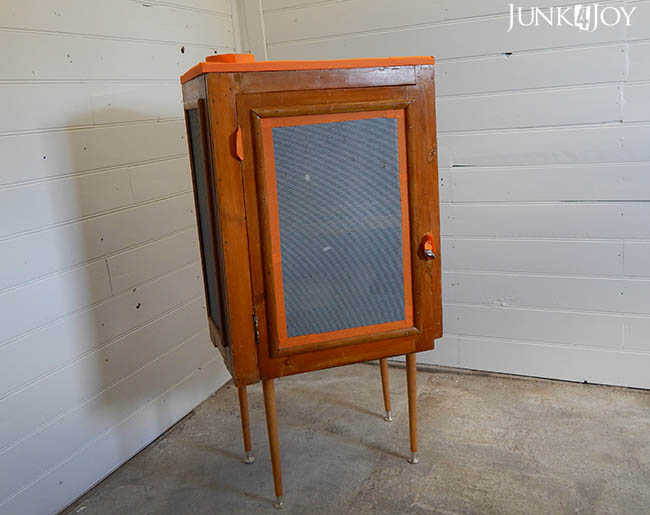
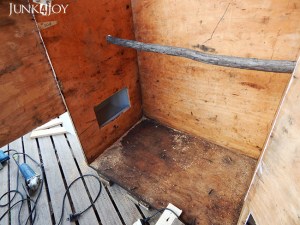
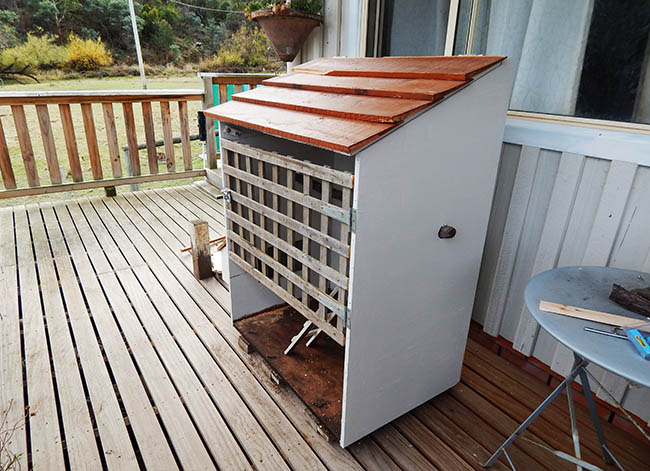
First step, I took the front off. I had planned to just turn it upside down, leaving the opening on the bottom.

Then I thought, why leave the ‘wings’ at the bottom? I cut it straight across and down the middle, creating doors. Which I had all kinds of trouble hanging on my own. Those suckers were heavy and its hard to hold the drill, screws, hinges and doors all at the same time. The lost screws under the deck are proof of that.
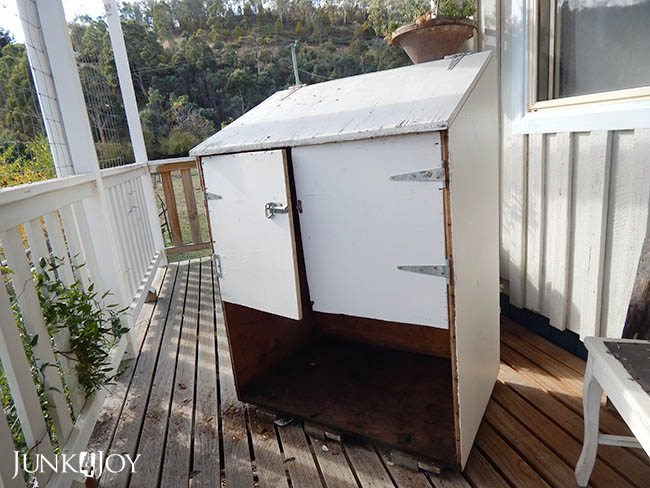
Plus, I was thinking it might be too enclosed. So I took them off again.
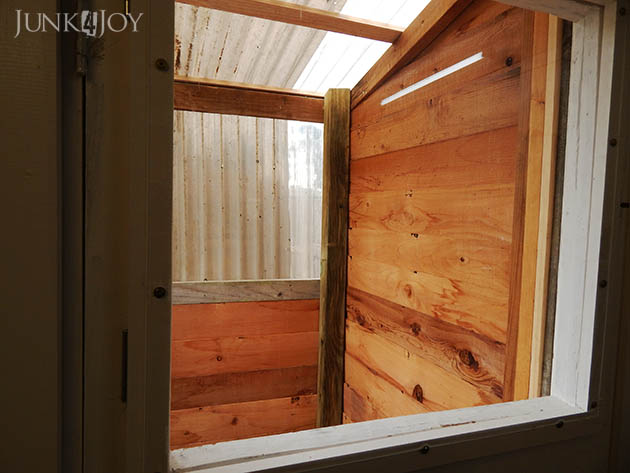
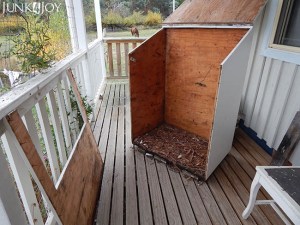
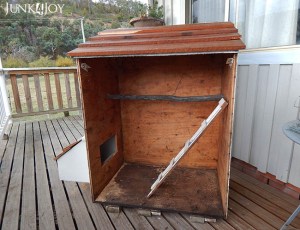
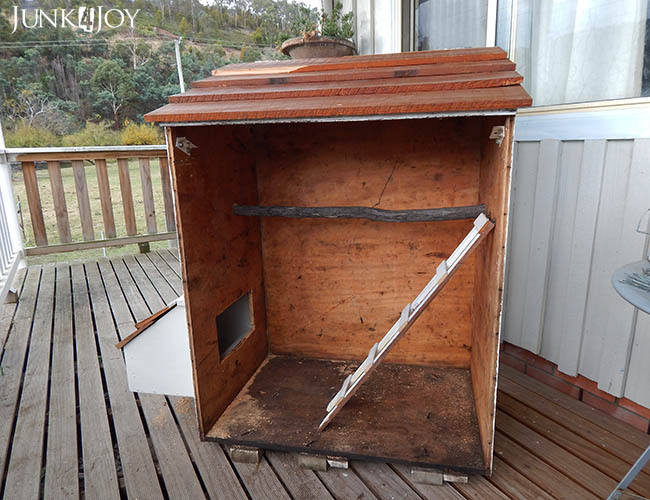
Meanwhile inside the box I put in a long branch as a roost. I sure hope its thick enough… I did this by drilling out two large holes with the hole saw (yes, I own a set of those!), pushing the branch through and then putting a screw through to hold it in place. You don’t want it spinning when the chickens get on it!

I also cut a hole out for the nesting box and attached it to the outside with screws. I admit, I googled how to make nesting boxes and chicken homes. The nesting box has to be lower than the roost or the hens will sleep in the nesting boxes. Since chickens poop in their sleep, if they roost in the nesting box, they’ll poop in the nesting box. YUCK.

Now I was thinking, can they get up onto the roost? Is the box too small? Is the roost too high? I have no idea.
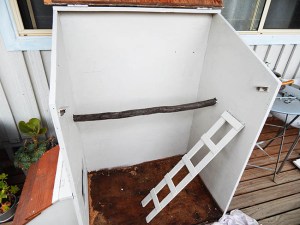
So to be safe, I made a little ladder. A friend thinks its too steep. Maybe it is. I’m hoping they’ll use it. They’ve been living on the ground for so long…
Oh, and I added more cedar to the roof to make it match. Looking good!
Since the outside of the box had already been painted, I just gave it one coat of house paint to freshen it up. Then I decided the inside needed painting too.

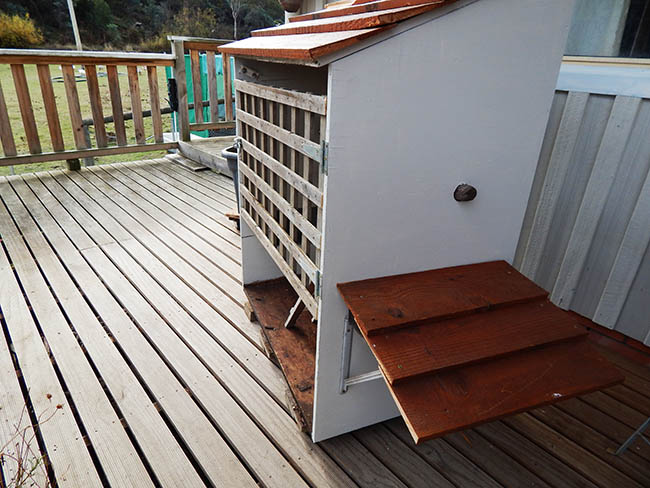
In the end I decided to use a piece of trellis I found and make a single door. A bit of privacy, and more air circulation. Remember, these chickens have been sleeping in an old dog kennel till now. This has got to be a step up in the world!

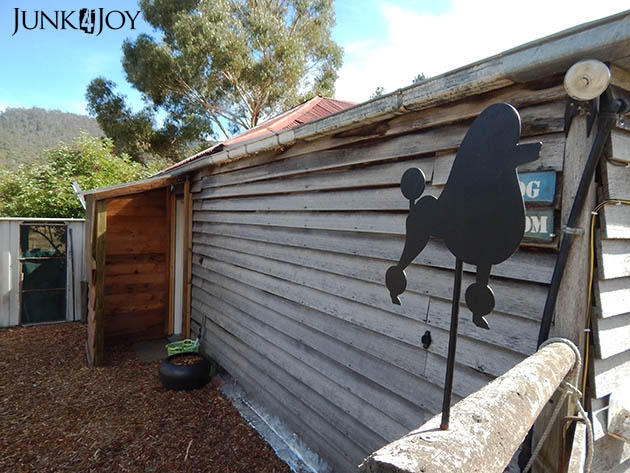
Here is the other side. Pretty plain huh? I thought a little porch would look nice, balance it out, you know. I’m all about curb appeal.
I used some brackets and some timber wedges to achieve an angle, added more cladding and voila! An undercover area for eating.
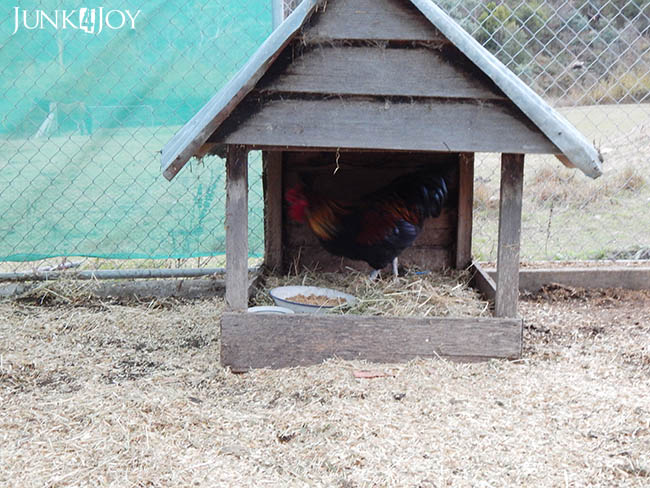
Ok, the reason behind the porch is that I had planned on demolishing the dog kennel. I hated that thing, it was stinky and hard to clean out. And I was over reaching into it for eggs.
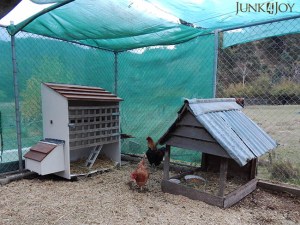
Well, when I started pulling it apart I had another idea. I pulled off the cladding on 2 sides, making it into a kind of summer house. How many chooks have a summer house? huh?
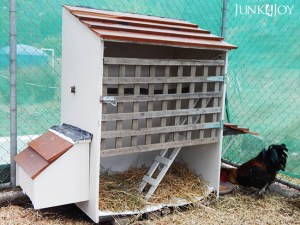
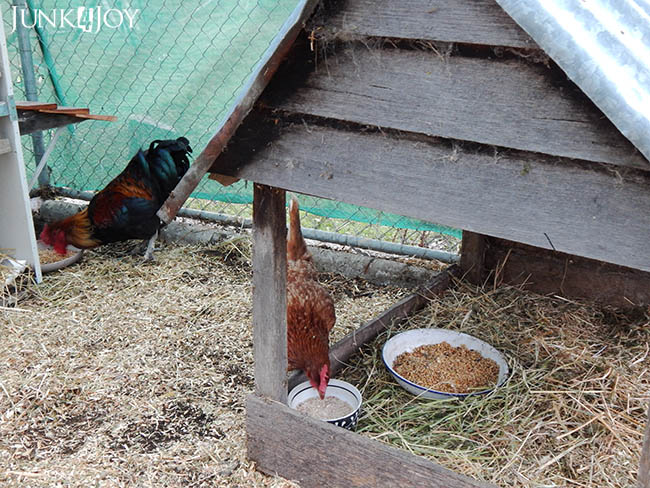
Its actually a great place for the food dish too. You can see the hen is having a peck at the shell grit while the rooster is having a snack of grain under the porch.
I didn’t think I was going to be able to get the new home into Stalag 13 till next week as there was no way I could move that thing off the porch on my own. However a nice man gave me a hand today and its done! I’m not above playing the weak female card.
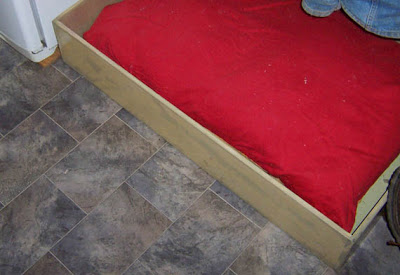
I cleaned out old bedding and put down some new stuff, put some hay in the bottom of their new roost and in the nesting box, and here they are…

Stalag 13 has never looked so good!
I’m so pleased. I love the new look. Now, if they would only use the roost…
Next job – the chicken coop. Ugh. Don’t remind me.
z

Shared at: