another thing you can make with old shutters

This is a project I finished last weekend but which I couldn’t photograph till this yesterday. It was still gloomy and overcast but better than trying to photograph it in the dark after work.

So, here it is! Our new ‘gas bottle and bin hiding’ box!

This is what you’d see as you came to the front of our house – my little window shelf with the pretty succulents and a small cement slab holding gas bottles and stuff to go to the rubbish bin. Not particularly attractive. Which is why I never have any photos that show it.

I always planned to make some kind of cupboard to hide them. I had these old shutters (louvre doors really) which I’d bought at an op shop a few years ago. I’d used them to make a screen to cover the hot water cylinder when it was on the front porch. When we moved the hot water cylinder to the side of the house we no longer needed the screen.

But I never throw anything away if I can help it. Things have more than one lifetime around here.

The shutters were too big for the new gas bottle box so I had to cut them down. I had two narrow ones and two wide ones so I worked out which would work best – the narrow ones on the sides, the wider ones in front as doors. 
They were already painted the same colour as the house so they were perfect. I cut them down to the right height and joined them at the corners using hinges. I used small brackets to attach the sides to the wall and keep it all in place.  
The lid is hinged above the box so that it slopes. This is for two reasons. Firstly I just thought it looked nice. Secondly I don’t want this to become another flat surface for things to accumulate.
Now all we need to do is lift the lid, use the hook to keep it open, then swing the doors open to access the gas bottles. 
There’s a small bin in there for empty bottles and I put the kitchen rubbish on top of it every night cause I hate stinky rubbish in the house. In the morning we take it down to the bin on our way to work. Having the rubbish inside the box means less temptation for the dogs to go excavating for goodies. 
Not that they would.
My dogs are well behaved.
But in case a possum comes visiting. You know.

Of course, nothing ever comes together easily. The leftover bit of door I planned to use for the lid wasn’t long enough. The solution was obvious: I found an old bit of timber to extend it to the right length. 
I even added some initials.

Did I ever show you the gorgeous little watering spout I got at a garage sale?

So here it is. Our new gas bottle box.

Ok, one thing finished and crossed off the list.

Another 5 million to go.

z

Shared at:

a place for everything – even headlamps

Got home the other evening and found a stomach on the garden path.

Yep.

A stomach.

No hair. No feathers. No head. No beak. No feet.

Nothing.

Just. A. Stomach.

A ruminant’s stomach.

Seems the poodles thought it was time to up the challenge for me. Every time I find one of their kills, there’s less of it to identify it by. I was able to identify the last specimen by the feathers and some guts.

This time all I got was a stomach. With munched up grass in it. I’d guess rabbit or wallaby… and given they haven’t yet caught a rabbit (that I know of), I’d say wallaby.

At this rate I’ll soon be an expert at identifying species from the inside out.

sigh.

Ok. At this point let me just say that I don’t like my poodles killing anything, even rats or mice. Though whatever is living in our ceiling is asking for it…

I especially hate it when they kill wildlife or our ducks, chickens or geese. But they have a strong prey drive and they will kill any intruder in their yard. Its a fact of life and I’ve had to accept that my gorgeous fluffy dogs are real dogs… predators even.

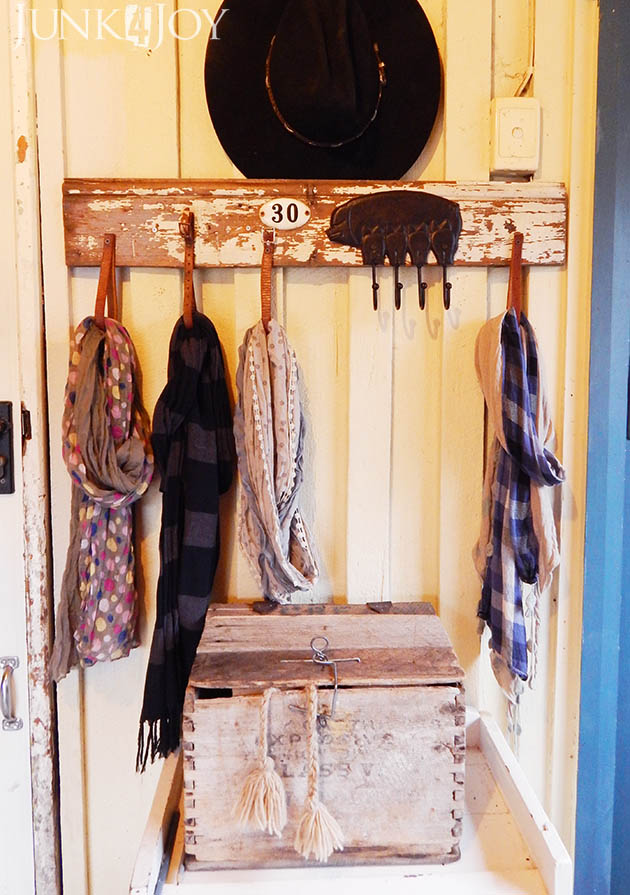
But on a cheerier note, at least a more creative one, I finally created a place for Wayne’s huge collection of headlamps.

He has a million of them. Battery operated, rechargeable, you name it, he has it. He bought one so he could go out to feed the horses in the dark. Then he bought a second as a spare. Then he got a rechargeable one. Then he found a brighter one. It goes on and on.

I don’t care how many he has. They come in handy when I’m searching the yard for clues such as hair, feathers, a head… What I have a problem with is him recharging them all over the kitchen counters.

I had to create a spot for them which met these requirements:

  1. store all the headlamps in once spot and not all over the house
  2. a spot handy to grab one on the way out 
  3. a spot handy to put it back on the way back in
  4. the ability to store and recharge in one place

I had no idea how to do this. I didn’t know what I wanted it to look like or where to put it.

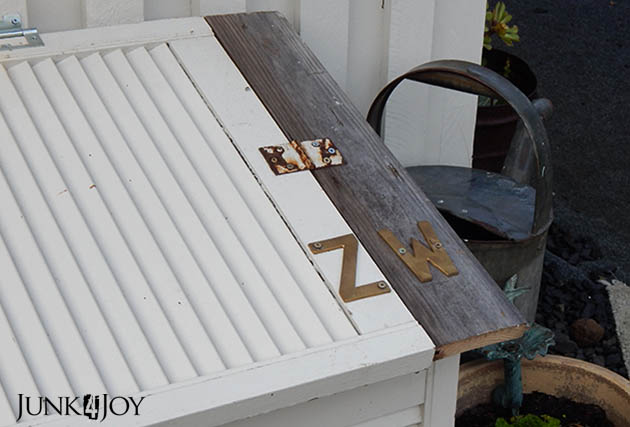
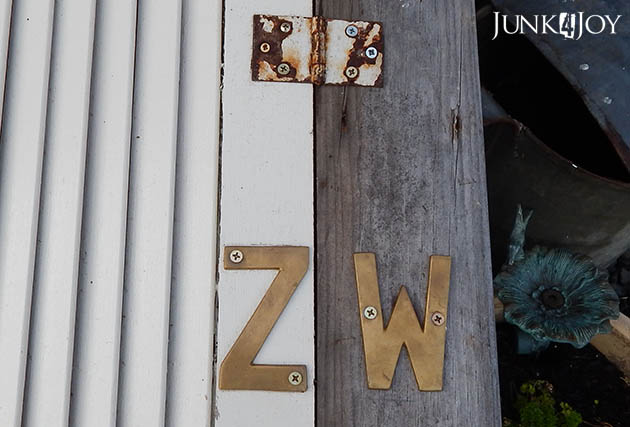
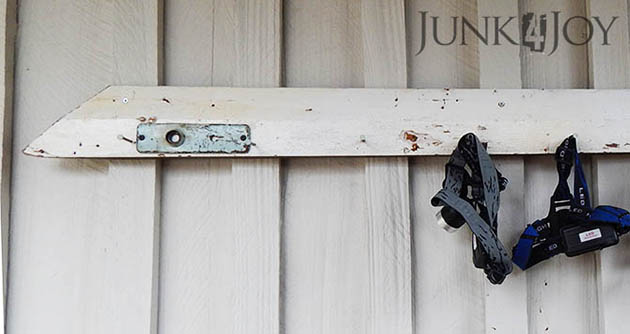
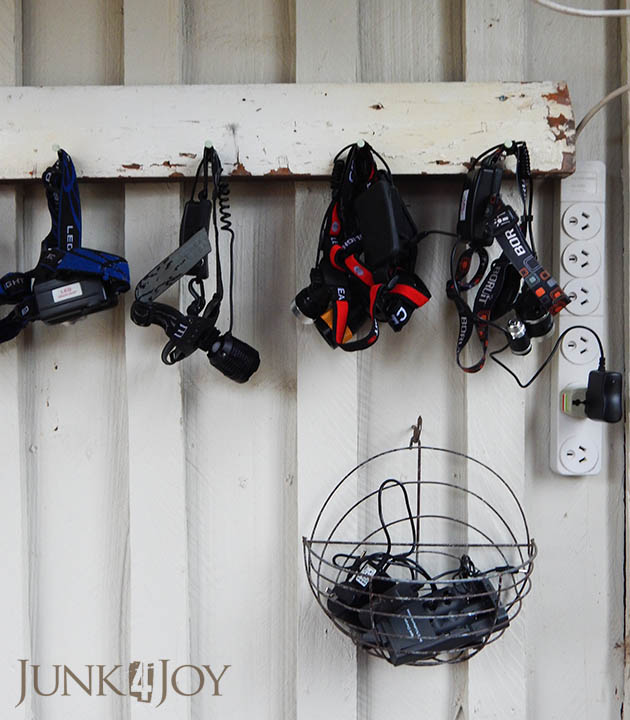
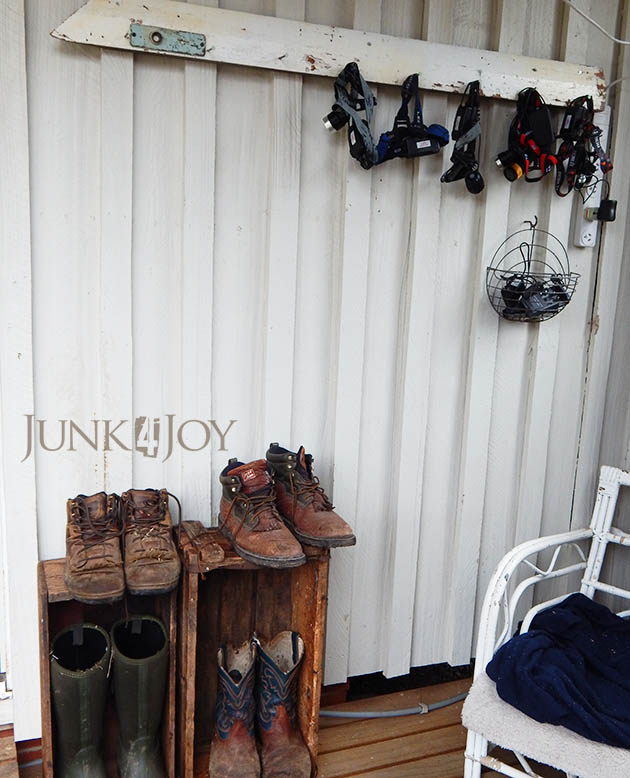
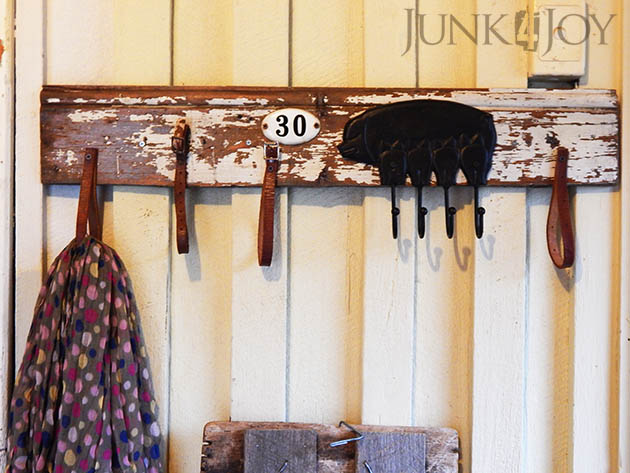
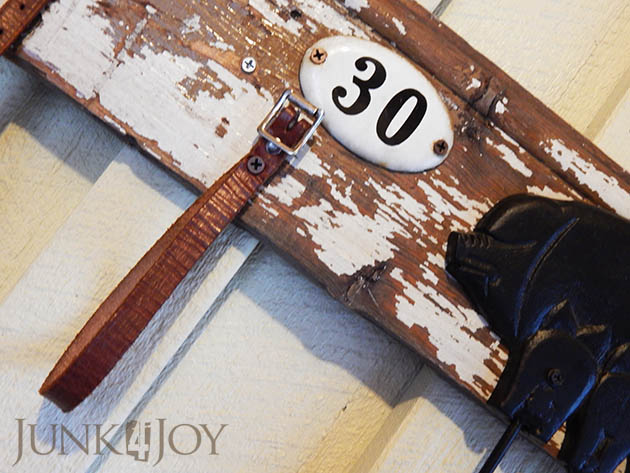
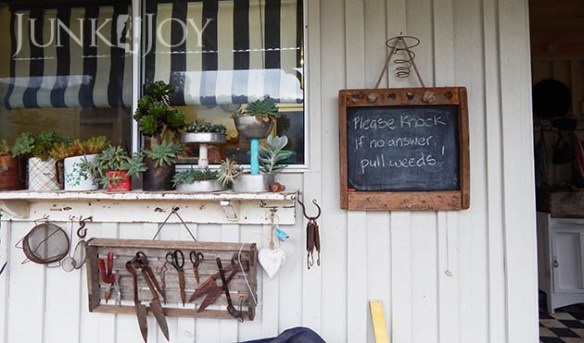
In the end I went for quick and easy. I grabbed a bit of chippy old skirting board I had in the shed, drilled holes in it and jammed in some really big nails. I added a cool chippy green-blue door thingy. Just for fun I painted the heads of the nails pale green-blue to match.

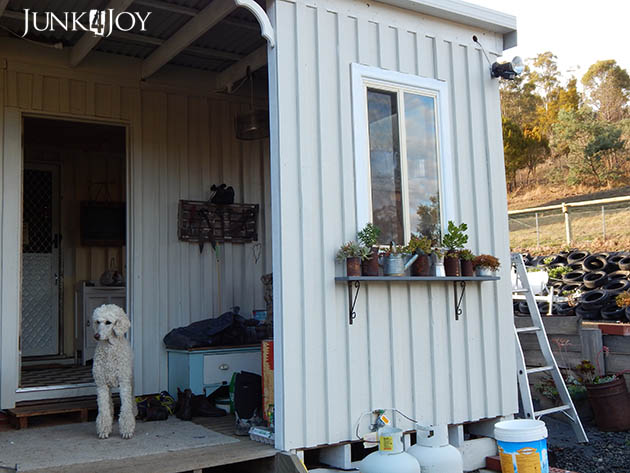
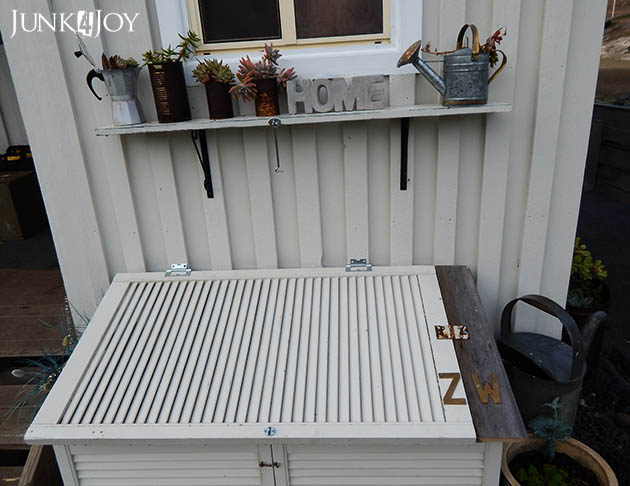
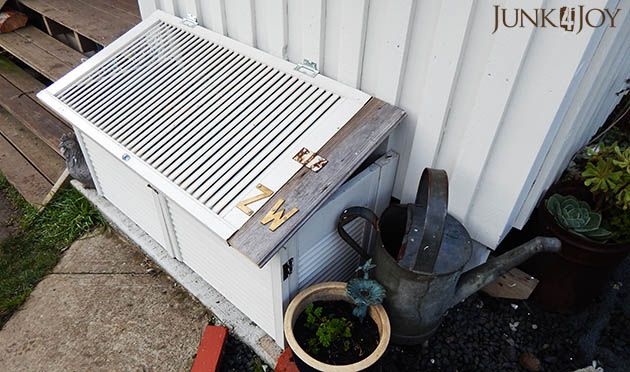
I chose to put this new headlamp hanger on the front porch, in the enclosed area. Unfortunately there’s no power there so I had to use a long extension cord going from the outdoor power point in the middle of the porch and a power-board mounted on the wall. I’ll be managing the cords better once I find my box of cable clips…

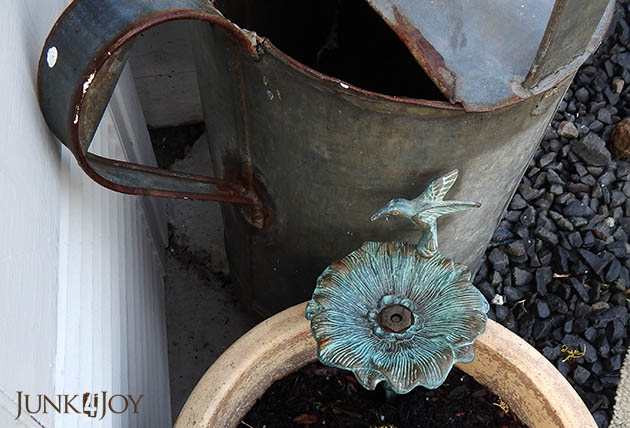
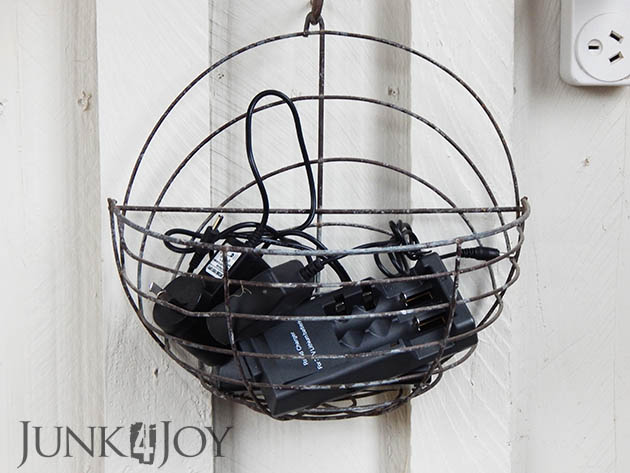
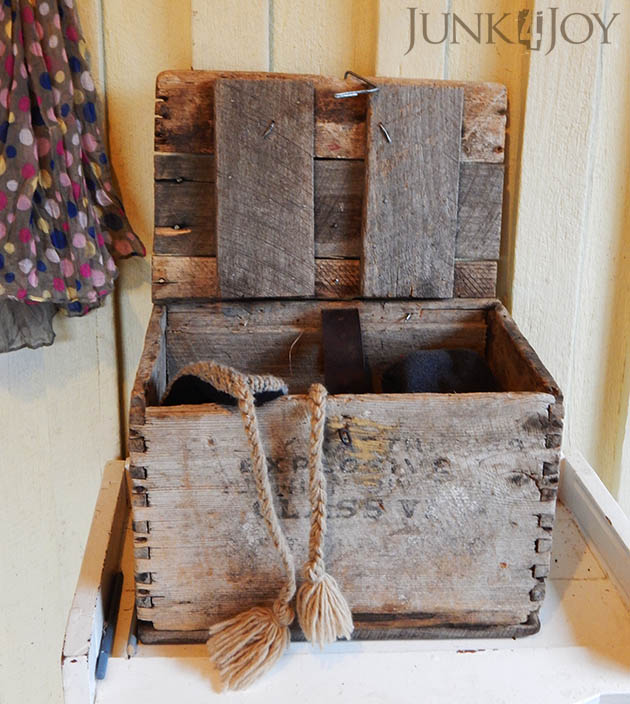
I added this cute half planter basket to hold the chargers.

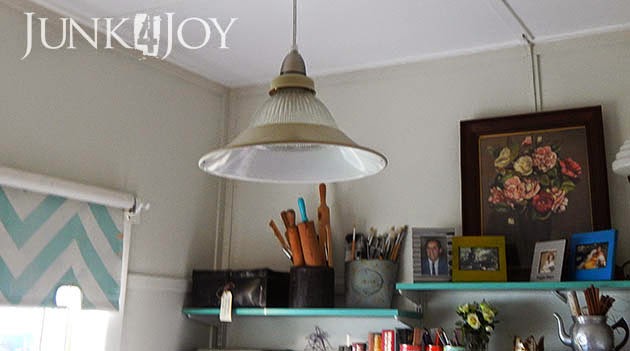
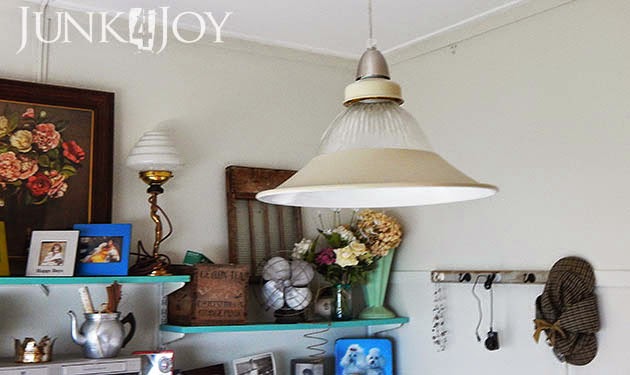
In order to do all this I had to move a few things over to the other side, so the kitchen window ledge is looking a lot busier.

I’m happy. The headlamps are off the kitchen counter. Wayne is happy cause he no longer has to search for headlamps I’ve moved.
Win win.
z

scarf organisation

Everything in our home is multipurpose. I mean, it can (and often has) been used previously in many places and for many different uses.
Take this little pig with her piglets. She once lived in the kitchen to hold keys. The old enamel house number is from Wayne’s childhood home, it also lived in the kitchen at one stage.

Now, they’re together again as part of my new scarf hanger.

This was a quick and easy project that took me weeks to photograph and share. Between us, we have a zillion coats, jackets, beanies, hats and scarves. I made a whole lot of coat racks to hold the hats and coats, I put up an antique coat rack which I got from my grandmother’s house in Greece for our scarves and beanies… but I wanted to keep my prettier scarves separate from the practical warm ones.

I looked around at what I had and found this chippy bit of timber lining. All I did to this was wash it and scrape off the loose bits of paint.

I found a thin leather belt I’d collected from a tip shop, and a small bit of leather which was probably some kind of collar, maybe… also from a tip shop. I cut these to the right length to make loops to hold scarves. Mainly cause I didn’t have anything I liked to act as hooks for this project.

I left the buckles on a couple of the leather straps just for something different.

I added the pig for other odds and ends and added the number just because.

Its the first thing you see when you walk into the mudroom, hanging between the door to the house and the door to the toilet. Below it, on a small cabinet, is a rustic box Wayne revived, now holding gloves. That box used to be my ‘in house’ toolbox in a previous life.

So there you go. A little something new for the house to make life a little more organised.
I hope.
z
Shared at: 

new sewing & craft box

Did you notice the pretty first aid box beside the TV in my eyelet curtain post? Its my new sewing/craft box!

This was a gift from a couple of good friends. It was among some work things which were going to be thrown out. They took it home, cleaned it up and had planned to use it as a tool box or something, but lucky for me it really wasn’t suitable. Take a look at what’s inside:

It opens like a concertina, metal shelves sliding out at an angle. Problem is, the box itself plus the weight of the shelves means that if you put anything heavy on the shelves the whole thing tips over.
Obviously first aid supplies are light. How much can gauze dressings and band aids weigh?
I had planned to put beading and craft things in it, but they can be heavy too, so I went with sewing bits and pieces. You know, threads, needles, bobbins, buttons, pins, elastic, small things you have no use for, bits of ribbon and lace…

Since its heavy, and I mean HEAVY, the first thing I did was put small wheels on the bottom. I figured that once it was in the house I could just roll it from here to there and never have to lift it again.

And cause I tend to craft and sew in the living room while watching TV (no wonder the house is always a mess!) its close at hand with anything I need.

Pretty cool huh?

This is all part of my trying to organise myself and our home in such a way that I can make things without having to lug things around and spread them all over the living room all the time. When I started doing up the office I took all my crap stuff out and put it in plastic containers in the casita till I could sort it and organise the right storage for it. Its mostly still out there, but over the last couple of weeks I’ve been bringing in a box at a time and going through it. Some things are staying, a lot are going to work for art and craft programs there.

The stuff that’s staying now has some cubby storage to keep it organised.

These are just the cheap little MDF and cardboard cubbies that they sell at Kmart. I used scrapbook paper to decorate them so they’re quite cute (not the best job…) I figure I need at least one more of these, but they make it so easy to find things – everything in its own drawer.

I also have a tip shop small wardrobe which is waiting for a makeover in the casita. Its going to have some shelves put in it and get a facelift, then it’ll move into the office to hold my neatly organised and sorted craft bits and pieces.

I’m getting there.

z

art from trash – some photos

I really wanted to share some photos of work at the Art From Trash exhibition which ends next week. Some of these photos were taken by myself but most were taken by the official photographer and I got them off the Art From Trash facebook page. Please visit their page to see more work.
I mostly just wanted to share the works that Wayne and I entered or have connection with through our jobs.
Firstly, here are Wayne’s entries. This one is called Nucleus and is made of old metal, wire and wood. It looks best in the sunlight with the sun glinting off the silver and copper wires, contrasting with the rust and old wood. Its approximately 45cm tall.
This one is called Big Bang and is over a metre tall. Its free standing and is also made of different wires and metals. You can’t tell in the photo, but there are silver and copper wires all mixed in together with rusty metal. Photos don’t do it justice.
You’ve seen this one before. Its my Travelling Sidetable.
And of course, my Rooster In Print.
This is the Cosmos Collection, a collection of animals made from plastic and other ‘junk’. These were made as part of ‘making art from trash’ workshops run at Cosmos (where Wayne and I work) in association with the Tasmanian Art Gallery.
Another Cosmos entry in the AFT is this Rock’n’Table, made by participants in our art programs. Obviously made of rocks and a slab of old wood.
Below is the work of a guy I tutor in art privately. Sam Bosworth is a very talented young man with autism and I love working with him and watching him develop his wiring skills. This entry is called Fly Wire and is made of old coat hangers, old plastic toys and wire. 
You can’t really see the many different coloured wire in the pieces.

And in case you missed last year’s AFT, these were my entries – the Junkyard Dogs.

This little guy is made of wire, plastic toys, dog hair and electric cables.

This guy is plastic toys and wire.

This one is old cables and cardboard.

Lastly, the smallest in the bunch, wire, dog hair and a dash of possum hair and dryer lint.

I’ll leave you with a fun one – this is one of last year’s Cosmos entries. The Tin Man was something I assisted one of our participants to make.

So much fun! That’s the best part of my job: working with people with disabilities to create art.
z

travelling sidetable with serving tray top

I did say I had some stuff to share… well, here is the first one. I call it the Travelling Sidetable and its one of my entries in the current Hobart City Council Art From Trash exhibition which opened yesterday. I know it wouldn’t really have made a difference but it didn’t feel right to share this till the exhibition opened.

I’ve had this little suitcase for some years now. I used it to store craft supplies for the first couple of years, then its been in the shed waiting for a makeover since.

The top was ripped when I got it so I always planned to make it into a side table, but I left it under a window one day and the poodles jumped all over it totally destroying the top, ripping it off the sides and pretty much making it beyond repair.

I ripped what was left of the top off but kept the rim with the locks. I glued the cream edging back on and glued the top to the bottom as well to make it one solid piece.

The inside wasn’t in bad condition but I’d had a craft glue spill that lifted some of the lining when I pulled it off, so the inside needed something to jazz it up. A friend gave me some educational magazines aimed at kids in the 60’s. They were so old fashioned and the cheap paper had yellowed… they were perfect! I used some articles and illustrations from those inside. I loved the colours and some of the headlines.

Of course it needed a new top. I had found that the packers used between products in pallets were usually offcuts of tasmanian oak. The hardware store throws these out so I scavenged some pieces from their pile. I glued and clamped them together, then traced the suitcase shape on the back, allowing for about an inch overhang all round. I reinforced the back with strips of timber, both to hold the slats together and to ‘lock’ the top in place on the suitcase.

I sanded the top and gave it a few coats of leftover polyurethane from when I did my kitchen, office and hallway floors. That made the colours really pop.

In order to fit legs on it, I cut some thick MDF and used liquid nails and some button head screws to attach it securely to the bottom of the suitcase. The legs came from the tip shop and they already had castors on them which was a bonus. I just cleaned them up and rubbed some dark wax on them.

Meanwhile, I cut up what was left of an old belt I’d used to make handles on a tray ages ago and used small screws to attach each handle, effectively making the top into a handy tray.

Everything used to make this suitcase sidetable came from tip shops, op shops and bins, thus its 100% recycled material.
z
Shared at:

what is a tip shop? and who shops there?

So, what is a tip shop?

Sometimes I forget that not everyone knows that a tip shop it, and in fact, neither did I till I moved to Tasmania.

I’m not sure they even have them on the mainland…

A tip shop is a recycle shop (more or less) which sells stuff which people have thrown away, to other people who:

1. love junk
2. have no money to spend on ‘good’ stuff
3. love old stuff
4. don’t like spending tons of money on ‘good’ stuff
5. prefer to make over stuff they find someone didn’t appreciate, to make something wonderful.

Basically, the ‘tip’ is the rubbish dump. Thus a tip shop, is the rubbish dump shop.

Doesn’t sound so nice when you put it that way, does it?

But I love tip shops, and I’ve gotten a lot of great stuff from tip shops. Even greater once I finish with them.

Let me explain –

First a trip through a tip shop to illustrate what they’re like. Sort of.

Then a few projects made using tip shop finds:

pallet top bench
kitchen table
rubbish bin lid photo display
kitchen chairs
industrial desk lamp

There’s more. Way more. But that explains what tip shops are and how great they are!

z

PS The only reason the armchair in the photo is not already in my shed is cause I have no time!

small things big impact – updating the boring bedroom light

Day 7 – bin chandelier for the bedroom

In yesterday’s post I said take note of the upcycled bin light… cause here it is again! Only a bit fancier now.

This was our light since we moved in. I’ve been dreaming of a better light for our bedroom for a few years now. I couldn’t make up my mind what I wanted, but I definitely wanted something with crystals and sparkle. I’d look at it every weekend, while laying in bed with a cup of coffee, and cringe.

These were the light fittings we had in all the bedrooms. I’m slowly replacing them with more interesting ones.

So how’s this for more interesting?

I had some chandelier crystals, I had the bin with a hole in it, just waiting to be reused… I actually found bayonet to E27 screw in globe converters on ebay so I was able to put in an edison bulb.

A quick and easy job that only took me 4 years and 20 minutes.

A friend of mine said she didn’t like it so much cause… “it looks like a rubbish bin”.

Umm… That’s kinda the point. Its an upcycled bin, not a light fitting. Its a bin with aspirations…

Isn’t the point of upcycling and repurposing to use something for a purpose it wasn’t originally intended for? Well, tick that box.
Anyway, it probably won’t be our forever bedroom light fitting (I have visions of randomly twisted wire…), but for now Wayne thinks its ‘cute’. That’s high praise from him!

What next? No idea.

Stay tuned.

z

small things big impact – the office light

Day 6… The office light

Since we’re on the subject of lights… this is the new office light!

Do you remember the office makeover (part 1, part 2 and then the clean up after it became a mess again)?

Anyway, this is the light fitting I had in there at the time… it was a work in progress which was barely started. A rubbish bin which I’d hung a few crystals on to see how it would look.

Hm. Not quite right. But remember that rubbish bin. You’ll be seeing it again soon.

Meanwhile, the new light is gorgeous. I found it at a tip shop about 2 years ago. Its made up of parts: the rim and the glass dome aren’t connected, they come apart. I mean, the rim is just balanced on the edge there, its not attached. Its a really interesting light and when I saw it at the tip shop I had to have it.

The glass dome allows light to shine all over the room, not just below (as is the case with the hallway light I shared). Perfect for the office where I need to light the entire room.

Of course, it didn’t look quite like this when I found it. Firstly it was grimey. Secondly it was peach.

Sigh.

What is it with me and peach? I’m haunted by that colour!

No before pics. I don’t think I actually took any photos of it at all before the makeover. I just wanted that peach gone!

I sprayed it Rust-Oleum Almond same as the hallway light. I know it looks lighter, but its just the photos.

This light had been living in the pantry (in all its peach glory) since I got it, but it was time to bring it out to be admired. The pantry will get another light eventually, when I make one. Cause as I said, I won’t spend $$$ on light fittings when I can find beauties like this in tip shops.

Another small job finished – the right light in the office.

Meanwhile, got home after work tonight and found the dogs had done some remodelling in the casita. Again.

Another thing to add to my list of things to do: clean up the mess.

z

small things big impact – a bit of a toilet roll holder

Day 3 – a rustic toilet roll holder

When we first moved into this house, the toilet was almost an outhouse. It was on the porch, outside the house. It was, literally a “room with a view”. You could sit there, doing your business, and look out over the valley.

We really haven’t done anything with the toilet since then, other than bring it into the house by enclosing the small porch to make a mud room. Its still ‘outside’ the house and you still freeze your butt off going out there in winter, but its no longer “exposed”.

I’ve been wanting to improve the toilet since we moved in, but its never been a  priority.

I mean, really… its not top of the list of places you want to show off, right?

I do have plans. I bought paintable wallpaper to do the walls, I plan to fix the weather damaged door,  put in a shelf… all kinds of exciting things. Among which was a different toilet roll holder.

I’ve seen toilet roll holders made of non-toilet roll holder items and, being as we’re horse lovers, I always thought a bit would make a good one.

Among all of Wayne’s horsey things was this huge bit for a horse in harness. Its old and the colour is just gorgeous. You can’t really tell in the photos, but it has a green patina to it.

I did consider trying to cut the bit somehow to make it into a roll holder, but I didn’t want to ruin it… so I decided to use it as it is. That way I can recycle it at any time in the future.

Basically all I did was search my stash of junk for a bit of timber which was the right size to hold it. I found this hand sander thingy (I never know what to call these things yet I’ve done stuff with them before). I sanded it (ironic) and gave it a couple of coats of polyurethane, then added hooks underneath to hold the bit.

I had two options for the actual roll holding bit. One was this rusty metal spike (my favourite) or a piece of copper pipe I cut to size and flattened the ends so it would fit through the gaps.

I prefer the rusty spike, obviously.

I really dislike the brackets I have on it now, but it’ll have to do for now. They’re all I could find. I’ll be fixing this up when I finally ‘do’ the toilet.

Oh, I also put on a new toilet seat, but no need for photos of that. We all know what a toilet seat looks like.

These surely were two small changes that had big impact.

z

Shared at: