look what i found

I got a great email the other day from Laure,l from The North End Loft, telling me she had featured my tin crown in her Friday Finds post. Thank you Laurel!

http://www.thenorthendloft.com/2014/02/friday-finds.html

It got me thinking. Lots of bloggers do ‘finds’ type of posts once a week and its a great way to share things with your friends and followers. Maybe I should do it…

Then again I’m a ‘fair weather’ blogger. Sometimes I post a lot, other times I disappear for weeks and my friends have been known to phone E.T. to intercede on my behalf in case if I’ve been abducted.

Its all very well to have time to do everything I try to cram into my day, then I have to find time to blog. And most of the time I’m just too tired at the end of the day to answer emails, let alone be creative and blog.

I think I will join the ‘finds’ club, but make it a random thing… you know, more like a surprise than a reliable weekly thing.

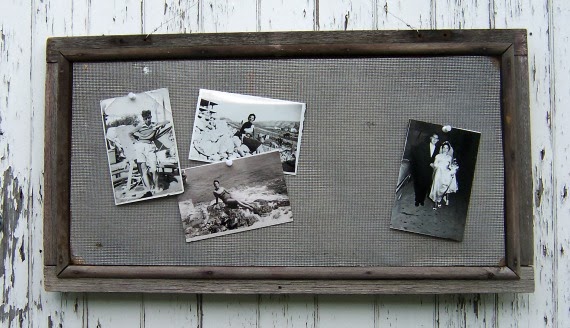
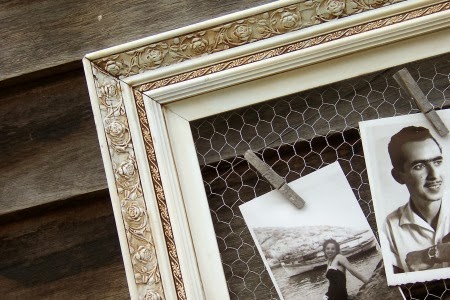
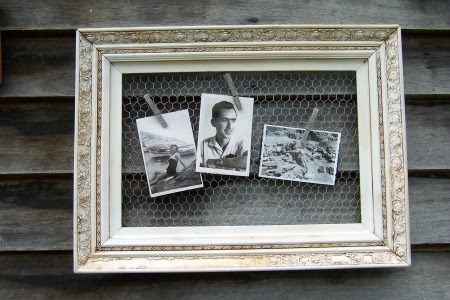
So, in the spirit of sharing interesting things I’ve seen, been inspired by or found… here is the best idea for displaying art. I found it while browsing The North End Loft. Laurel made up boards with pegs and clips up different art according to the room and the mood. Isn’t it brilliant?

I think I’m going to make some of these for myself. There is only so much wall space in this house and there is just so much I’d like to display. Changeable displays are a wonderful idea.
Here are some great finds from a garage sale up the road a week ago. I love this old fashioned bike light…  it’ll make a great something one day. And those clamps. I have ideas for those already, but you’ll see how one has already come in handy in an upcoming post. 

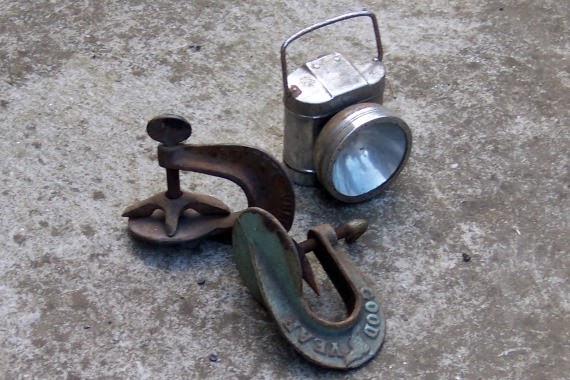
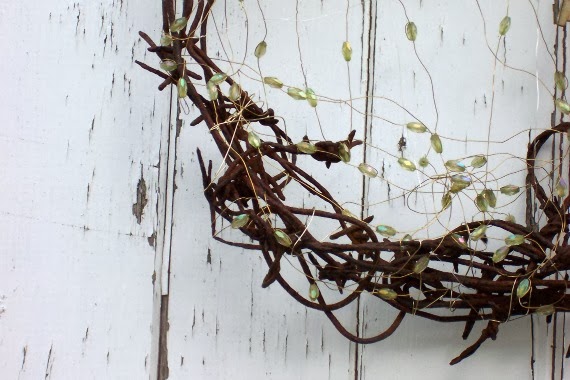
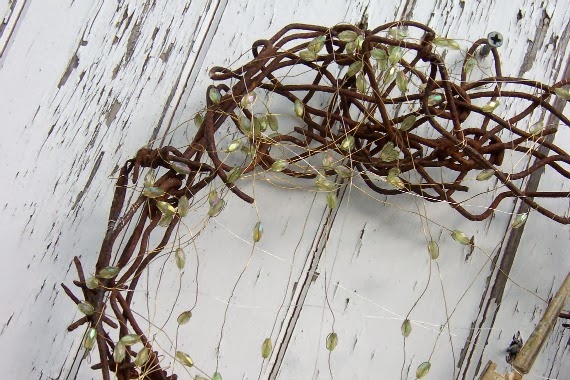
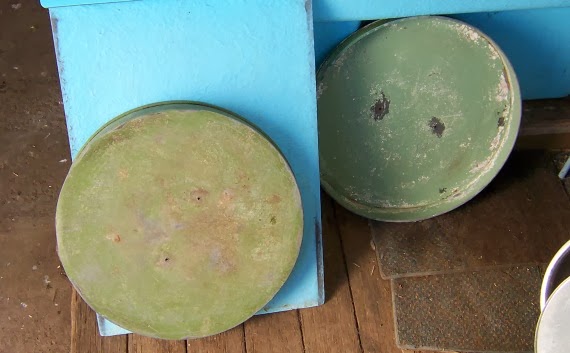
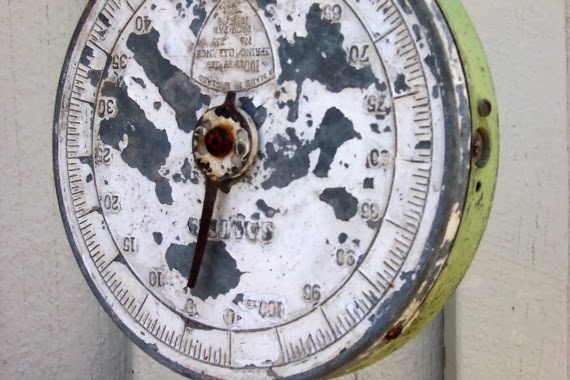
I also found these two old scales to add to my collection. (Anything over 3 is a collection and I now have 4 of the hanging type and 5 of the table type scales). This first is wonderfully chippy with that lovely old fashioned green on the back.

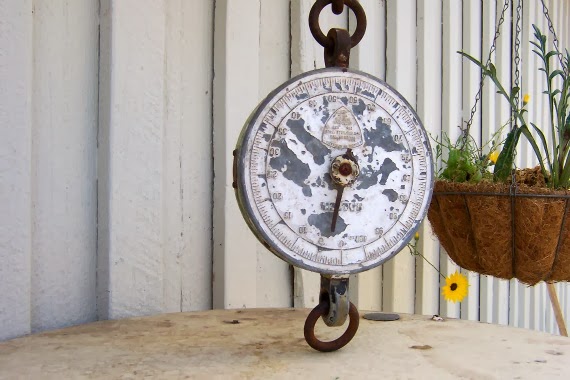
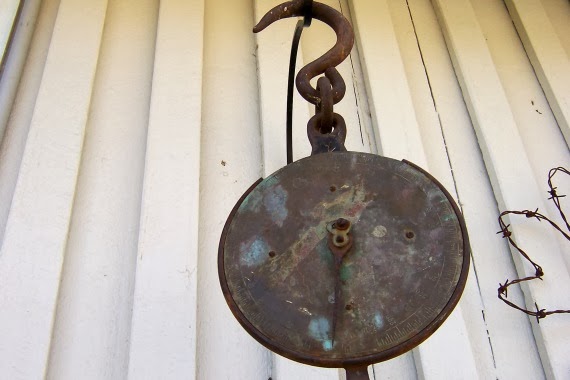
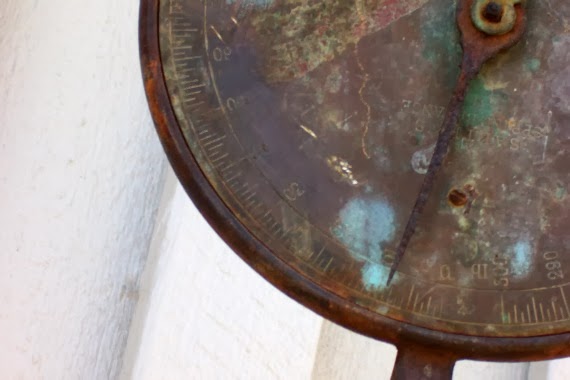
The other has a lovely patina of rust and green. They’re both hanging on the side of the house for the time being, replacing the plants I had in hanging baskets.

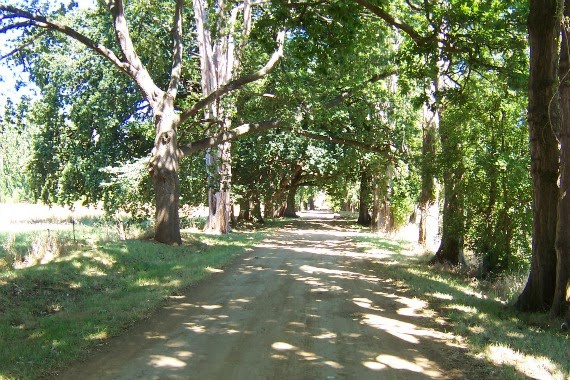
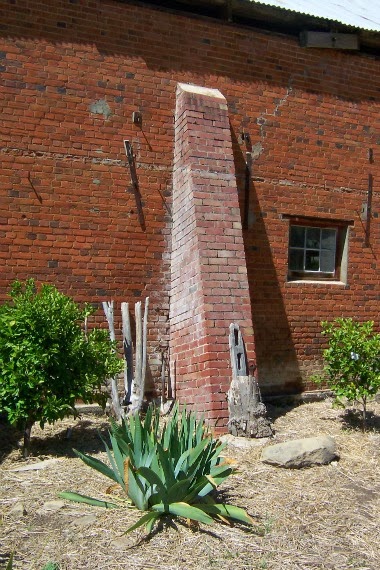
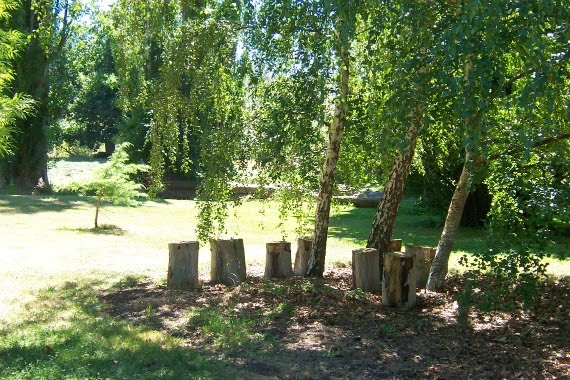
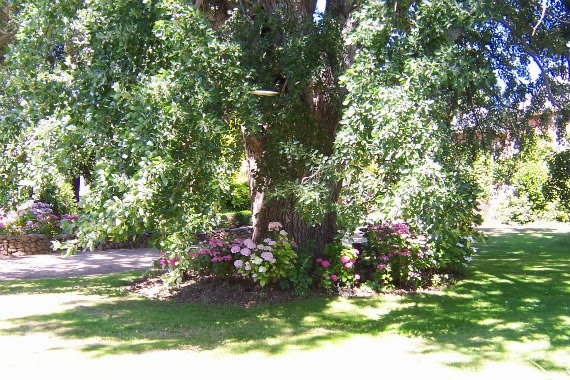
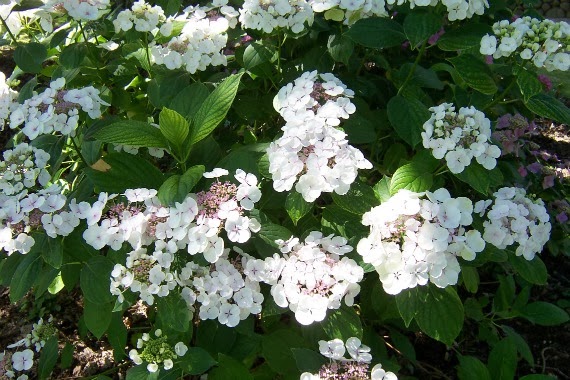
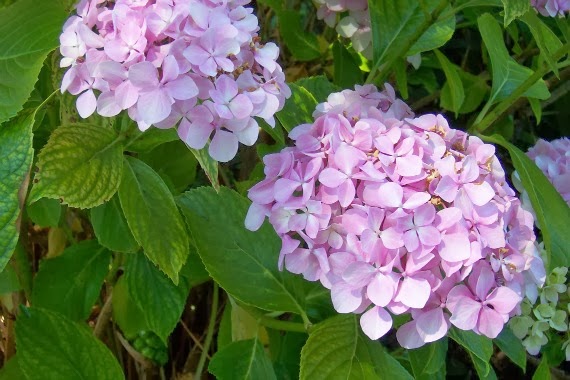
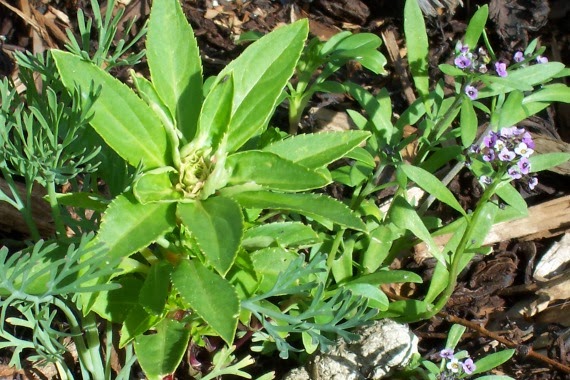
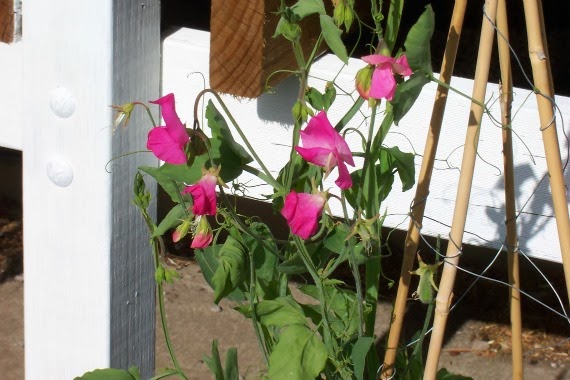
Most of the plants I had in pots have gone into the ground now. The garden is looking wonderful. Most of the plants I put in have grown and the place is starting to look like someone loves it. If I continue in this vein my garden will soon look like a little old lady lives here.

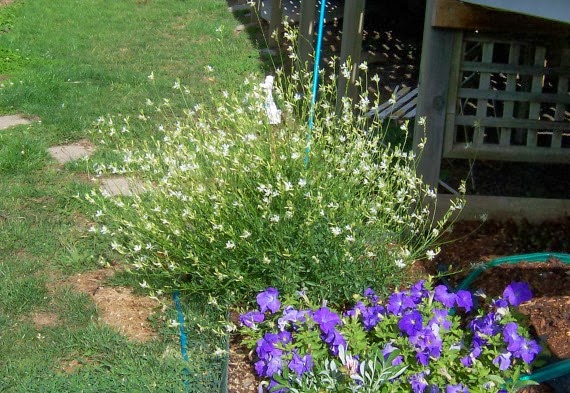
– You know. The older the you get the more into gardening you are… the best cottage gardens usually belong to little old ladies who’ve been gardening for 30 years.

z

redlands – dream garden

There’s a place just outside New Norfolk which I’ve always wanted to visit, and last weekend Wayne and I finally found the time to go and have a look around. Its called Redlands and used to be a huge farm with lots of outbuildings like its own blacksmith, bakery, distillery, etc.

It still has a distillery where they make their own whiskey and schnapps. Good stuff. Oh, and the bakery is also a going concern now – its not open for visitors but it bakes artisan bread which is sold through some local shops.

You know I’m a sucker for old signs.

And old buildings. The distillery shop is inside what looks like it may have once been a dairy, wonderful stone floors and thick stone walls. Unfortunately the photos I took inside suck.

This is part of the distillery.

Then of course there are tons of old buildings, some in better conditions that others. I’m not sure if they’re in use or not.

This is the old oast house.

This is the workers’ quarters. Amazing. There’s talk they want to restore these rooms as tourist accommodation. 

I love it all. Especially the garden. Its the kind of garden I dream of… the kind of garden I would have loved to grow up with. Its the kind of garden fairies flit around in and leprechauns live in.

There are trees with branches which hang down to the ground, creating ideal secret hiding places… love the sitting area comprised of tree stumps under these birches.

The ducks enjoy a bit of shade on a hot day.

No garden is complete without a cubby house!

And the flowers! Huge trees with hydrangeas growing happily underneath them.

Stone wall fences and more hydrangeas… old fashioned and new varieties. Beautiful. And much happier than mine in the shade of the big trees.

If I had this canopy over my garden I’d spend more time sitting in the garden reading or just relaxing.

I love Redlands. Our garden will never look like that. But hopefully I’ll soon have a garden full of pretty flowers and interesting corners. And an area to sit and relax in the shade.
z

tin crown tweaked

 Remember this tin crown?

I was happy with it. I thought it was finished.

Goes to show what I know!

I put it on the shelf and called it done.

Wayne walked past and tweaked it. A bit. Just a tiny bit.

And now its better.

All he did was bend out the points a bit and suddenly it was better. It was perfect!

Don’t you hate it when someone else can see something you don’t?

z

i’m a big fan

Thought I’d quickly share these photos of the birthday present I got Wayne this year.

I was looking through the old tool section of a local antique store when I saw this little beauty and just had to grab it. Its a heavy duty fan of some kind of machinery.

(We like getting eachother useless rusty things as gifts. Love it!)

I love the chippy paint and the rust. The photos suck, but hopefully I’ll get better photos of it when I put it up somewhere.

Don’t you think it’d make a terrific light fitting for the new kitchen?

Then again, its Wayne’s present, not mine. Maybe it’d look better on the garage wall!

z

a nice dripping tap

A few weeks ago I bought a replacement tap for our yard.

I got the wrong one. I didn’t know they came in more than one standard ‘yard tap’ size.

But it didn’t go to waste. I had this weathered bit of timber from an old gate or shed door, complete with a rusty hinge. I have no idea what it came off, all I know is that when I saw it in the scrap pile near the stable I grabbed it.

Like everything I collect, I knew it would come in handy one day.

I had drop shaped crystals. I had fishing line. I had crimping beads.

Most importantly, I had the tap and the board, complete with rusty hinge.

I put them all together and now I have a perpetually dripping tap… in the best possible way.

I haven’t found the right spot for it  yet, but I love the look of it near the plants in the new flower beds.

z

Shared at

Beyond The Picket Fence

rusty wreath reborn

I love rust. Its no secret. When I see a piece of rusty wire, no matter how bad its condition, my heart skips a beat.

I found this old piece of messed up rusty wire out the back of our property somewhere and picked it up. It was pretty mangled. No way to unravel it, so I did the next best thing. I weaved it into a circle, added a few bits of rusty barbed wire and called it a wreath.

You can see how it looked in its first incarnation here.

I lived with it like that for a while but it just wasn’t … finished.

You know what I mean.


It needed something… more. It needed a strand of wire with glittery green beads on it.

And a couple of aged keys.

The wire with beads was given to my by a friend who said ‘I thought you’d be able to use this’… how right she was!

I love the shine of the gold wire and the sparkle of the beads against the flatness and colour of the rusty wire.

I love the tangles of the wire.

I’d say its finished now… it just works!

z

PS On an aside, the ‘search this blog’ link isn’t working… I have no idea why. It used to work!

Shared at:

flyscreen pinboard

This weathered old flyscreen has been hanging around my shed for a while. I can’t remember where I found it, and I had no idea what I’d do with it, but I loved the look of it, especially the metal flyscreen with a few rusty spots and a few small holes.

ie character.

Anyway, while considering what to make of it, my eye fell upon a piece of bulletin board I had… could I make it into a pinboard?
Yep.
The bulletin board was just the right thickness. I cut it to the right size and popped it into the frame from the ‘front’. I put a piece of plywood on the back to finish it off. 
Now the ‘back’ is the front. You can pin photos or notes onto it, putting the pins through the flyscreen into the bulletn board behind.
I added a bit of wire through the holes already in the frame where the hinges used to be, and it was ready to hang.

I pinned some photos of mom and dad on it for the photos. I’m really enjoying having all these old photos!

I sold this pinboard at the last market to a friend who owns a cafe. Maybe I’ll see it there next time I visit…

z

Shared at:

http://www.funkyjunkinteriors.net/2013/12/salvaged-junk-christmas-candles.html?utm_source=feedburner&utm_medium=email&utm_campaign=Feed:%20blogspot/KCcu%20%28Funky%20Junk%20Interiors%29

an old bathroom cabinet gets an update

I’ve had this little cabinet for a long time now. Back when you could find solid timber bathroom cabinets at the tip shops. For the last few years these guys have become scarce. I’ve only seen plastic (yuck) or metal ones, usually that really awful rental flat stuff.
When I found this cabinet it had the same mirror (which shows its age) but it was painted in layers of thick paint – not in a chippy yummy way at all. Just yuck. The inside was stained and even yuckier…

What I did was sand all the paint off using a grinder with a sanding disc cause it was a serious job which called for the big guns. 
The back of the cabinet and inside of the door was rotten, so I kept the mirror but put in a new sheet of ply to cover the back. I replaced the back with some old tin stuff I’d found. I’m told its siding from an above ground swimming pool. I don’t know. I just liked the look of it.
The metal contrasts nicely with the old distressed timber inside…
And the back has some bits of rust and discolouration cause, you know… its OLD.
Finally, I coated it all with some satin varnish to finish it off.

Originally I’d made my own knob for the door but it broke – and the magnetic catch I put inside the door is really strong and my knob didn’t really give enough grip. So when I decided to revamp it last week I replaced the knob with a sash window pull. A nice old rusty one I had in my collection of drawer pulls and knobs.

When I was living in Fentonbury I had this little guy in my kitchen to hold coffee, tea, etc. Its never been used in a bathroom. But maybe, one day, if we ever get around to redoing our bathroom, it’ll find a place in there.
Unless I sell it first.
z
Shared at:
http://www.funkyjunkinteriors.net/2013/12/salvaged-junk-christmas-candles.html?utm_source=feedburner&utm_medium=email&utm_campaign=Feed:%20blogspot/KCcu%20%28Funky%20Junk%20Interiors%29
 

what to do with an old rubbish bin lid

One day, not too long ago, I found this galvanised iron lid at the tip shop.

I just had to have it. I loved the colour. Or should I say ‘discolouration’? It was marked with old paint and rust and who-knows-what-you’d-rather-not-know-about.

It was wonderful.

I took it home, gave it a good wash, a bit of a scrape with steel wool and it was clean but still colourfully trashy.

Since it was magnetic (see magnet on right hand side of above photo), I thought it’d be ideal as a magnet board for photos or notes or whatever…

But there was a handle in the middle. What to do with that?

Make it into a ‘whatever’ holder!!!

(I did mention I had a whole LOT of birdwire, didn’t I?)

I drilled a couple of holes on the top and bent some wire to make a hanging hook, and done.

The photos are my dad and a friend in cowboy costumes, and my mom and her brother at a dance.

I found a couple more lids at another tip shop a couple of weeks ago and grabbed them. Both of these ones sold at the last market. They were simpler versions of the one above – ie magnetic boards with a hanging hook. They came with 3 magnets made from buttons.

These two were reversible… you could pick which side you wanted to hang as the front – I love both colours. The old galvanised metal as well as the old fashioned green paint.
z
Shared at: 
http://www.funkyjunkinteriors.net/2013/12/salvaged-junk-christmas-candles.html?utm_source=feedburner&utm_medium=email&utm_campaign=Feed:%20blogspot/KCcu%20%28Funky%20Junk%20Interiors%29
 

the broken rose frame

Have you ever had one of those days weeks months when your life just seems to be so busy it overwhelms you?

I’m having one of those months. I look at each week ahead of me and I groan at how many things I have booked in. Work, dogs to groom, meetings, appointments, other work, supplies or groceries to buy, things to fix, make, wash, etc.

Wayne is always lecturing me on how bad I am at prioritizing. That I have a busy week ahead of me and I go on and cram more stuff into it. That he virtually has to drag me out of the house to spend a bit of quality time just relaxing.

I always say that I can’t not do something. I even like to work on something while I watch TV. I love audio books cause I can listen to a book while I drive, groom dogs or work in the shed.

I do remember being able to just relax, once, a long long time ago… and I remember having days in my life when I had nothing planned and could spend the day doing as much or as little as I wanted.

What happened to my life?

Does anyone else have this problem?

Up till about a month ago I was working 5 days a week. Now I’m working 3.5 days and I’m busier than ever. Please, someone, explain to me how I manage this.

Failing that, can someone please point me in the direction of a cloning facility?

Ok. Enough of this self indulgent crap. Time to share something creative.

I had found this old frame in an op shop a long time ago. I loved the rose pattern on it but whole chunks of the roses were broken off. A friend (yes, you Diane) told me I could create new roses but that sounded like too much hard work to me.

Besides, I’m a trashy kinda girl. I like things in their natural state of disrepair, patina, rust, grime, etc.

All I did was paint the frame white, then give it a bit of age using some burnt sienna acrylic paint and a damp sponge. It made the roses really pop and the blank spots actually don’t look that bad.

I had been considering putting a chalkboard into the frame, cause, you know, chalkboards are so popular… but I wanted to go a bit different this time. So I put in bird wire.

Yes… I’m going through a bird wire phase…

I did mention the failed attempt at keeping birds from nesting in our roof. On Saturday I had to cut two holes in the wire I slaved to put up in order to remove a dead adult bird and to let out 3 youngsters who were trapped…

I have tons of bird wire I won’t be using on our roof….

Anyway… I got out my trusty staple gun, put in the birdwire and voila!

The photos, for display purposes only, are my parents. Mom as a beach babe, my dad, and the two of them in a loving pose on a beach.

I took the frame with me to the Lazy May Market on the weekend and donated it to the raffle. I did consider buying tickets to the raffle… it would have been quite cool to win it back and keep it! But I didn’t. It didn’t seem fair.

Maybe if I’m lucky I’ll make myself another one!

z

Shared at: