a little change in the bedroom

I’ve stopped counting – new bed linen for our bed

I finally managed to put one of the new doona covers on the bed this weekend. I ordered this and another online, they were on sale for $35 each… that’s incredibly cheap. How can a girl resist that sort of sale?

This last pic is probably more correct colour-wise, though I guess it also will depend on your monitor.

Our bedroom has a personality disorder… dark and masculine in some parts, feminine and white in others…

And its all my fault.

Our bedroom walls are a medium blue, a really nice colour and very relaxing. The curtains are dark brown and blue, the bed and bedside tables are dark brown in a country style. They came with Wayne, and somehow seemed more suited to us as a couple than my lighter coloured timber (and lighter style) bed which is in the guest room.

I loved Wayne’s chunky bed, though I’m not overly fond of the bedside tables. I also loved his dark brown bedding so I decided to go with that colour scheme: blue and brown. Its a more masculine room, but comfy and warm.

I hated the plain pine wardrobe and chests of drawers so I painted those antique white. Thus we have a room which is Wayne on one side and Zefi on the other. The bed side is all dark wood and Wayne’s american indian stuff, the other side is all antique white chests and wardrobe with family photos and knicknacks.

One day I’d love a white on white bedroom but it won’t be happening any time soon. I’m not up to repainting the big bed or bedsides and ain’t no way we’re buying new furniture right now. Its either make/recycle/revamp things we have or I find at a tip shop or live with what we have.

Frankly, given its taken me years to paint the chests of drawers and I’ve dragged on the wardrobe makeover for months now… its doesn’t look promising.

So I make do with small changes, like a new doona cover.

z

small things big impact – the kitchen shelves. finally.

Day 10 – kitchen shelves at last

Do you remember when we finished the kitchen makeover?

In fact, do you remember what it looked like originally?

You’ve come a long way baby!

Anyway, despite how great the kitchen looked after the makeover, it wasn’t really finished cause I wanted open shelves. The plan had always been for open shelves. I have an entire pinterest board dedicated to open kitchen shelves.

We finally have shelves!

Whoo-hoo!

Why the delay you may ask?

Well… I had to figure out what brackets I wanted. I knew what I wanted… the IKEA plain timber triangular brackets. But of course IKEA never has them in stock. Not that we even have IKEA in Tasmania…

Then I started to think I could make my own brackets. After all, I own two jigsaws and am not afraid to use them! But I couldn’t get past the technicality of how to fix them to the wall and my general fear of stuffing up*.

In the end I got the fancier country style IKEA brackets. They work. Though I’m not sure how strong they’ll be. They’re made of MDF (the website said ‘timber’… I guess MDF is a type of timber, but its not very strong). I managed to break one while putting the shelves up – once you pull a screw out of MDF its pretty stuffed. I’m not overly happy with that.

That’s why there are three brackets on the lower shelves – to be sure they’ll hold the weight of dishes. The top shelf doesn’t need three brackets as it won’t be holding any real weight.

Wayne jumps every time there’s a loud noise in the kitchen… he’s sure they’ll come down cause I’ll put too much weight on them!

The timber I used is laminated pine – a big slab of joined pine pieces, 30mm thick for things like table tops or counters. I bought the whole slab and had a nice buy at the hardware store cut 3 shelves at the right size for me.

Problem was pine is nowhere near the same colour as the benchtops, which is tasmanian oak, so I had to stain it. I experimented a bit and ended up using maple stain and three coats of polyurethane. I think the colour is pretty close.

I had a friend help me put them up. No way could I have done these without help, the lifting alone would have undone me. But its the maths I’m not good at. I measure, check, measure again and still stuff up.

*eg. The top shelf… It was meant to be at the same height as the top of the window frame. I calculated that the shelves were 35cm apart. I thought I was so clever when I subtracted 3cm from that for the thickness of the shelf and marked where the shelf should sit before I marked where to pre-drill for the brackets. I measured, marked, checked.. Then I got up lined the shelf up below the marks, not above, so I ended up putting the top shelf in 3cm lower than planned.

Well, I still love my shelves.

As you can imagine, I was eager to start using the shelves. I couldn’t wait to get out my kitchen scales collection! That end one on the right is one I bought a year ago and have had under the bed, just waiting for the shelves to display it.

The darker green baking dish is one I got at an op shop yesterday for the princely sum of $3.

And my crazed and chipped bird plate is on display again!

There’ll be changes to the shelf contents over the next few days for sure, but I’m loving it. And Romeo is loving it!

The idea is to keep everything we use on a daily basis (dinner plates, bowls) on the shelves within easy reach. Also, the my pretty bowls which are both useful and decorative.
Time to begin getting rid of all the not so pretty things we own…

This is the before and after of that corner of the kitchen. Pretty big difference, wouldn’t you say? We moved the window, sink and stove, got new appliances, timber lined the walls, removed the lino, refinished the timber floor and put in all new cabinets with a solid timber benchtop.

A big job but totally worth it!

z

Shared at:

small things big impact – the bathroom gets cleaned out

 
Day 8 – breathing space in the bathroom
Nothing much to show for today… but I did clean the bathroom. Its been months. Seriously. I’d clean the sink and shower but things just piled up on all the surfaces… today I went in there and gave it a good clean and tidy. I even went through the medicine cabinet and my makeup and tossed out anything that was old and not used.
Except for my perfume. I don’t use it often but I do love it when I do.
Since our bathroom is a disgrace, I’m only sharing tiny bits of it at once cause its like the funniest joke in the world (according to Monty Pythons Flying circus). You can only be shown one bit at a time for your own safety.
Above are my wire ducks. Love those things. They hold soap bars on the middle shelf I put up a couple of years ago.

The bottom shelf holds two wire baskets I got from… you guessed it! A tip shop! They hold hand towels and bathmats.

Or they do when I do the washing…

The top shelf holds my collection of bottles. Most of them are old bottles I dug up from a corner of my yard in Fentonbury.

Below the shelves, in the corner the bathtub used to be in, is a big square basket I’m using as our laundry basket. I lined it (badly) with some grain sacks. One day I’ll get some ticking and do a better job.

A little air plant lives in a tiny galvanised planter given to my by a friend. The fat pig is a Chinese good luck symbol.

At least that’s what I was told.

I have quite a few old tins in the bathroom, and a few enamel mugs. The tins are purely decorative but I use the mugs. I also use the old wooden caddy to keep stuff looking tidy. (It only works till we use the bathroom next).

Wayne keeps his stuff in the old timber medicine cabinet I refinished years ago.

The rest of the little tin collection sits on top of the medicine cabinet. This cabinet was in the office (which was a bedroom back then) when we bought the house. How odd.

All in all, I feel better about our ugly bathroom. I threw out a bag of stuff and its much less cluttered.
z

small things big impact – the office light

Day 6… The office light

Since we’re on the subject of lights… this is the new office light!

Do you remember the office makeover (part 1, part 2 and then the clean up after it became a mess again)?

Anyway, this is the light fitting I had in there at the time… it was a work in progress which was barely started. A rubbish bin which I’d hung a few crystals on to see how it would look.

Hm. Not quite right. But remember that rubbish bin. You’ll be seeing it again soon.

Meanwhile, the new light is gorgeous. I found it at a tip shop about 2 years ago. Its made up of parts: the rim and the glass dome aren’t connected, they come apart. I mean, the rim is just balanced on the edge there, its not attached. Its a really interesting light and when I saw it at the tip shop I had to have it.

The glass dome allows light to shine all over the room, not just below (as is the case with the hallway light I shared). Perfect for the office where I need to light the entire room.

Of course, it didn’t look quite like this when I found it. Firstly it was grimey. Secondly it was peach.

Sigh.

What is it with me and peach? I’m haunted by that colour!

No before pics. I don’t think I actually took any photos of it at all before the makeover. I just wanted that peach gone!

I sprayed it Rust-Oleum Almond same as the hallway light. I know it looks lighter, but its just the photos.

This light had been living in the pantry (in all its peach glory) since I got it, but it was time to bring it out to be admired. The pantry will get another light eventually, when I make one. Cause as I said, I won’t spend $$$ on light fittings when I can find beauties like this in tip shops.

Another small job finished – the right light in the office.

Meanwhile, got home after work tonight and found the dogs had done some remodelling in the casita. Again.

Another thing to add to my list of things to do: clean up the mess.

z

‘heap of change challenge’ johnny come lately

There was one project at the top of my list when I decided to join the heap of change challenge last month.

The office.

Not long ago I shared my office makeover (part 1 and part 2) and the blind makeover. It looked great for about a week.

Then things started piling up. And up.

Soon the office looked like this:

And this:

And this:

Actually, to be honest those photos were taken when I put ‘office cleanup’ at the top of the challenge list. Then I went on to clean up the workshop, got tired, ran out of time, got abducted by aliens… I just stopped. Cleaning and organising that is. I didn’t stop piling stuff in the office.

Every time I came across something I wanted out of the way , I’d put it in the office.

Side Note: Have you ever felt that cleaning is just another word for ‘moving things’? Have you ever considered that you will never have the entire house tidy at the same time cause in order to clean one area, you mess up another with things that don’t belong ‘here’ and there’s no ‘place’ to put them… yet… till you create one for them when you clean the next room.

The mess was a whole lot worse than in the pics, but by not sharing those pics I can keep a little dignity… (ha)

Here it is now. After I put everything in the workshop to sort and find a place for later.

Next week I’ll be cleaning the workshop again.

I even put initials on the filing cabinets. One for me and one for Wayne, in case Z and W wasn’t obvious.

The new/old shop rack is now extra storage for bits and pieces.

There are still a few things to do, get rid of the old desktop computer for instance, but I love the new clean office. So much in fact that I don’t think I’ll ever use it again.

z

new office blind, the cheap way

One project finished.

And what an adventure it was!

You already saw a preview yesterday…

This is what the blind in the office looked like before.

Salmon.

Like everything else in this house when we bought it.

Gack.

I wanted a new blind. I’ve been wanting a new blind forever, but since I made over the office its been a lot higher on my list of ‘wants’. But I didn’t want to spend a ton, or even a little…

Enter the painting the blind idea.

First I planned to paint stripes; paint the blind white, then paint stripes in pale grey with a distressed look… to kind of match the kitchen blind but to not be identical.

But I didn’t have any light grey paint. I did have aqua, so I mixed up a batch of light aqua and got ready to paint stripes.

Have I ever mentioned my bad relationship with numbers?

I hate measuring things… hence my slapdash creative methods.

Well, suffice it to say I stuffed up the stripes.

So, I did what any self respecting DIY-stuffer-upper would do… I painted the whole blind aqua.

Then I decided to try chevron … cause its so much LESS numerically demanding!

I have no idea what I was thinking. I was in the zone.

I looked up ‘how to DIY chevron easily’ on Pinterest and found a suggestion that I grid up first. I used a book as my ‘slightly off-square’ shape and pencilled in a grid.

I then used an off-cut of timber to achieve the width of my stripes… and very soon ended up totally off my grid.

Eh. No one’s perfect.

I masked off my stripes and used a mini roller to paint in the stripes. I only gave them one coat using the chalk paint mix I was using on the chests of drawers and wardrobe* so that the effect is a bit uneven and ‘washed out’ in spots. The old look I was after.

The masking tape lifted up a few small spots of aqua as well, thus giving it an even older, more distressed look…

Oh well, it may not be perfect, but it looks ok… As my mother likes to say “many will see it, few will notice”.

This morning I erased all the darn pencil lines and painted the back all white. One happy accident was the difference in the aqua vs white. The aqua is semi gloss and the chalk paint is matt so the blind now has both colour and texture.

However, this is one adventure I’m not likely to repeat soon. If ever.

I do enjoy painting, measuring not so much. And painting on the floor I can live without.

The difference in the office is amazing.

Take another look at how it was before:
And now:
Much better!
Today I also went a little crazy and added pom poms to half the window.

Why?
Cause I could.
Cause I had the pom poms and didn’t know what to do with them.
The photo sucks, but the pom poms are kinda pretty. As long as you ignore all the bird poop on the window and the view of the garage.

All in all, its been nice to finish something, even though it wasn’t really on the To Do list for this week.

z

* My DIY approach is simple: once you get a paint out and start painting, paint anything and everything you can in that colour while the brush is wet.

Shared at:

sag drag and fall

(as opposed to flip flop and fly)

I have no idea what’s wrong with me.

I can’t seem to find the energy to do anything. Or the desire to try to find the energy.

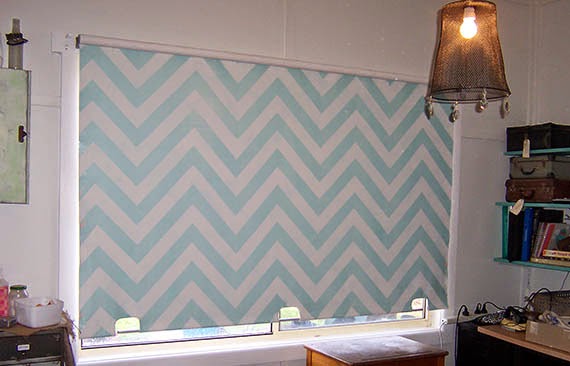
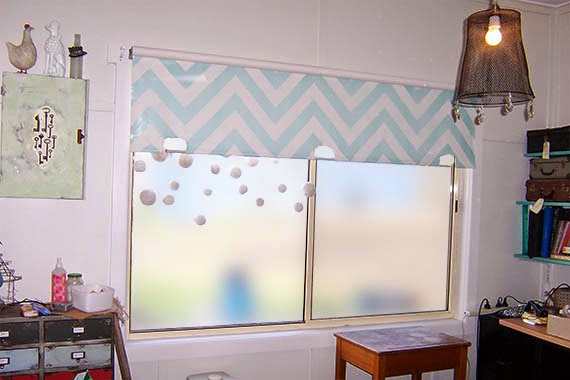
Yesterday I did get one paint of topcoat on the woodwork in the tiny hallway (4 door frames) and the window in the bathroom. But I was seriously dragging my feet as I did it and then I forgot to wash the brushes cause I got sidetracked feeding dogs and feeding and rugging horses…

I did 4 loads of washing, groomed two dogs, cleaning the living room and tried an alternate furniture arrangement (it sucked) and sprayed all the weeds I could using one full load of the backpack sprayer. Then it rained and all my good work went down the drain.

I didn’t even bother trying to get the clothes in off the line.

Ok, when I list the things I did yesterday it doesn’t sound like I was lazy, but trust me… I was. This is not normal behaviour for me. I get up in the morning and I start doing stuff, starting with feeding animals, then moving on to whatever I have in my mind for the day… usually changing them as I go cause I get distracted and sidelined. Like weeding. I see a huge weed and grab the weeder, then, before I know it, half an hour has gone by.

Normally, I’d be painting in the hallway, cleaning or organising things in the house, then I’d find a project I want to do and get onto that. Somewhere along the line I still manage to finish the cleaning and organising jobs I start and do a second coat of paint.

Right now I’m finding I really have to push myself to get off my butt.

Then, instead of getting online and posting on the blog or catching up with all the emails in my inbox, I watch tv like a couch potato.

Wayne says its cause I need to rest.

I say its cause I’m feeling a bit down when things don’t work out. Like the living room re-arrangement. Or the waste of weed spraying.

This morning I gave myself permission to be lazy. I got up, fed animals, pooperscooped the yard, did some weeding (see? all it takes is a walk across what passes as a lawn and I can’t help myself), put up some wire trellis for the sweet peas which didn’t hear that they were supposed to die in winter and are trying to crawl up the porch rails. I also put a trellis up for the jasmine which I want to encourage to grow up the side of the casita.

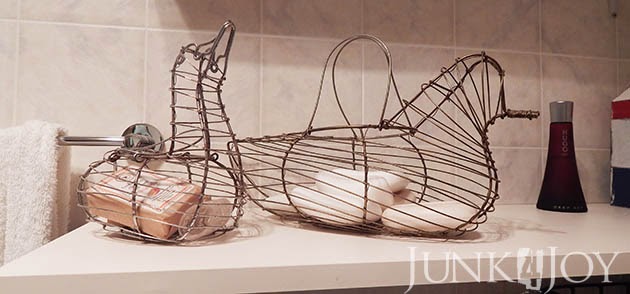
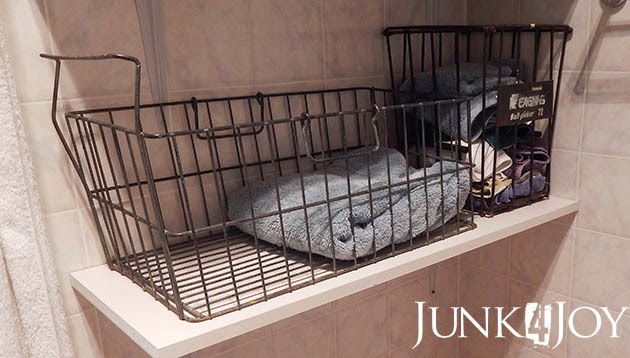
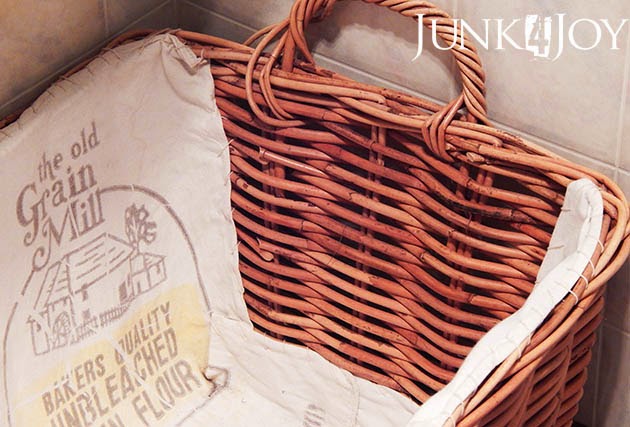
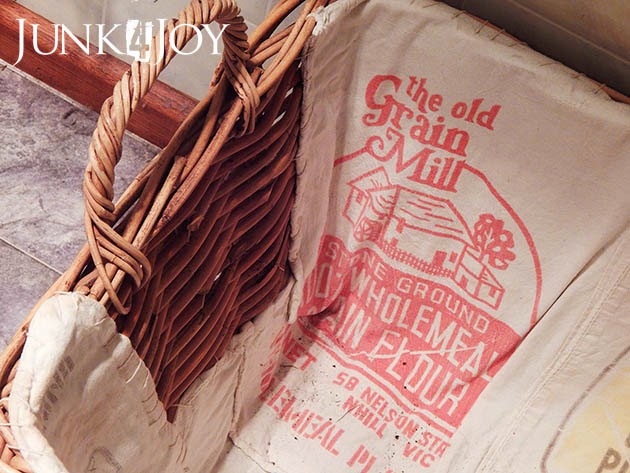
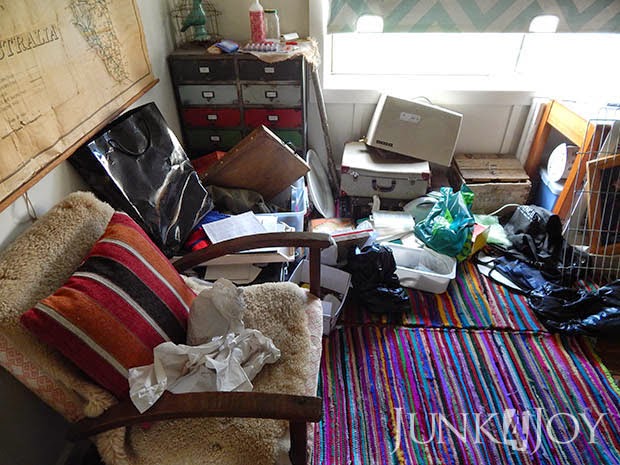
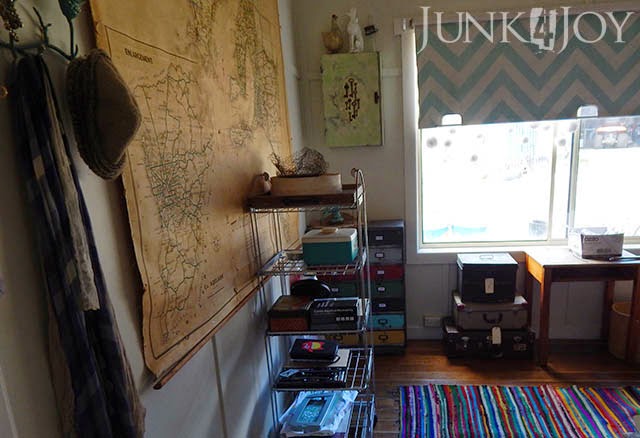
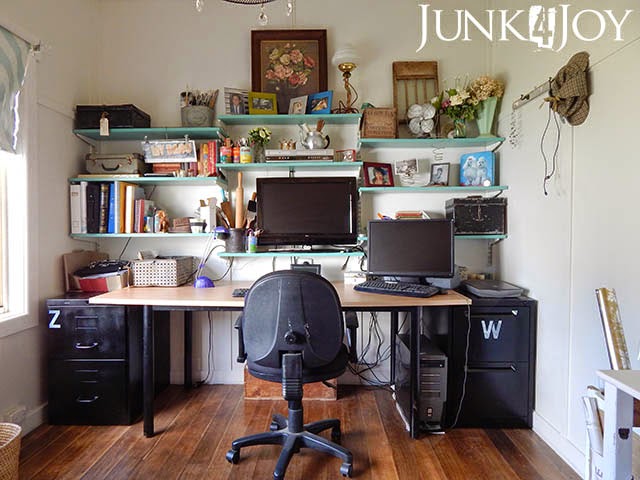
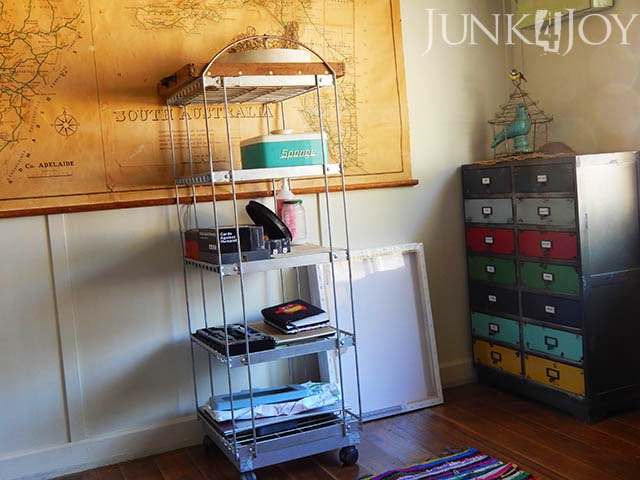
Its blowing a gale out there and I am trying to convince myself to do another coat on the woodwork (do I really need to? Its just a tiny hallway. Will anyone notice?) or something else productive. Like sew a liner into the large laundry basket I got. Or clean up the wire shelf thingy I got for the office. Oh and tidy the office. Again. And clean the kitchen. And bathroom. And bedroom.

Or maybe just pick one of those and do that.

Right now I just don’t really care to do anything.

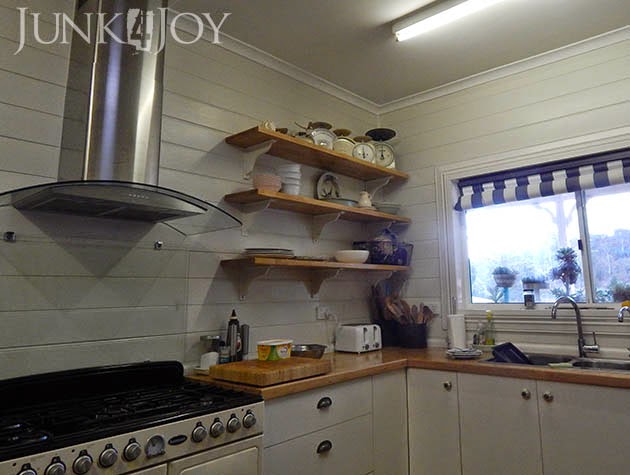
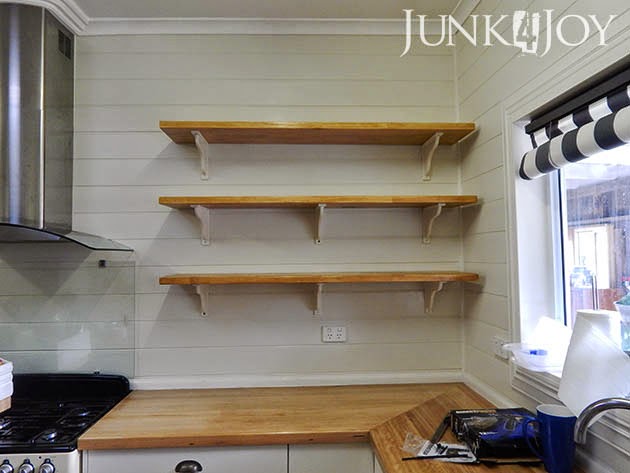
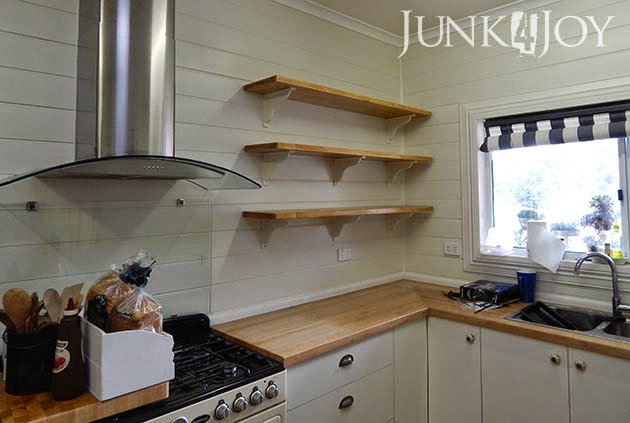
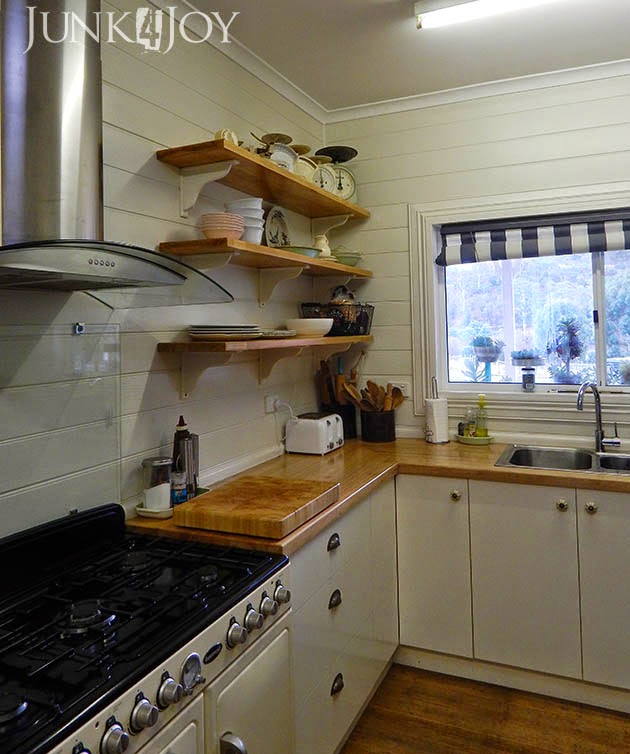
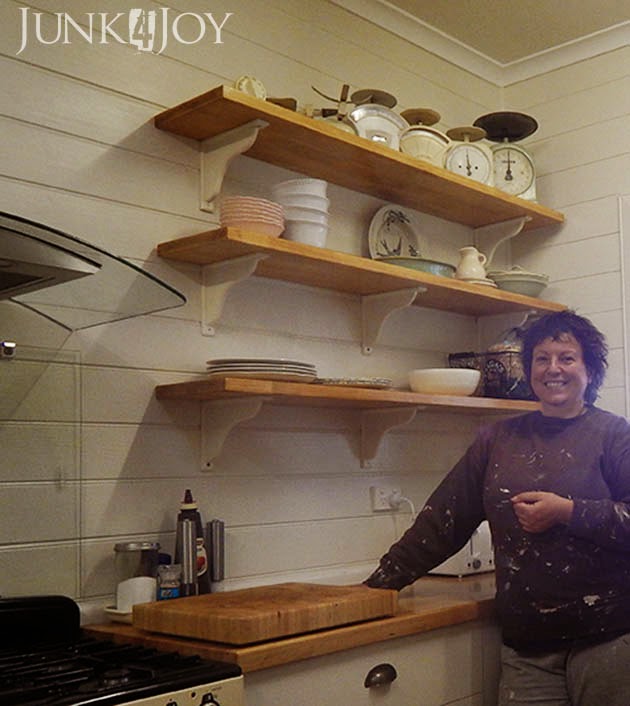
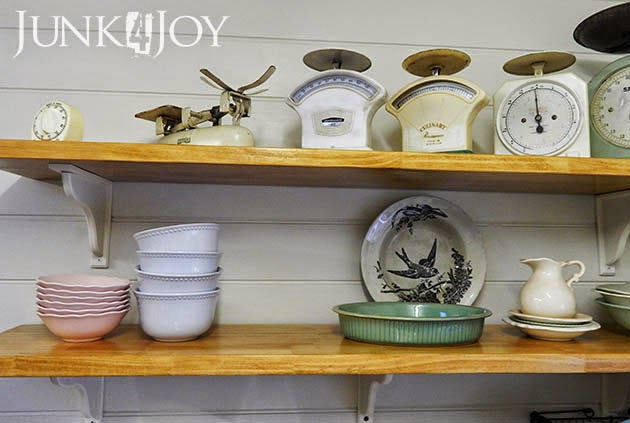
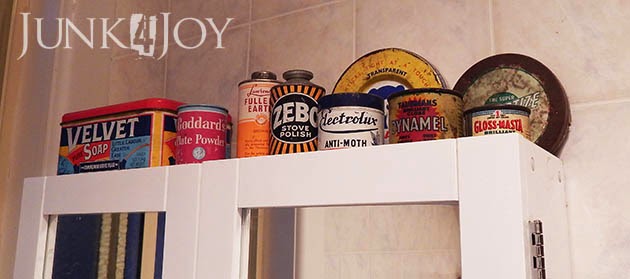
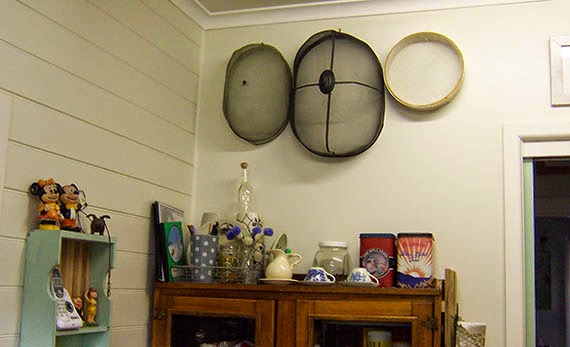
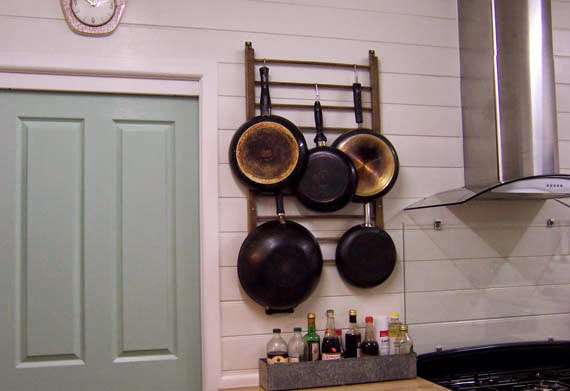
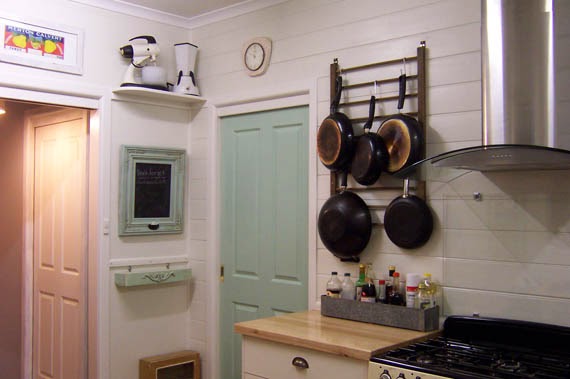
However, just so this isn’t an entirely boring whining post, here’s a little something I did to the kitchen wall last week during one of those short bursts of inspiration and energy. I put my two antique food covers and a grain sieve I bought in Greece (you’ll recognise this one Zef) on the wall above the cupboard in the kitchen.
I’ve had these for a few years now but never had anywhere to put them. Now they have a spot and when I need them I can just use the new stepladder to get them down.
Yes, a new stepladder. I realised that the 60s stool/stepladder I have is probably not as strong as it should be for me to climb up to reach high places… I bought a folding stepladder which is slim enough to fit in the gap between the pantry and the wall in our tiny entry way. Its already come in really handy. I’ve used it to organise the pantry last weekend and while painting in the hallway.
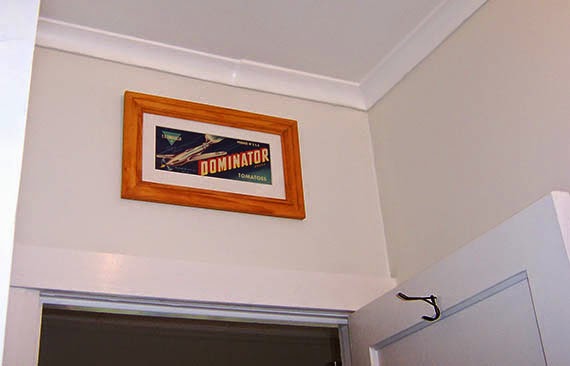
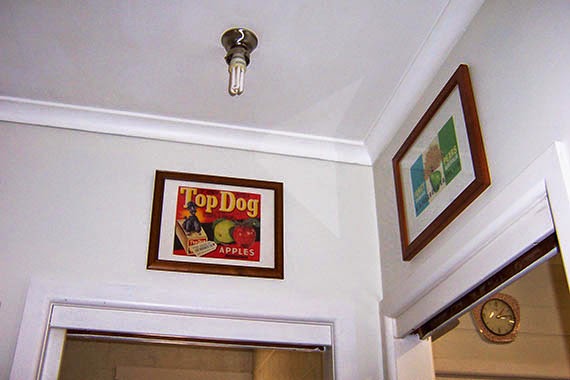
Here are some photos of the hallway with the newly painted walls (which should really have had a third coat but I ran out of paint and its only a tiny hallway anyway, who will notice?
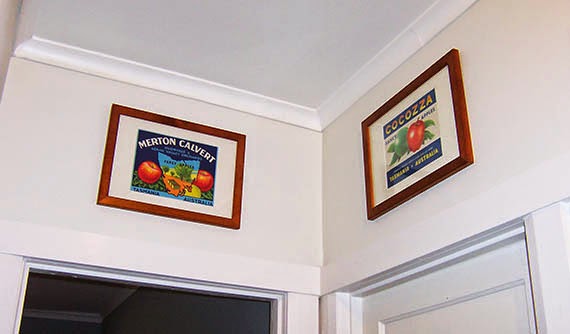
I decided to hang some of my fruit labels above the doorways to cheer the place up a bit. This is above the office door.

Above the bathroom and kitchen doors where I need to put a nice light fitting. Love my Tasmanian fruit label with a poodle on it! Ironically I bought it on ebay from the USA many years ago.

Last, the living room door and the spare room door (on the right).

I know have a blank wall on the left where I’m considering putting some hooks for our bags so they don’t sit on the floor or any available surface in the kitchen.

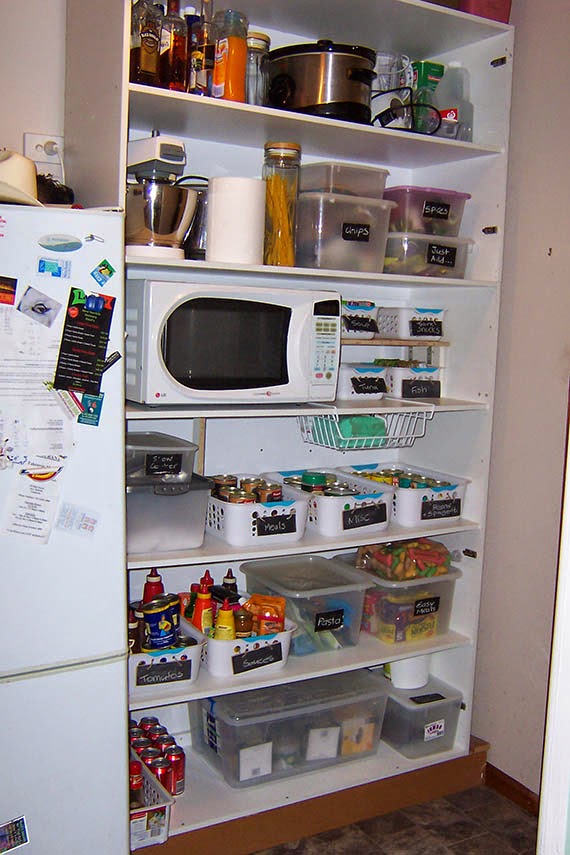
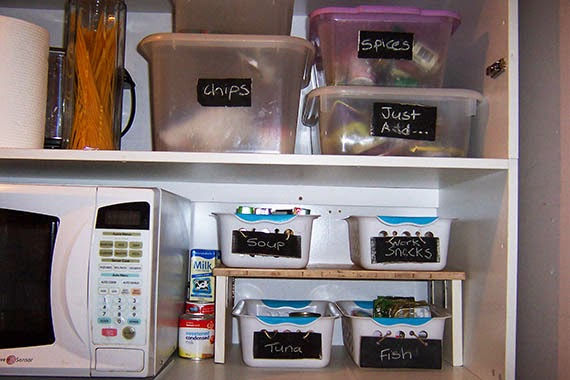
Here’s a look at the ugly, but now organised, pantry in our squishy entry.

When I was doing this last week I made a small shelf out of some leftover bamboo flooring to double the space for the small containers.

I think I know what my problem is… power tool withdrawal. I need to make something. I felt energised when I made the stupid little shelf last week. But I can’t make anything till I clean out the casita so I can actually get to the power tools. And find anything else I need.

Maybe I’ll have more energy tomorrow.

z

polished concrete

Have you noticed how suddenly its all about polished concrete? Like its the big new thing, better than sliced bread, bigger than Ben-Hur, the new in thing, the must have…

I’m confused.

I grew up in Greece (well from aged 10-24 anyway) and to us there polished concrete – with exposed aggregate – was everywhere.

It wasn’t trendy.

It was boring, old fashioned and we couldn’t wait to get rid of it. When Dad built our new house in the seventies, he went for carpet and tiles. All new homes in Greece that I know have floorboards, tiles or carpet.

Yet here in Australia, everyone seems to be going bezerk over polished concrete.

I’m confused.

Mind you, I get the polished concrete where the aggregate isn’t exposed. Its just shiny grey and somehow more interesting to me… cause to me, the exposed aggregate type of polished concrete is not special.

Its the floor in my aunt’s kitchen. Its the floor in our first house till we put carpet over it. Its the floor outside the monastery on Paros, and in the church, and just about every single old floor I ever stepped on.

How did it become the new up market thing?

Someone better tell all those greeks they’re on the cutting edge of interior design!

z

a place for our keys

Once upon a time Wayne had this box in his garage. I think he once told me it was meant to hold a dartboard…

I remember now (hard not to with all the yelling…),

…but I’d forgotten it before I pulled it apart…

Anyway, from the moment I spied it just sitting idly against a wall, I had plans for it. I found it was made of 2 boxes joined together so that their doors opened outwards like a wardrobe.

One day I got inspired and pulled it apart. That’s when he reminded me what it was for.

oops.

Anyway. What was done was done by then. I may as well do something with it to make the destruction worth it, right?
What I saw when I looked at it was a key storage box… a place to keep our keys organised and labelled. (Sorry, no before photos.)

Making into what it is now wasn’t an easy job. When i pulled it apart it had chipboard glued to the inside. REALLY well glued. I ended up taking chunks of timber out when I tried to pry it out using a chisel and scraper. Then I put the sides back so it was a single box with a door even though the inside was awful with all the gauges.

That meant I had to find a backing for it. That’s when inspiration struck.

Ages ago when we visited the guy who we bought timber from for the mud room, I saw all these strips of hardwood he was throwing out. They were the edges of timber he’d trimmed to size. They were the same width but the thicknesses varied. I collected some and they’d been sitting in the carport since I brought them home. I got some out, sanded them, cut them to size, gave them a wash of different colours, then used them to line the box. It gave the box a beachy kind of feel.

Ok… I don’t do beachy… so I had to figure out how to finish the outside of the box so it suited my style but didn’t look out of place with the inside!
The door to the box has a fancy design on it with a name in the middle. Sort of like a wine crate would have… I wanted to keep that somehow, but had no idea as to what I wanted to do with it. I considered painting keys on it, stenciling words… 

I wanted to use keys for the obvious reason. And I remembered the antique keys I brought home from Greece. I wanted to use them on something I’d keep, so why not this?

I experimented with some expendable keys and different glues to see which would work best and then glued the keys on the door. The 3 bigger keys are from Greece, the rest are from my ‘antiqued’ key collection.

I had started painting the box creamy yellow, then brown in a way to make the fancy border stand out, but I just didn’t like it.

I went ahead and painted it in layers of different coloured paints in the sloppiest way I could, till in the end I topped it off in the minty green I’ve been using everywhere else.

Then I distressed it.

Naturally.

The colours in the photos vary a lot, sorry about that. Its cause I took them in different places inside and not outside on an overcast day.

They key box is now hanging in the corner of the office between the window and the wall with the antique map.

It doesn’t have many keys in it yet. I have to sort them out and label them properly so we know what’s what.

One day I plan to be organised.

In this lifetime even.

z

Shared at:

Beyond The Picket Fence

repurposed playpen pot holder

You never expected that the kitchen makeover would be done, finito, finished, so easily – right?

No!

Last weekend I put up my new pot holder. Its not really a pot rack since it sits against the wall.

In fact its not even a pot rack… more like a frying pan and wok rack…

Basically, the layout and size of the kitchen doesn’t really allow for a pot rack hanging from the ceiling. It would feel like a cave in there, Wayne would always bang his head against the pots… a total disaster.

So I considered the playpen side I picked up from a tip shop once and I’ve kept it in my shed (that magical place of mystery and treasures), gathering dust like everything else, forever.

I’ve left it original. That means I didn’t do anything to it. All I did was give it a clean and a light sand (mostly to get off some unidentifiable muck). Its got hinges on either end which I used to attach it to the wall, and a hinge in the middle so it could fold in half back in its playpen sides. Its pretty cool.

I think it works pretty well as a frying pan and wok rack actually. Though not big enough… How many frying pans can one home have? Six apparently. That’s how many we have. Or, technically, five frying pans and one wok.

z

Featured at:

Beyond The Picket Fence

Shared at: