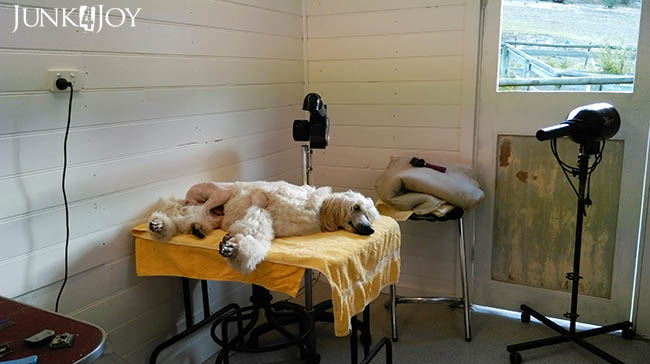
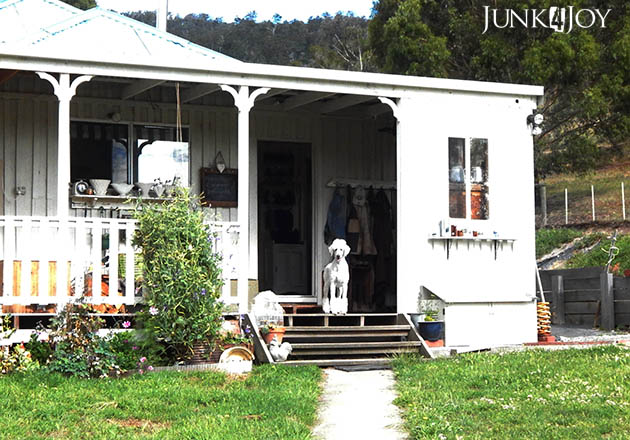
Well the grooming room is still far from finished.
You can’t rush these things. It takes time to think, measure, plan, get your materials together, find the energy, the time. Have you ever noticed how much STUFF needs to be done when you plan to spend a day working on a project?
… Then one day the planets align and things start happening.
Yesterday was that day.
I’d already drawn a ‘map’ of the last wall, drew in the posts and noggins (that’s the brace type of horizontal studs, yeah, I didn’t know that either), numbered and measured the drawers I’m going to use, and, using Illustrator, did a jigsaw puzzle to figure out how to fit it all together. The map helped me figure out where I needed noggins to secure the drawers to the wall.
I went down to the casita, turned on the air compressor and began putting noggins between the posts where the map told me to.
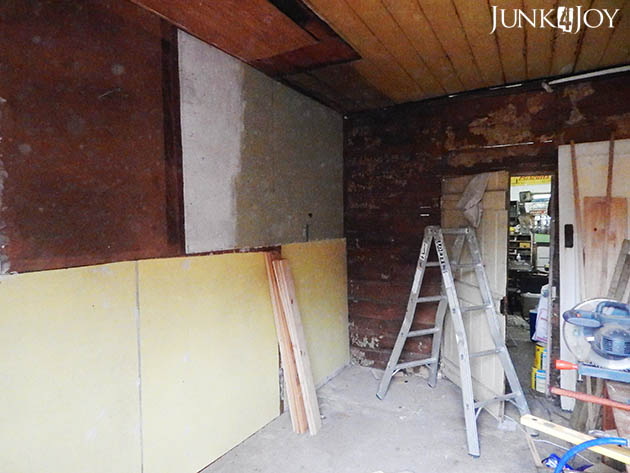
I then pulled out all the sheets of masonite I had stacked against the wall in the workshop area. I knew I had used sheets but had no idea how many and what sizes.
Turns out I had 1 large sheet of 6mm, 3 smaller sheets of 6mm and 3 medium sized sheets of 3mm.
Naturally I began with the largest sheet, starting in one top corner. I measured, cut out a nick to make it fit properly, trimmed it down so I could join the sheets on a post, then measured it again and cut it again as I got it wrong first time. Thankfully I cut it too long, not too short. Phew.
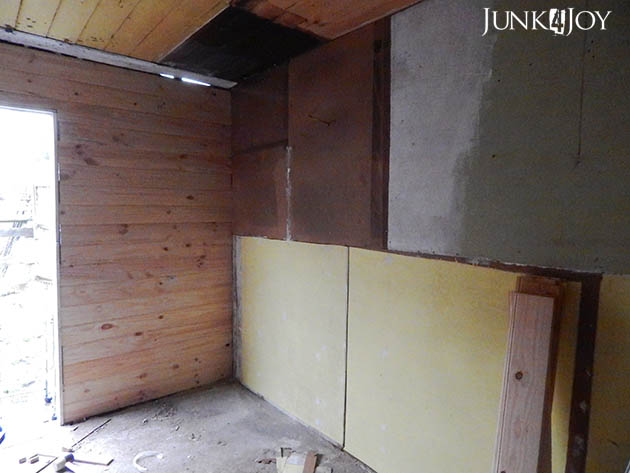
The biggest sheet at the top far end is painted green with a bit of white over one section. That obviously came off a wall somewhere. The darker, smaller pieces came off the floor when we ripped up the vinyl in the kitchen. I was sure I had more of that stuff, but I don’t. Must have thrown it out cause most sheets cracked when pulling them up.
Whatever.
I used the 6mm stuff for the top of the wall since that’s where I’m going to put my drawers.
The bottom area won’t have things hung on it so I used the 3mm masonite there. That’s all painted yellow, also obviously second hand. I have no idea where these sheets came from as I didn’t remove them from anywhere. Another of the bonuses we got when we bought the farm. Like lots of old bricks, old timber and loads of rubbish.
I had to overlap the thinner sheets a bit cause I didn’t work that out well (ie the joins aren’t on posts. ooops.) so I used liquid nails and nailed them as best as I could. This wall will hold crates and dog beds so it should be fine. Unless a rhino head butts the wall we’ll be good.
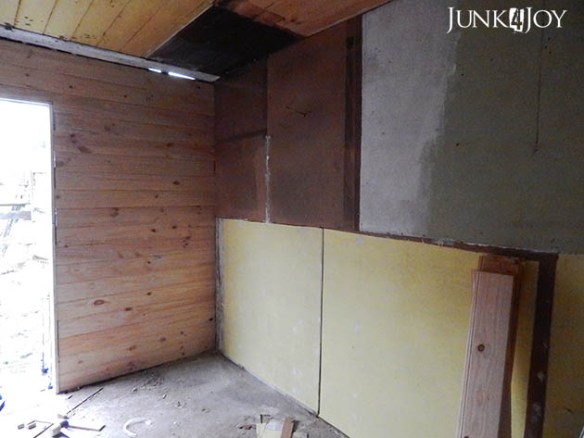
It looks funny with all the patches of colour. When its all painted one colour it’ll look much better. I’m sure.
Next step is the ceiling. I’m going to cheat there. I do not want to sand back all the flaking paint and I definitely don’t want to try to fix the saggy or gappy bits. I’m going to get some thin MDF and just cover it.
Easy.
Famous last works.
Anyway, we’ll see.
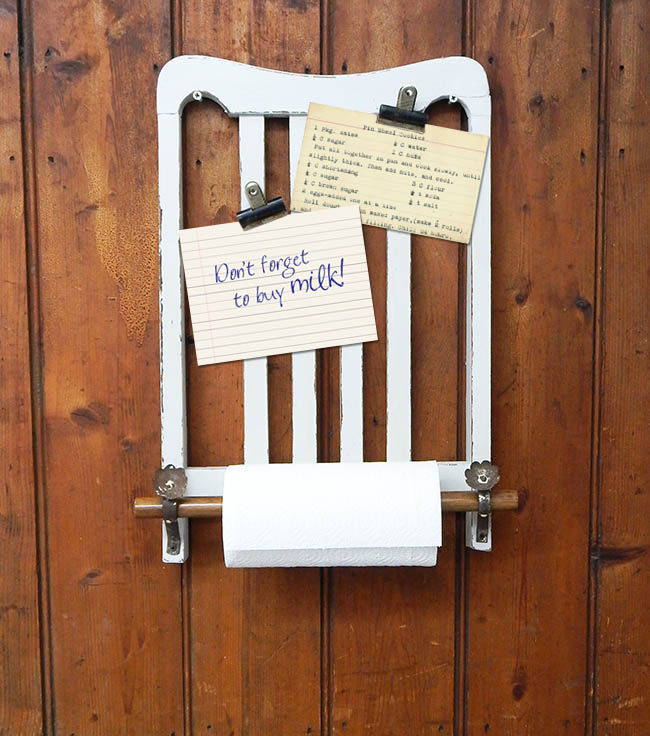
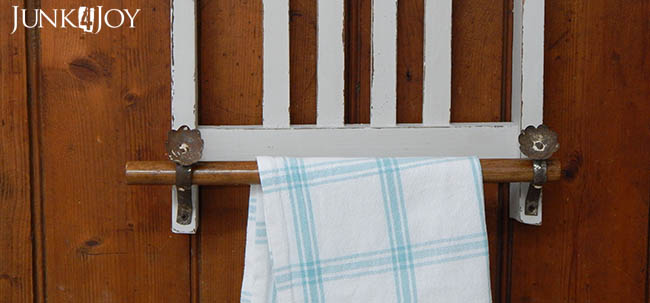
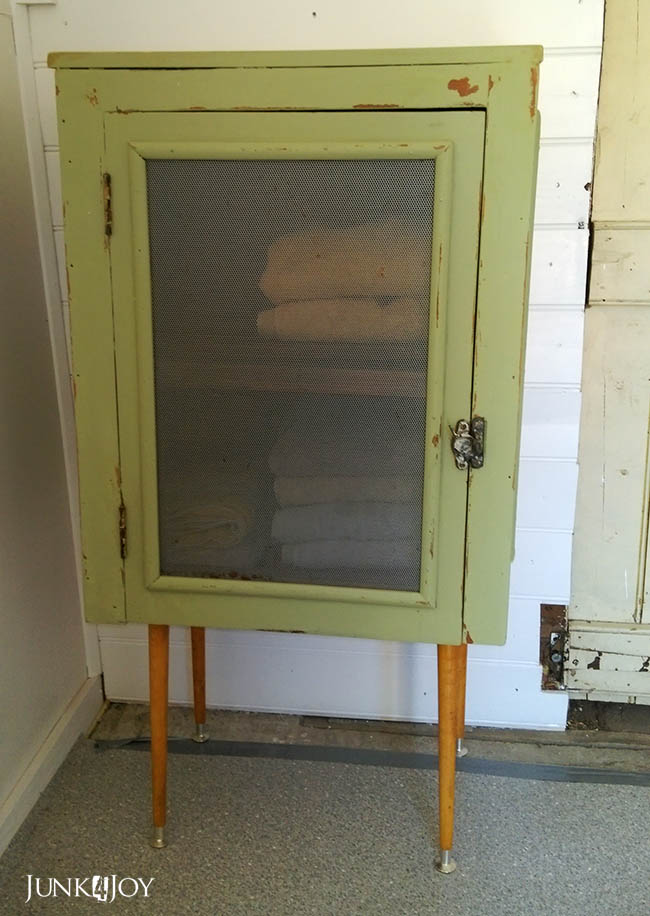
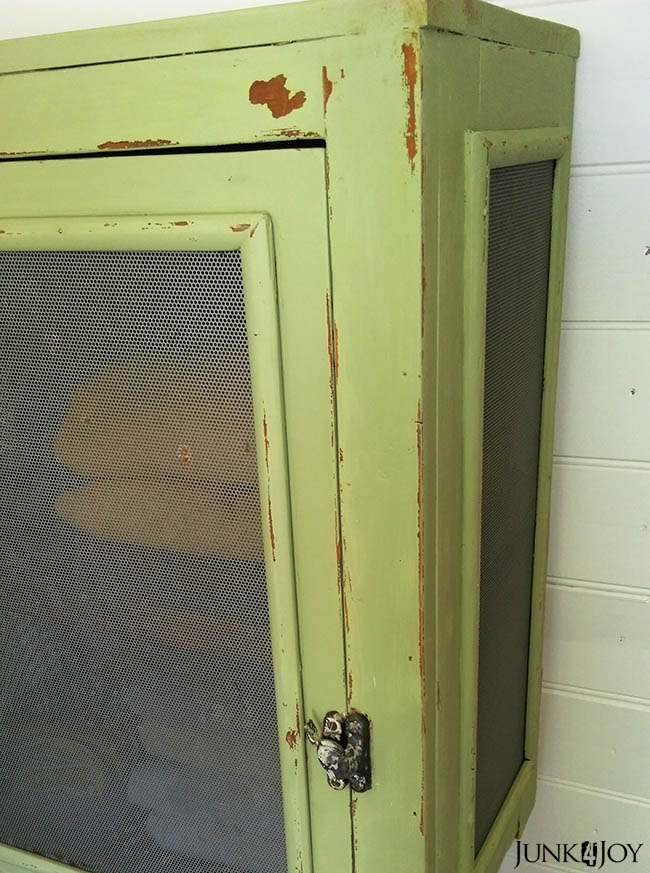
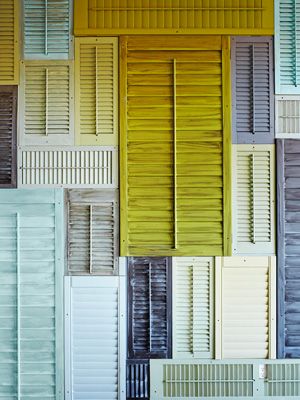
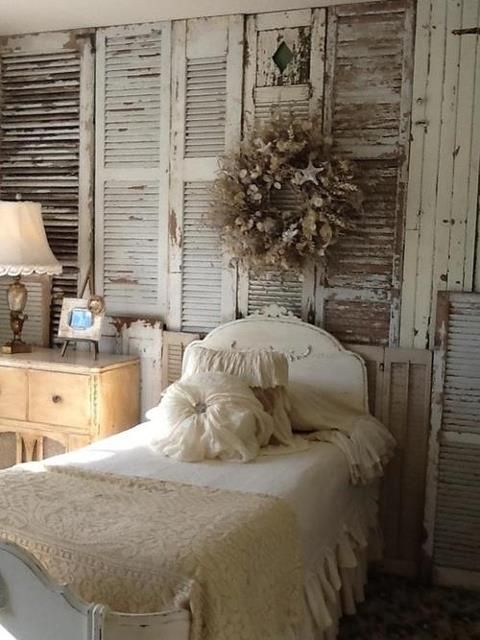
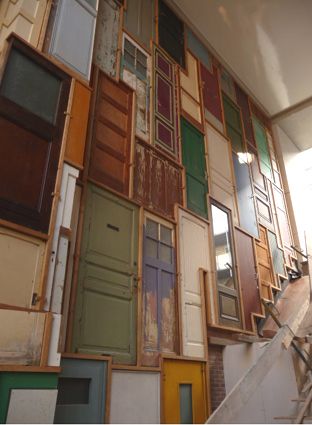
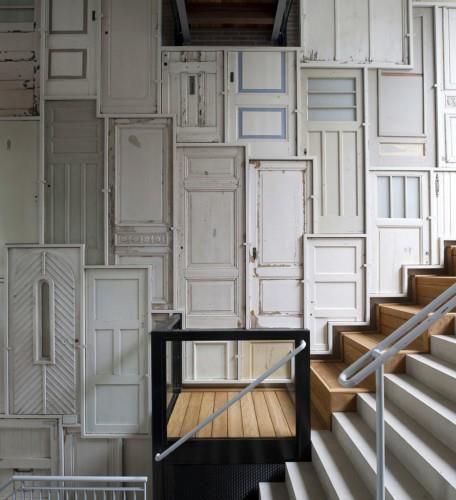
Of course there’s still one more wall. The interior wall. I can finish the room and leave that wall as it is and still groom, with the old timber showing. In fact, that’s what I planned to do. But now I’m having second thoughts. I’m wondering whether I should do some kind of patchwork on it…. use old shutters… that’d be interesting!
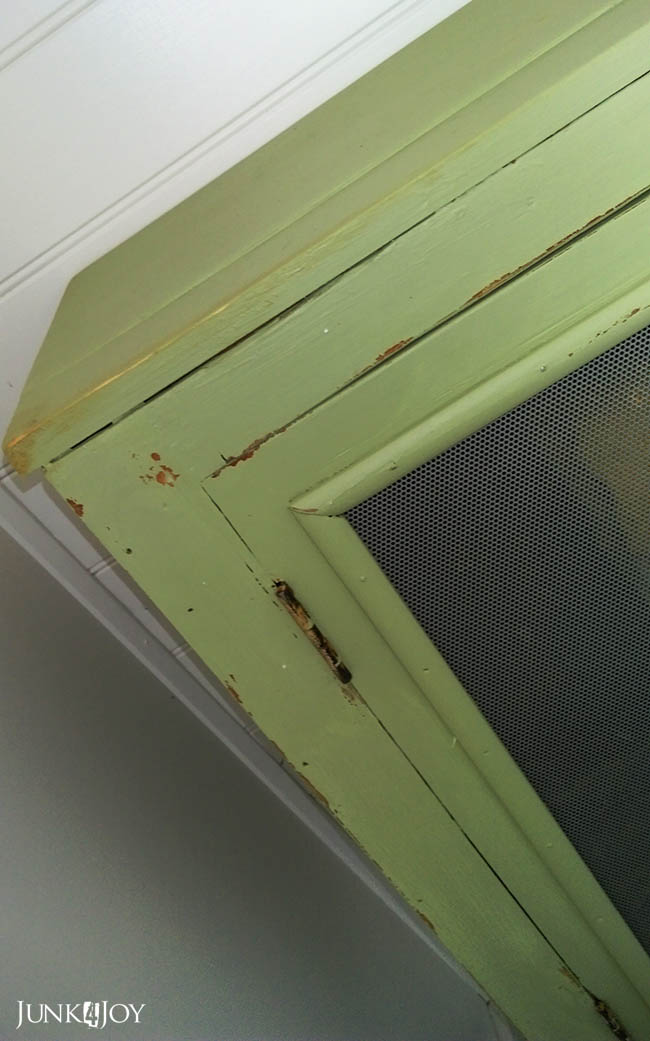
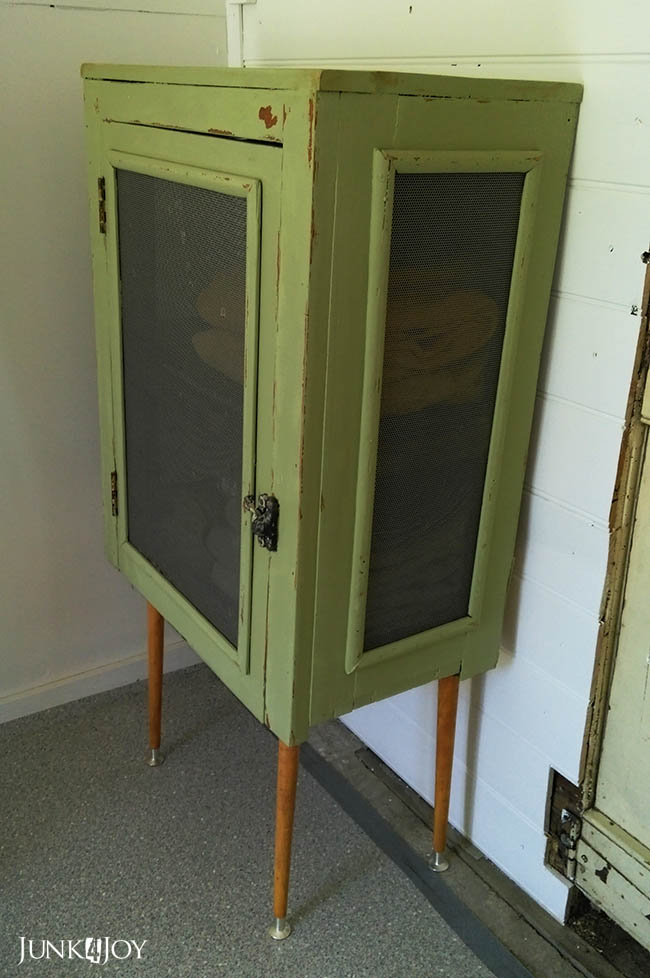
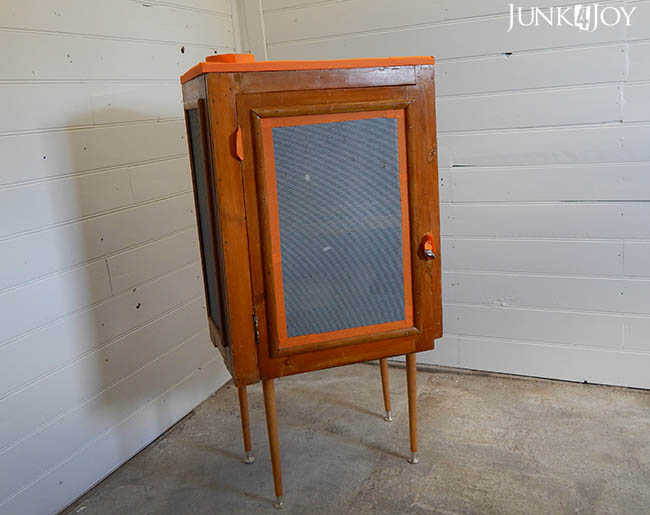
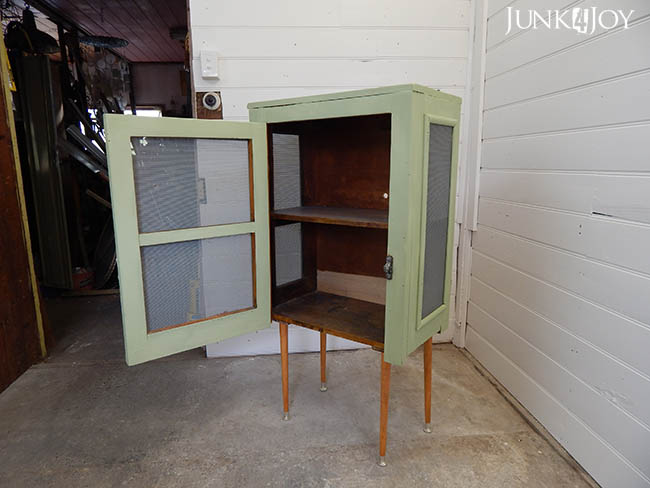
Like this:
Or this (swoon):
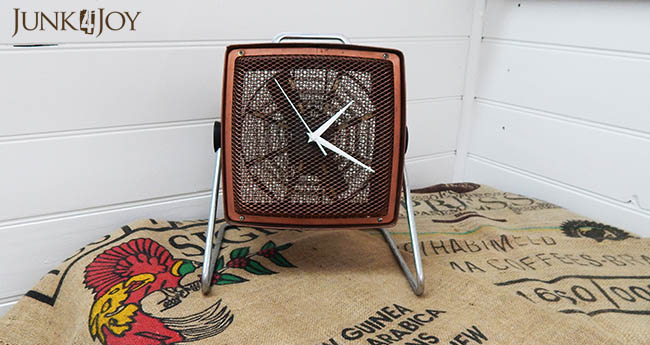
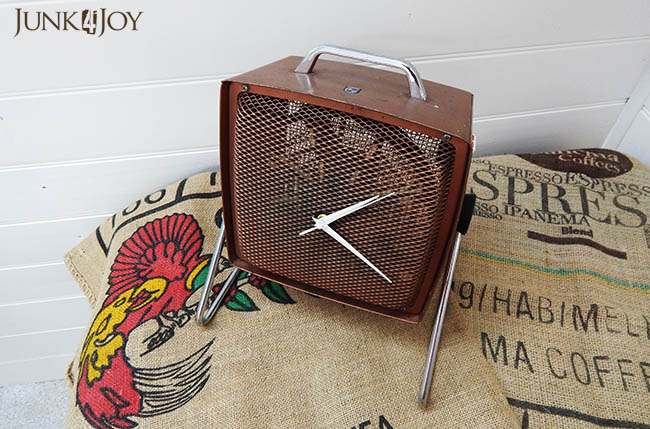
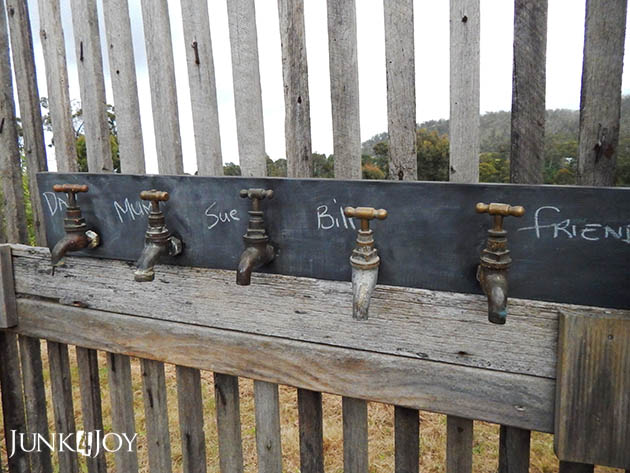
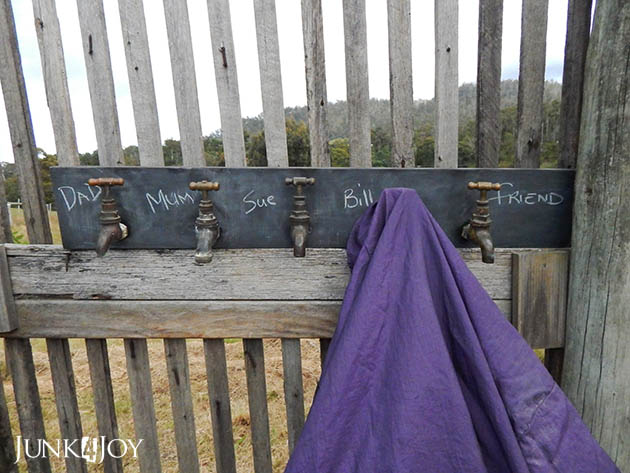
But with all the hair flying around in a grooming room, I’m not sure that would be a good idea. Maybe I should use cupboard doors… less gaps.
Like this:
Or this (swoon):
I’ll have to see what bits I have and how much wall I can cover before I go buy anything new.
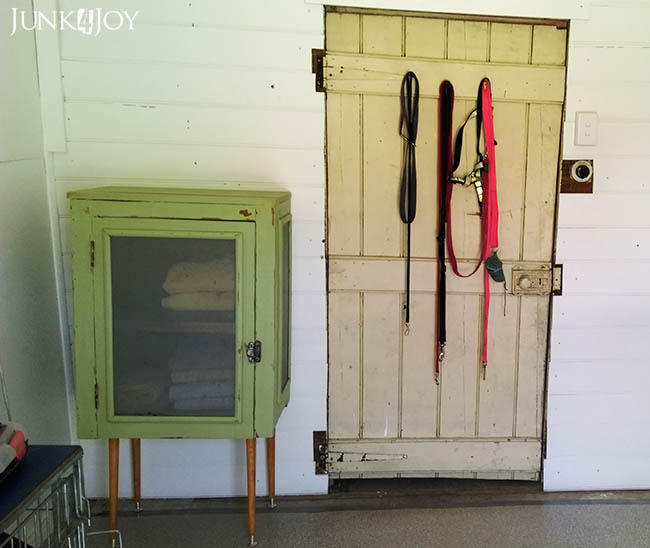
Oh, I also fixed the interior door. It wouldn’t close. Its got an exterior lockset and the latch wasn’t catching. Well, I fixed the sucker. I got the hammer and wacked it a few times till it worked. Ha.
I also learned how to fit a handle on a door so I can do the exterior door. Thank you YouTube.
So, basically, what I’m saying is that the room is coming along, but there’s still a lot to do:
1. line the ceiling
2. put in powerpoints and lights that work (electrician job)
3. paint all walls and exterior door
4. paint ceiling (once its done)
5. paint the floor
6. put a lock/handle on the exterior door
7. make a window for the top of the exterior door
8. make gates for both doors (to keep dogs from escaping)
9. put shelves in the drawers, paint the drawers, put poodle figurines in drawers, put glass or perspex on drawers, put drawers on the wall
10. make a canopy for over the door
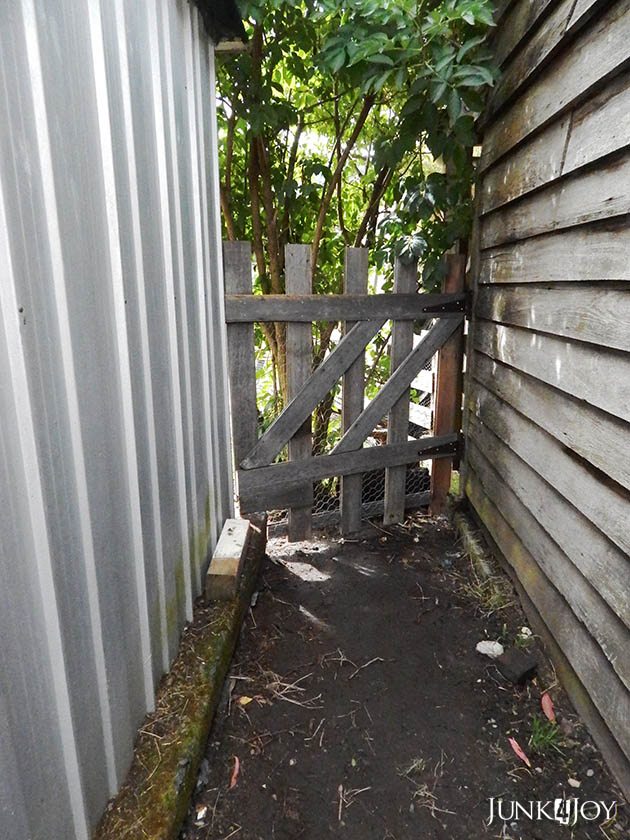
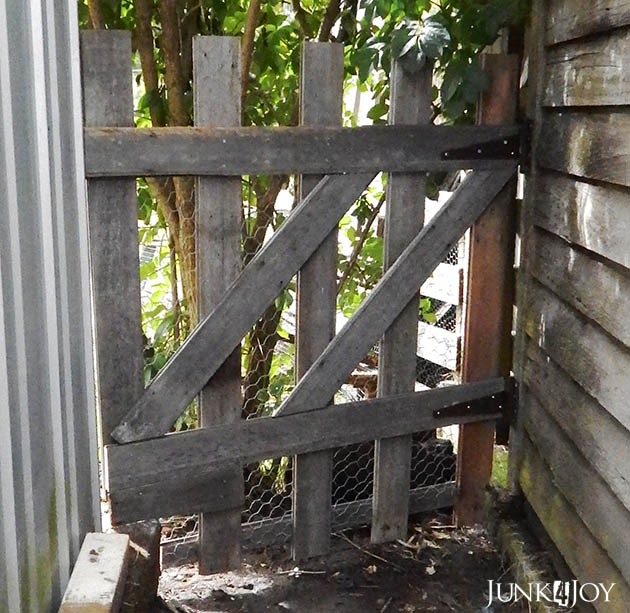
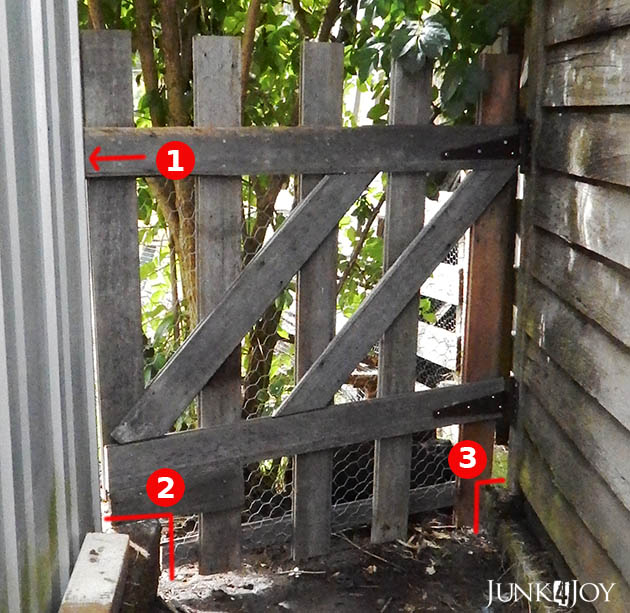
11. make a gate for the little yard
12. sort out the ‘landscaping’ in the little yard
13. run screaming into the hills
Sheesh.
Whose idea was it to start this?
Its going to be great! I’ll keep telling myself that.
z