Every now and then a very special dog comes in to your life.
Erik was that dog.
A good friend of mine offered me Erik to have, to show, to love. I said YES. I wanted him from the day I saw his photo as a puppy. It was fate, I knew it. He was mine.
I told her he’d be happy here, he’d be adored and he’d love to live on a farm with 3 other dogs to play with, with geese and ducks and chickens to watch, horses to learn about. I’d take him everywhere with me and he’d be my No. 2 meet and greet dog when I was grooming. Barney is No. 1 meet and greet dog, but Erik was better at it. He would greet everyone who came as if he’d known them all his life, he’d stay by my side while I groomed, content to lie and nap while I worked.
I promised my friend that he would live a long happy life here, with us. But I was wrong. Erik died of a snake bite yesterday. I’d only gone out for 2.5 hours. I drove into Hobart to pick up Wayne and go to the hardware store and for coffee and I didn’t think it would be a good idea to take the dogs. Not even Erik who I spoiled. I didn’t think it would be an issue. We’ve lived here for 7 years and in that time we’d go to work and leave the dogs out in the yard, with the porch and grooming room for shelter, for 8 or more hours at a time.
We’d never had a snake in the yard before.
I wish I could go back in time and take them all with me to the city. I wish I’d left them locked up in the house. I wish Erik was still here with us. He was that one in a million dog who came into our lives and won us over instantly. Two and a half weeks with Erik was enough to imprint him on our hearts forever. He brightened our lives and made us smile every day in the too short time we had him.
Since he died I’ve been tormenting myself. If I hadn’t gone out. If I had taken him (them all) with me. If we didn’t stop for coffee. If we didn’t stop at the letterbox. Coming home to find one dog missing at the gate and a dead snake on the drive will haunt me forever.
I’ve spent the day reading everything I can find on snake bites and dogs – It was probably a tiger snake, this year has been worse than ever for tiger snakes in Tasmania apparently. Its the most venomous of snakes. He could have died anything from 15 minutes after being bitten to 2 hours or so. Maybe I could have saved him if I’d been here. Maybe not. I’ll never know, cause I wasn’t home.
I’d like to remember Erik in this post because I know I have to stop crying and begin living again and I hope that this will help me say goodbye to him. I love him. I miss him.
We picked him up from the airport on January 28. He died on Valentine’s Day, February 14. He was only 13 months old.
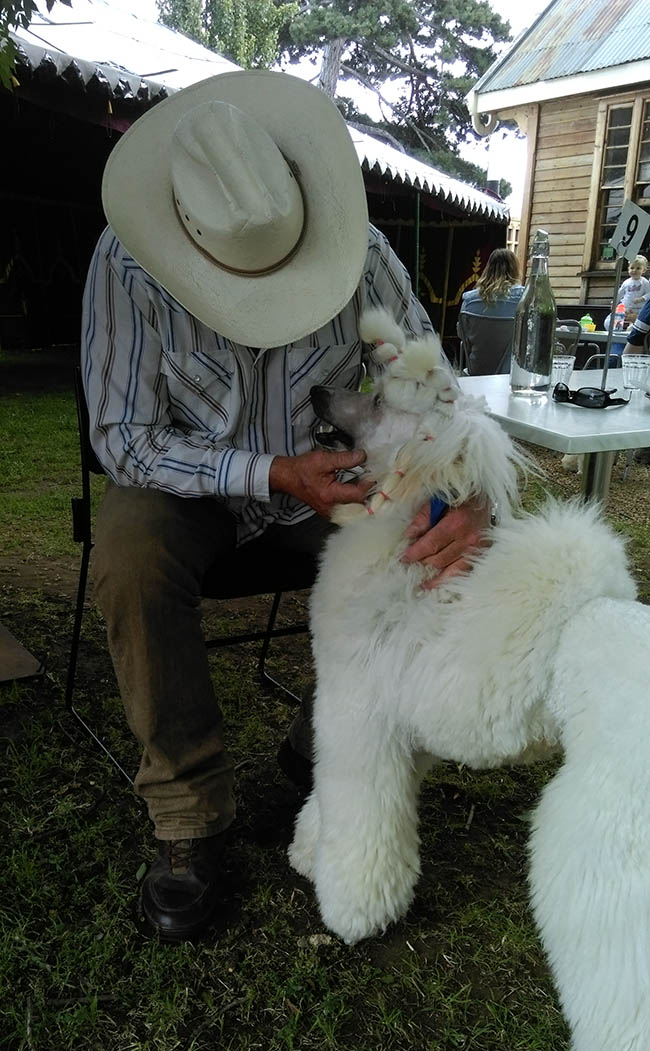
Here he is with Wayne. He walked out of his crate and wrapped Wayne around his paw. It was love at first sight. I thought I’d have to convince Wayne to keep another dog… No need. Erik did that on his own.

Erik was so affectionate. He would come to you and just lean in, rest his head on your leg, and snuggle up. When I patted his face he’d close his eyes in bliss. His skin was so soft and smooth.

He loved to lick – an annoying habit really, but he quickly learned ‘no lick’ and would give you a sneaky quick lick then act all innocent. He had a way of looking at you through the side of his eyes that we couldn’t resist.

On our way home we stopped for coffee at a cafe in New Norfolk. Erik was wonderful. For the first time in my life I was the one with the best behaved dog, others were the ones embarrassed for their dog’s behaviour.

I gave him the bacon from my BLT.
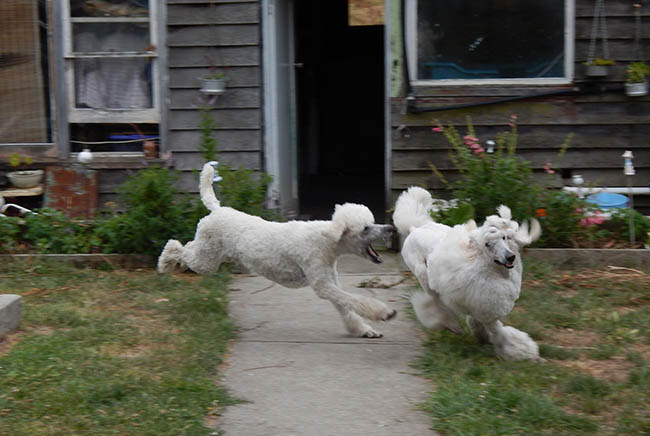
When we got home Erik met the other dogs in the driveway – when Erik saw the horde coming for him he ran up to them, full of joy to meet new friends. They then raced around the yard like lunatics till they were worn out, then they lined up for pats from daddy.

Erik adored Barney on the spot. Barney is so easy going, he’s never minded being licked to death. Erik and Barney would roll around on the floor together, mouthing each other every day. It was a game that never got old.

He was such a beautiful boy, not just on the inside, but on the outside too.

First night at our place Erik chose to curl up at Wayne’s feet. He loved to lie on his back and expose his tummy for a rub. I couldn’t resist kissing him every time I walked past him.

My friend told me he never got on furniture… Not in this house! Our dogs own this house as much as we do. Erik curled up next to me on the couch too on his first night here. He didn’t play favourites. He loved us both and made sure we knew it.
On his second day, Erik battered his nose digging in the garden. How’s that for a show dog, huh? A nice big pink spot on his nose. He was not ashamed of himself, not one bit. He was such a happy boy.

A few days after he arrived I decided to cut him into a continental. For two reasons. I didn’t think I could maintain that much coat (I was right). And I wanted to see what he’d look like. Ok, three. I love a poodle in continental.
And he looked spectacular.
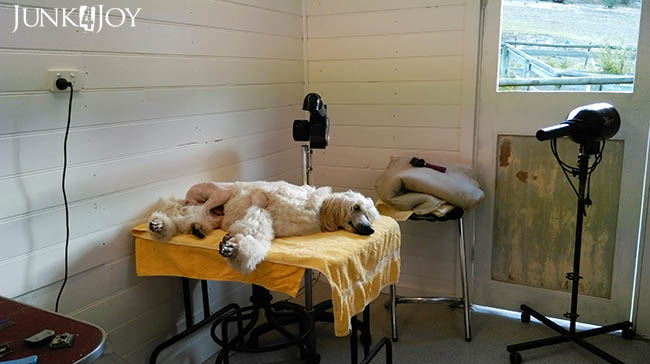
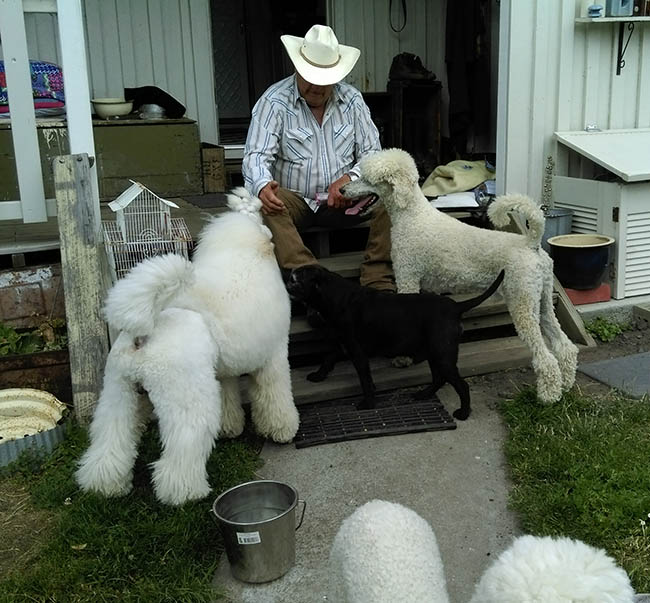
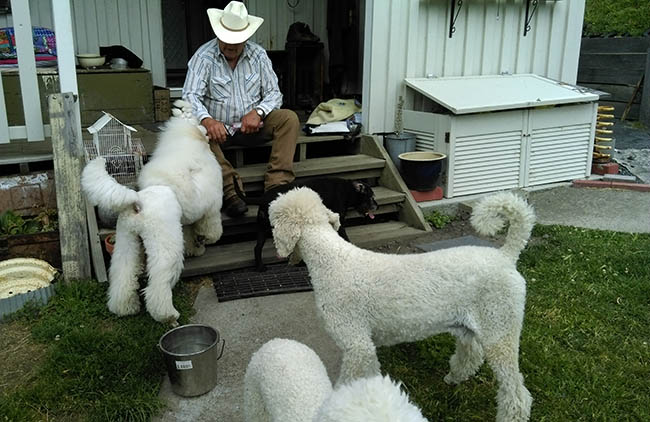
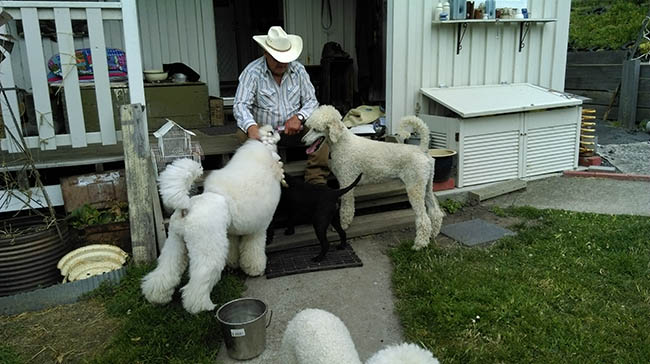
Erik was with me while I groomed every day in the short time he was with me. You can just see a little dog behind him in the picture below. I didn’t have enough time to take more photos. I thought I had years.
Erik would lie on the floor while I groomed. In the old grooming room he’d lie on the concrete, even though there were beds and rugs on the floor. At least in the new grooming room I had vinyl. Even in the house Erik would often prefer the floor to the couch or the beds. He’d sleep outside our bedroom gate. If the gate was open he’d come in and say hello, then go back out to sleep in the living room with everyone else.

I took Erik to a cafe in the city to meet a friend. I took him into New Norfolk to meet other friends. I didn’t have enough time to do everything I wanted to do with him. Everyone who met him loved him, even if they did think his haircut was weird. He was just that sweet. He brought so much joy into our lives.

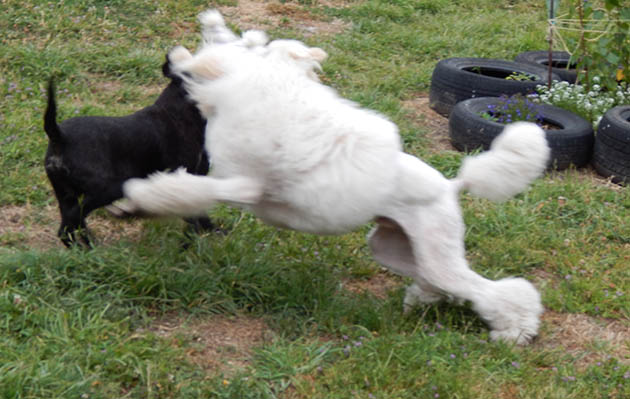
And there were more games. Lots of games. I bought him a rope ball with a loop, he loved it. He’d torment the others with it, instigating chase and tug of war. He was the only dog I ever had that always brought the ball/toy back.

There was a lot of peeing. My guys have learned to empty their bladder in one go but Erik liked to stretch out his pee, encouraging a bit of ‘I can pee over your pee’ in the pack.


And then more chase! Erik brought new life to the pack, even Barney was running more despite his arthritis. And barking. A lot of barking. Barney, not Erik. Erik rarely barked, and when he did he had a huge bark, the bark of a much bigger dog. Surprising when he was smaller than Romeo and finer than Montana.


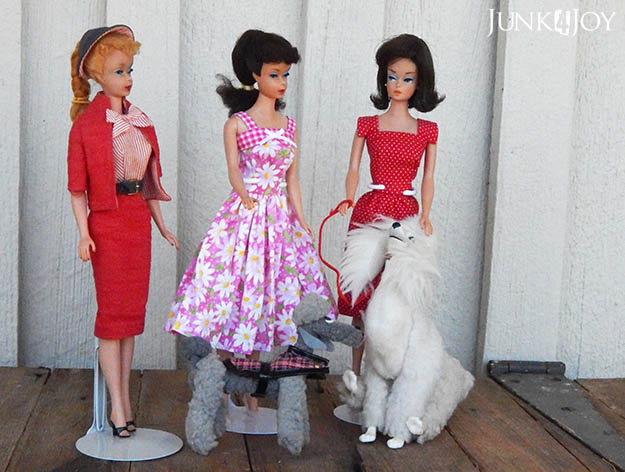
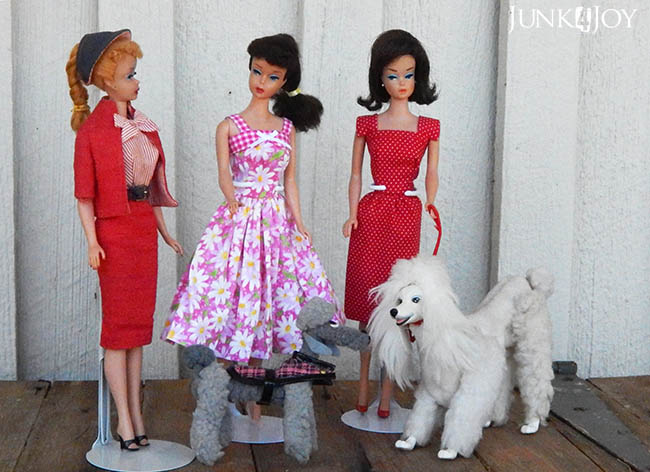
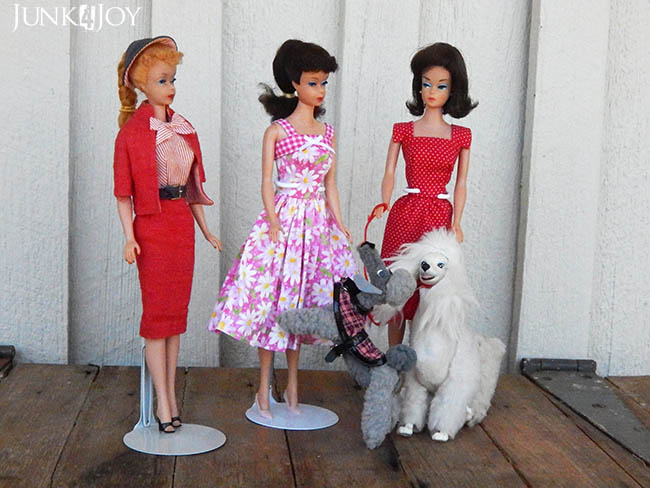
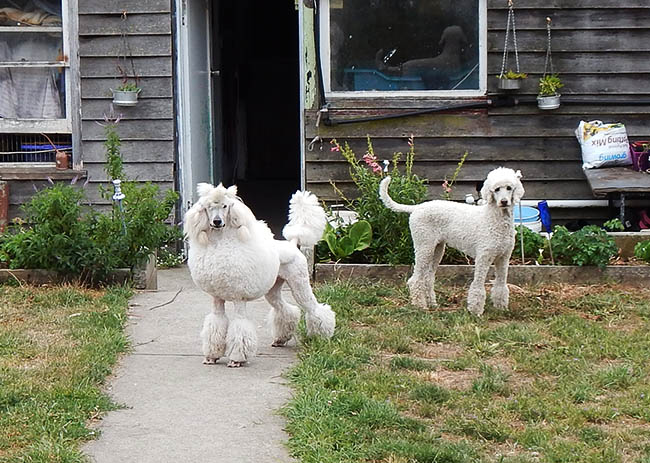
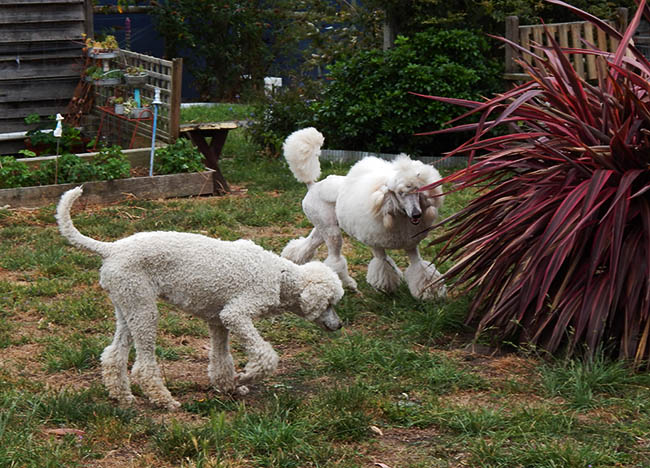
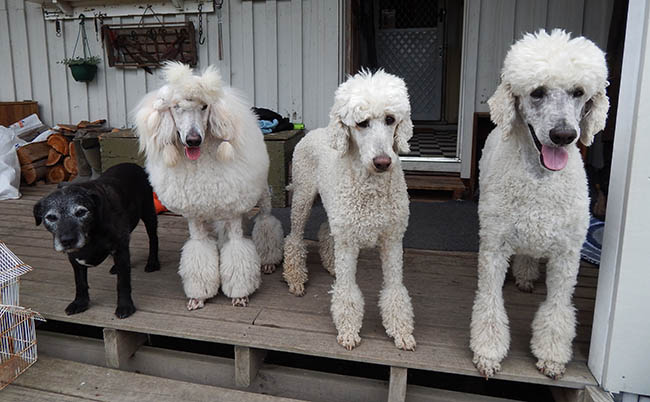
Here are the only photos I have of my bigger pack. I loved having three standard poodles. I loved having four dogs again.


They all became best friends. He fit into our family so easily. We all miss him. He was my baby boy.

Every morning we’d pile into the car and take Wayne to the bus stop. In the afternoon we’d pile back in and pick him up. I’d take the long way so they could all get a bit more of a car ride.
Erik loved to look out the back window, never the side or front. He was so funny… his butt on the edge of the seat so that if I hit the brakes he’d land on the floor. Yep, back to looking out the back window. My funny little man.

And kisses. Lots and lots of kisses. Both ways. He gave my ears a few good cleans. And I’d kiss him on the nose, on the neck, on the cheeks, on his thighs, on top of his back. So soft, so smooth, so warm.


He had the most beautiful full tail. He had the best angles and pretty feet. The cutest expression. Such energy. Such love of life. So much fun in the way he lived every minute of the day.


Then this weekend I decided I would cut him off. I know I was planning to show him, but after spending 3 days dealing with huge matts, I decided to give it up after one two hour session that got me nowhere. I clipped him off all over. You should have seen the way he kept looking back, like “where did my hair go?”
I’m glad he had some time to just ‘be a dog’ before he died. I’m glad Wayne got to play with him without me worrying about his coat. I hated telling Wayne not to rub his coat, or to be careful when playing with him. I didn’t want him to pull away from Erik. So I cut it off. And Wayne was able to spend a few days rubbing Erik all over, scritching his shoulders and rough-housing with him. I’m so glad they had that.
I’m glad he was able to be a farm dog for the tiny amount of time he had left on this earth and that I wasn’t too worried about his coat to let him enjoy it.
The only photos I have of Erik without his coat. Sleeping on the rugs while I groom. I shall be so lonely grooming now.

These are the last photos I have of my little man. The night before he died. He jumped up next to me on the couch, between me and Montana. I watched TV with my hand on him.


They say only the good die young and you were the best. Maybe that’s why you had to go. You have left a hole in our lives and our home, way out of proportion to the time you shared it with us. The house is quiet without you, the other dogs are subdued, we are heartbroken.
I wish we’d had more time with you little man. I will miss you every day till the day we meet at the Bridge.
z