Unknown's avatar

About zefiart

Blogger, DIY-er, poodle lover, graphic designer, dog groomer, recycler, artist, wonder woman in my spare time.

mounted pug head

Thought I’d share a little project I’ve had sitting around for a while now.  This is Pugsly. A mounted pug head.

The best kind of mounted pug head: a fake one.

This little guy is made from old newspapers, diluted PVA glue, air dry clay, old comics and an old cheese board as a mount.

Talk about recycling.

Doesn’t everyone need a wall mounted pug head? Especially one as cute as this little guy!

I’ve listed him for sale on a Facebook selling page but no nibbles so far. I’m keeping it a secret from him so he doesn’t feel rejected and unloved. You have no idea how much a depressed pug head can bring down the mood around the house.

z

Shared at:

playing with barbies

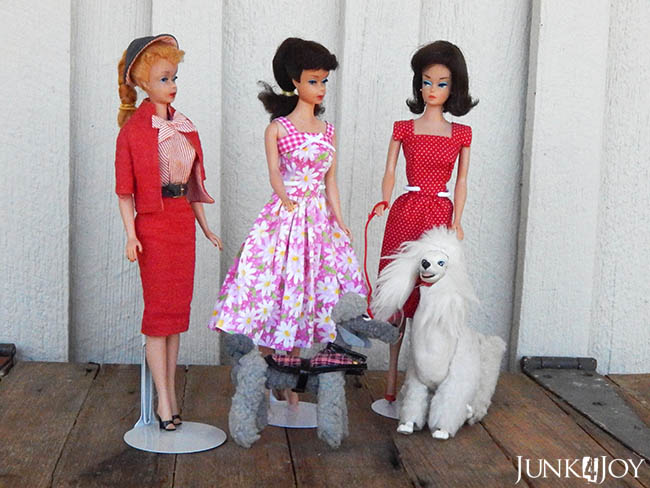
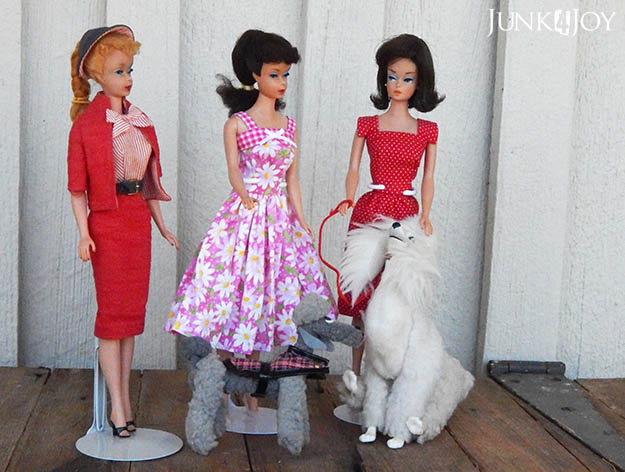
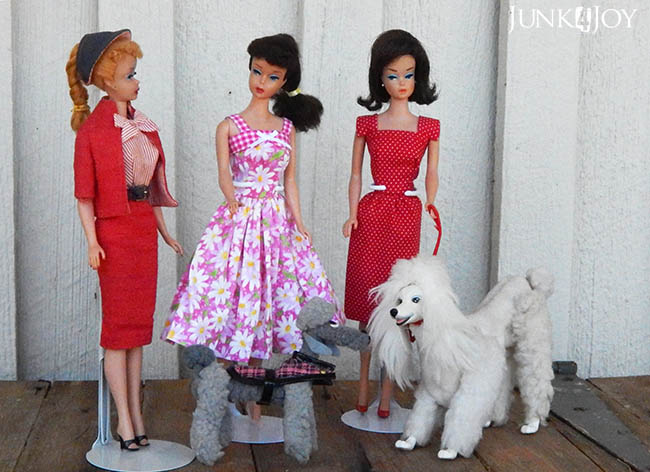
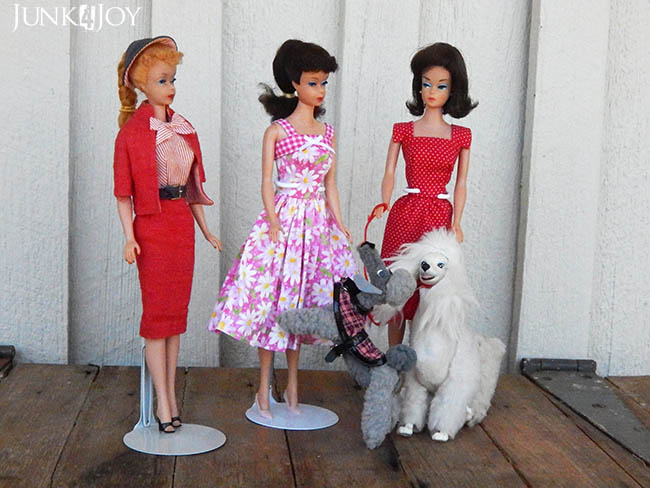
Meet the girls. From left to right: Barbie, Barbie and Barbie. And their poodles – Larry and Peggy.
These are my girls. The one on the right is the first one I bought – Fashion Queen Barbie from 1962 or 63. The middle one is a Ponytail Barbie from 1962. And then there’s the blonde Ponytail Barbie from 1961. I have one more brunette Ponytail, also from 1961, but she’s not dressed. Yet.
The blonde girl is in her original clothes. I got her on ebay. The other two I bought from a local collection. They came in their original bathing suits and I had planned to make their clothes myself but have you ever seen how TINY their clothes are?* I ended up buying them dresses from a very talented lady on etsy who’s probably way younger than me and has way more patience (and better eyesight!). You can visit her shop here. I already had shoes to match their outfits thanks to a friend and her collection!
The white standard poodle is also an ebay find from many years ago. She’s been living in my poodle collection since I bought her over 16 years ago. She’s now finally got a mom of her own.
The miniature poodle was a recent ebay find. When I went Barbie mad and went looking for an early Ponytail model I came across him. He came complete with two outfits, two leashes, a food bowl and a couple of other bits and pieces. How could I resist?
I love them, though to be honest, I think I could probably make a pipe cleaner or felt poodle that looks better than either of these… their charm is in their vintage-ness.
I have big plans for these girls. But I have things to do before I start playing with dolls. (Playing MORE with dolls). I have a grooming room to finish, an office to clean up (so I can find my projects) and Bratz dolls to make over and list in my etsy shop.
The To Do list never gets shorter. It just changes so I don’t get bored of it.
z
* Tiny clothes on Barbies says the woman who’s now making clothes for repainted Bratz dolls!

progress in the grooming room

Its been slow. I mean, its been months! A project I thought would take me a couple of weeks… ok, a month or so… has taken ages. Partly cause it was a bigger job than I thought (ain’t it always?) and secondly cause I haven’t actually been working on it as regularly as I’d planned.
Things happen. I get busy. You know how it goes. Sometimes a book just has to be read, or a TV show becomes an addiction you can’t ignore.
Despite that, I can see the light at the end of the tunnel now.
This last week I finished the walls and ceiling. Those were the big things. 

The ceiling was the hardest. I used 3mm MDF sheets to cover the flakey, gappy, holey baltic pine ceilings. I’d have loved to remove the baltic pine to reuse but the job would have been way too big. I opted to just cover it, last thing I wanted was stuff falling down on me every time I groomed a dog. Now I have a smooth surface to paint.

The electrician is coming tomorrow to put my lights in – fluoros so I can see! There are no windows, just the one in the door, so I need plenty of artificial light.

Speaking of windows, I’ve made the window/door frame and have perspex to put in it, it just needs to be painted.

As you may remember, the right hand wall is covered in recycled masonite. It needs a good wash before painting. And everything needs undercoating before I paint the entire space white.

I’m leaving the center panel with its shabby paint look. I love it.

It was really hard to do this room cause nothing is straight. The ceiling and walls don’t have straight edges. Look at the gaps! I did all kinds of dodgey patches to try to minimise gaps. I also ended up lining the back wall which I thought I’d leave as it was (ie old) but I had pine left over. Not enough to go all the way up the ceiling though. I used leftover bits of MDF at the top. Very unevenly. I figure once the entire space is painted white and I put things on and against the walls no one will notice.

I hope.

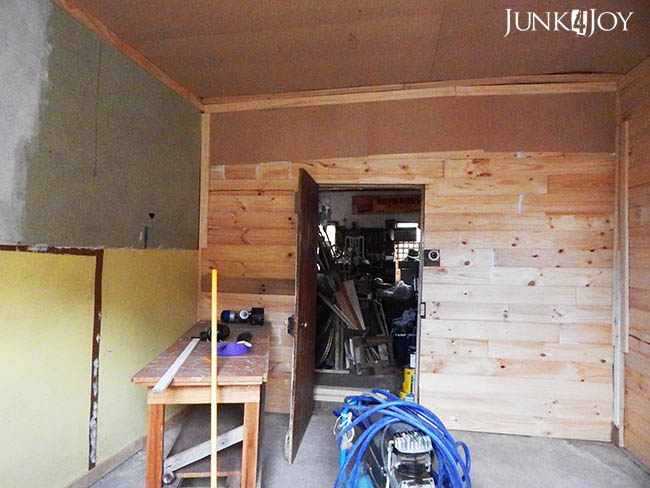
Don’t look at the mess in the workshop outside the inner door.

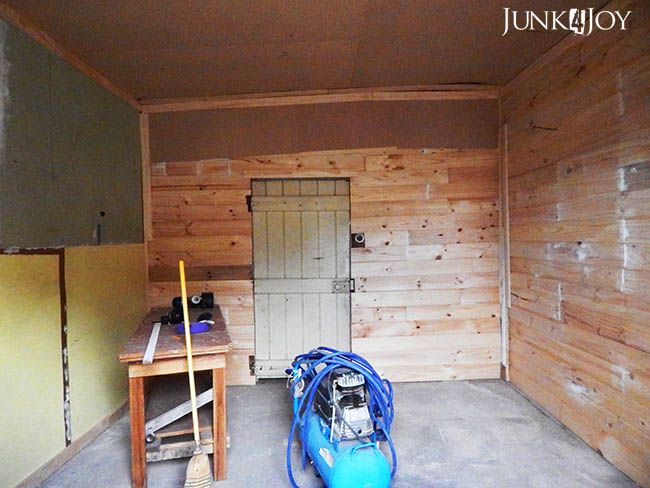
This is better. Forget you saw that mess.

The room is clean now, swept, tools and rubbish cleared out. I just have to wash walls and move the compressor back to its spot in the garage and I’m ready to paint.

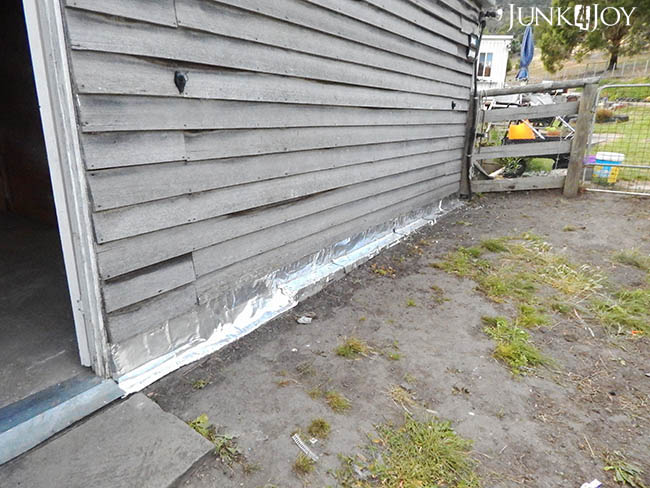
Outside in the tiny yard I’ve put flashing against the bottom weather boards to stop rain soaking in over the concrete slab. Hopefully that will stop any dampness – not so much in the new grooming room but in the old one.

I’ve sprayed weeds and have cardboard and newspaper to spread over the ground, then I’ll get pine bark to fill the space which will keep it from getting muddy.

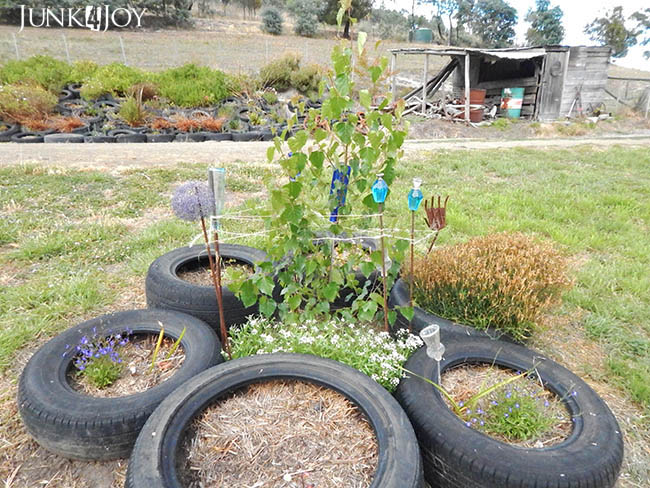
Meanwhile, it’s been so windy here that I’ve had to go to extreme measures to save my little silver birch. There was a huge cosmos flowering to the left of it but it was broken by the wind. So sad.

The garden is looking awful right now. Everything that flowered in early spring has died (or gone to seed). I now have to find the time to cut back the dead stuff and pull out weeds. Then all I can do is wait for the summer flowering stuff to start looking good. 
z

i picked up a whale

Yeah, yeah, yeah. 
I know.
It’s been ages since I posted. I have the best of intentions, then things happen. I get busy, distracted, lazy, sick, tired, out, whatever. You know… LIFE.
I had meant to post last weekend, or was it the one before that? Wayne and I went out for the day so we wouldn’t be tempted to spend the day working on ‘things’ around the place. We wanted to just ‘be’, spend time together, have lunch out…
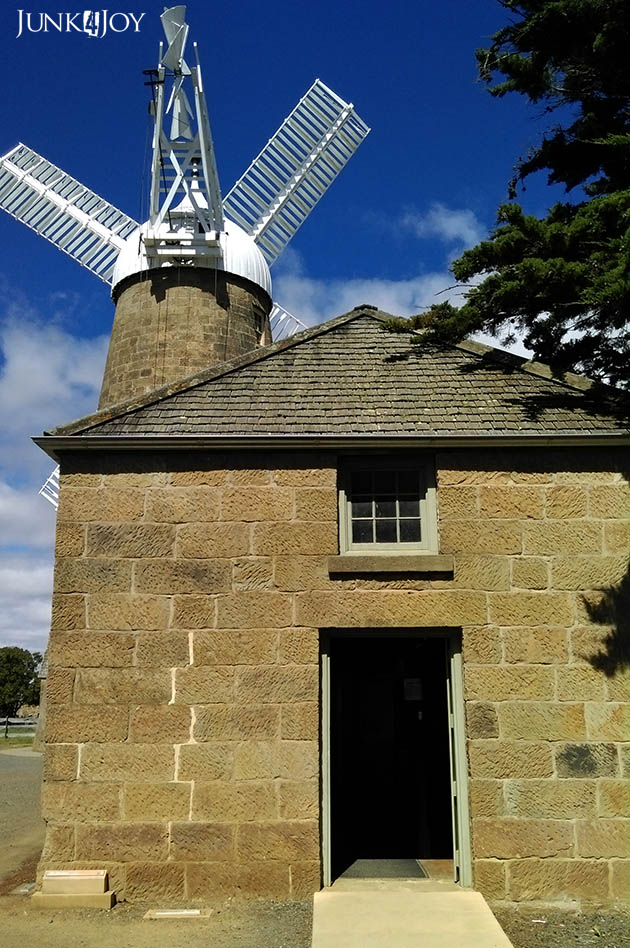
We drove up to Oatlands and Ross in Tasmania’s midlands… visited some antique shops, had coffee in Oatlands lunch in Ross. It was a lovely day.
Oatlands is a beautiful town, famous for its working windmill, sandstone buildings and dry stone walls. I could happily live in Oatlands… a fact I mentioned to Wayne a few times on our walk through town.
Ross is a little further north, a little further from Hobart, but just as touristy. I love the old take away shop. 
Wayne told me the story of the Four Corners of Ross. What a great story:

The Four Corners of Ross

The town is centred on the crossroads of Church and Bridge Streets with a field gun from the Boer War and a war memorial as a central part of the intersection. The crossroads area is humorously referred to as the “Four Corners of Ross” with each corner having a label:
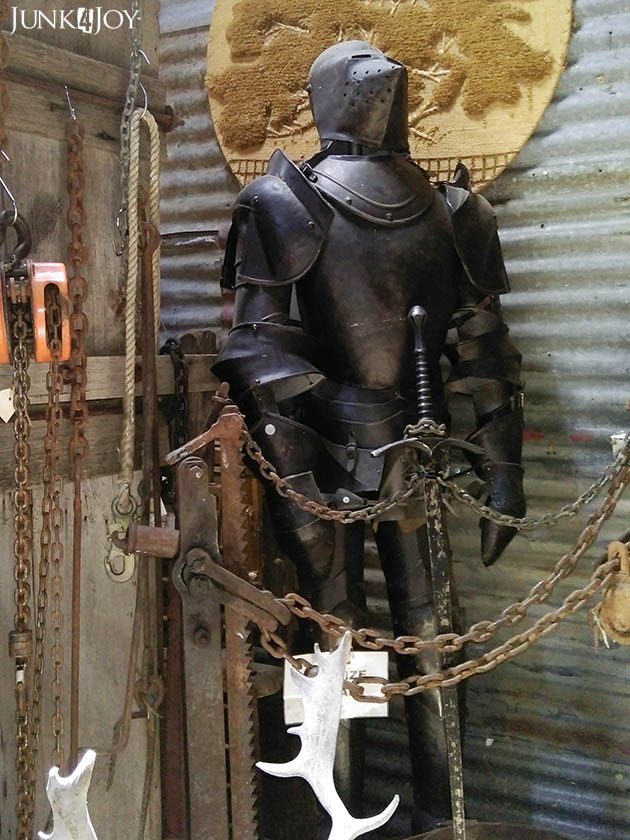
Ross also had the best antique store – it went on forever… In one corner we found a suit of armour!
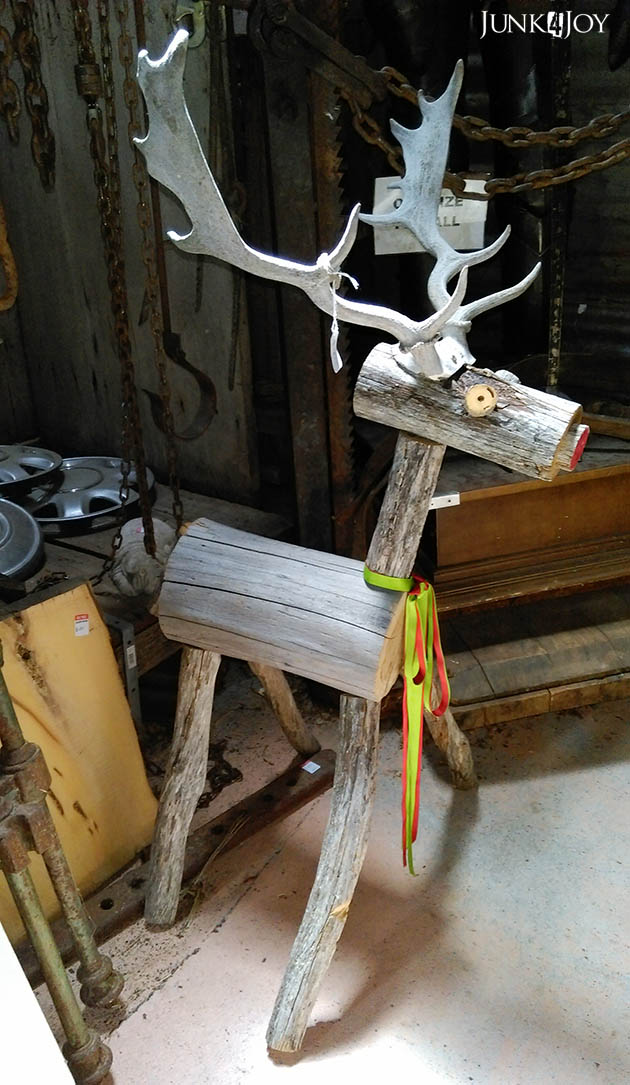
With a cute little reindeer made of wood and real antlers sitting below him. His trusty steed perhaps…?
There were tons of things in that shop that wanted to come home with me, but I was tough. I said no. I had no room, no need, no money. But then I saw this:

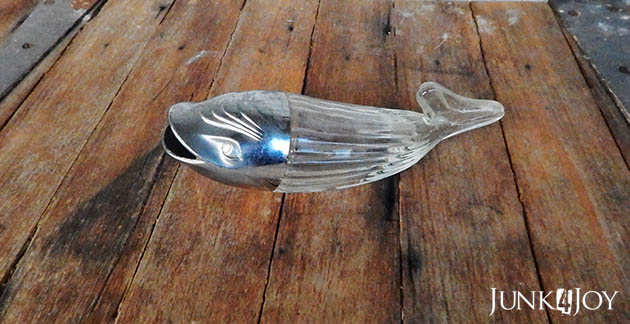
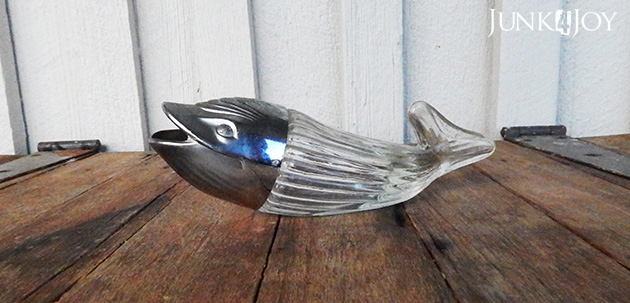
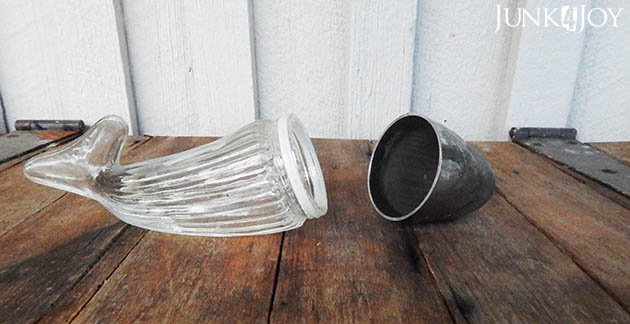
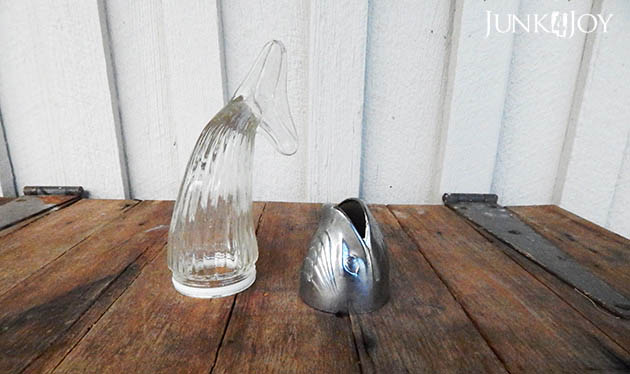
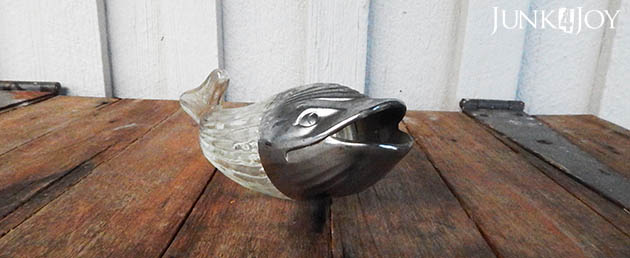
Its a whale! A glass and aluminium whale. 
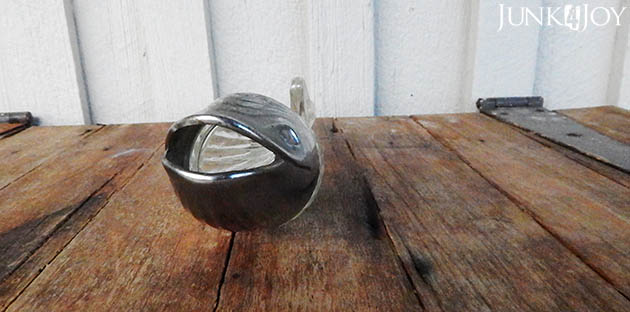
Ribbed glass, hollow with an open mouthed aluminium head. What on earth could this have been used for? Its not an ashtray, there’s nowhere to rest a cigarette. It’s not a sugar dispenser, the mouth is too big. Its not a decanter, it sits on is stomach and won’t hold liquid. The store owner had no idea, so I’m asking you. Has anyone seen anything like this before? If so, what on earth was it used for?

I mean, obviously, apart from looking pretty. Cause it sure does that well.
I love my whale.
Oh and the shop is for sale. 
I was tempted.

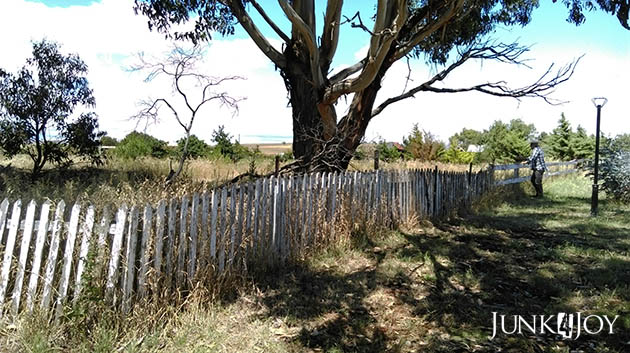
I forgot to mention… In Tunbridge, Wayne fell in love with a property. It was empty, the garden was overgrown, the fences in bad need of repair, but it had such character. I think the fact that it was opposite the only pub in town might have helped.

z

my new farm gate

Progress on the new grooming room is slow. I had one day where things kinda just flowed and things got done. I was up on ladders, using my arms and head to hold up sheets of MDF to the ceiling and using the nail gun to secure them there.
Then I ran out of MDF.
Turns out I’d measured correctly but remembered wrong. I needed 6 sheets (of the biggest size I could handle on my own) but remembered to buy 4.
Live and learn my friends.
So, having NOT finished the ceiling I couldn’t very well finish everything else. I had one and a half walls I could put ‘skirting boards’ and ‘cornices’ on.
I placed those words in quotation marks cause I’m not using either cornice or skirting boards for the job. I got plain pine boards cause it was the cheapest way to go. The end result is the same: I’m covering gaps where walls meet ceiling or walls.
Having done the bits I could do without finishing the ceiling, I looked around at what I could do next…
…and found the gate.
Ok. I didn’t find the gate. I found the gate was a job I could do which wasn’t affected by the unfinishedness of the ceiling.

I had planned to use pallet wood to make the gate, but I had 2 long pieces of old tassie oak flooring outside the grooming room, in the tiny yard, just waiting for a use. So I used them.
Firstly I had to measure the distance between the cement slabs the casita and the tiny shed (its an aviary) are sitting on, then the distance between the walls. I’d already attached an extra post to the one on the side of the casita which holds up the porch roof so I could swing the gate off it.
I cut my timber pieces the height I wanted – tall enough to stop a dog jumping over them. 
Then I did what any sane, mathematically challenged person would do: I marked the measurments out on the floor and lay the timber down, spacing the boards by eye and laying the cross pieces over the top. Good enough for me.
I joined all the boards together using screws then reinforced those with nails. 
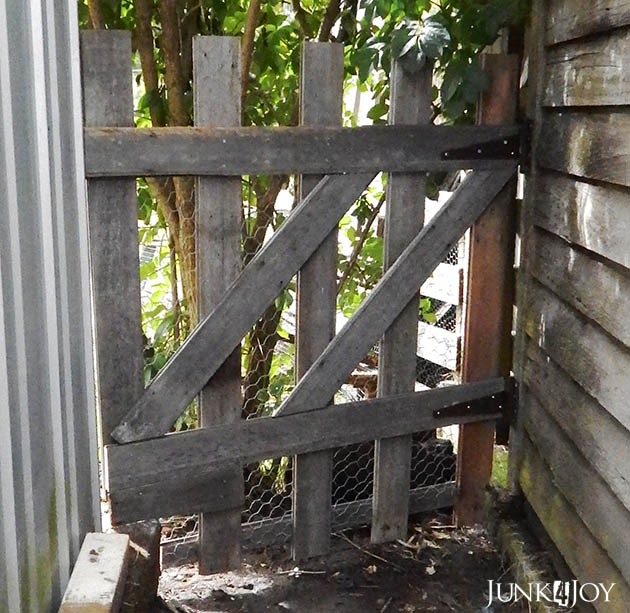
I cut my Z pieces. I did two cause I couldn’t work out the angle to cut a single one on… I did say I was mathematically challenged! In order to save wastage I went with 45 degree angles and 2 Z pieces. It should work fine.
I hope.
Last I used some nice strong chicken wire over the back of the gate cause the gaps are big enough to allow dogs through. I had wanted a picket style gate with small gaps but I didn’t want to spend money on treated pine or fence pickets.
This is one heavy gate cause tassie oak is heavy stuff. I had to get some pretty strong hinges from Wayne’s collection of rusty items to hang them with.
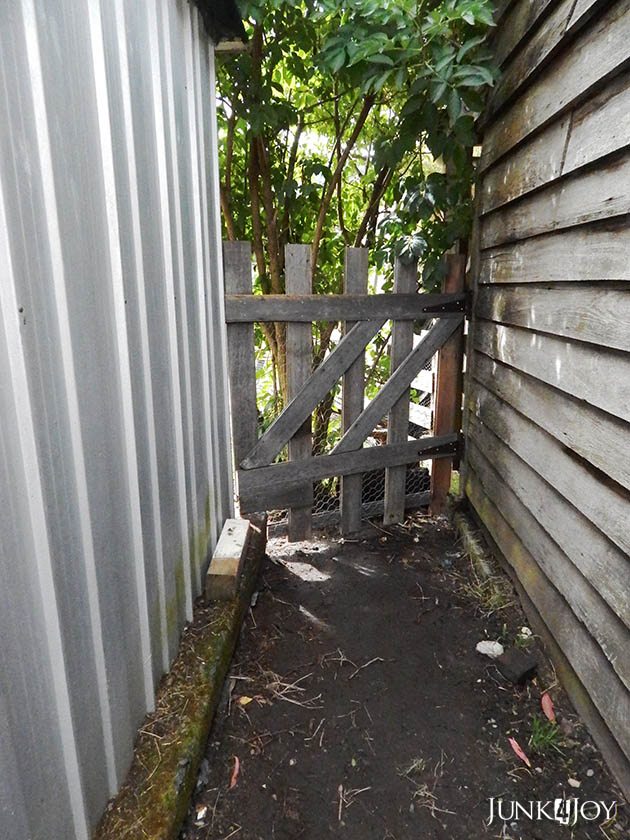
I love my new rustic gate. It fits between the wall of the casita and the aviary and will stop dogs from escaping into the paddocks.

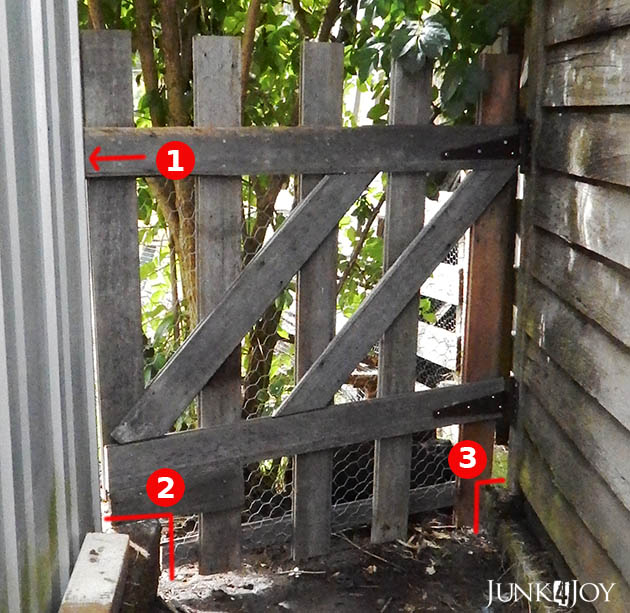
I’ll be putting a bolt onto the gate at #1, put a hole into the aviary wall for the bolt to slide into.

#2 shows where the end board is cut short to accommodate the height of the concrete slab. I found I had to reinforce that spot as the wire could have been bent by a particularly insistent dog bent on escape. (haha)

#3 is where a sliver of wood was removed to allow the gate to swing without hitting the concrete on the casita side.

All in all, a job well done.

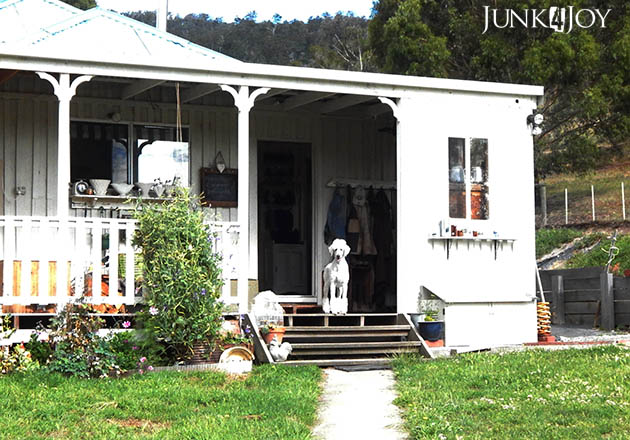
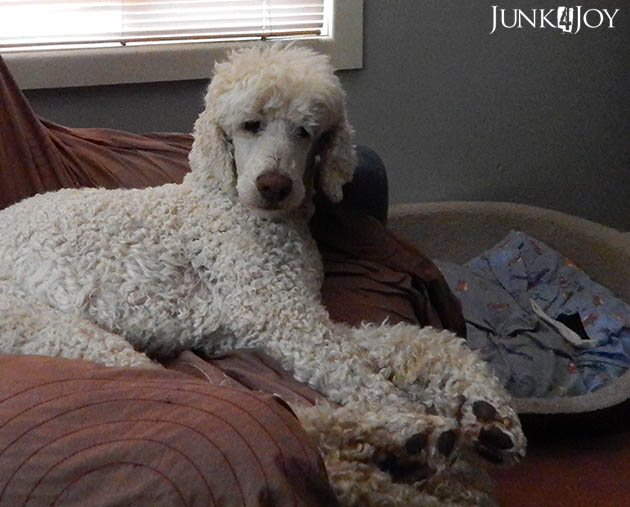
I’ll finish this post with a gratuitous photo of a poodle: Romeo was overseeing my gate-building efforts. He approves.
z

update on the grooming room

Well the grooming room is still far from finished.
You can’t rush these things. It takes time to think, measure, plan, get your materials together, find the energy, the time. Have you ever noticed how much STUFF needs to be done when you plan to spend a day working on a project?
… Then one day the planets align and things start happening.
Yesterday was that day. 
I’d already drawn a ‘map’ of the last wall, drew in the posts and noggins (that’s the brace type of horizontal studs, yeah, I didn’t know that either), numbered and measured the drawers I’m going to use, and, using Illustrator, did a jigsaw puzzle to figure out how to fit it all together. The map helped me figure out where I needed noggins to secure the drawers to the wall.
I went down to the casita, turned on the air compressor and began putting noggins between the posts where the map told me to.
I then pulled out all the sheets of masonite I had stacked against the wall in the workshop area. I knew I had used sheets but had no idea how many and what sizes.
Turns out I had 1 large sheet of 6mm, 3 smaller sheets of 6mm and 3 medium sized sheets of 3mm.
Naturally I began with the largest sheet, starting in one top corner. I measured, cut out a nick to make it fit properly, trimmed it down so I could join the sheets on a post, then measured it again and cut it again as I got it wrong first time. Thankfully I cut it too long, not too short. Phew.

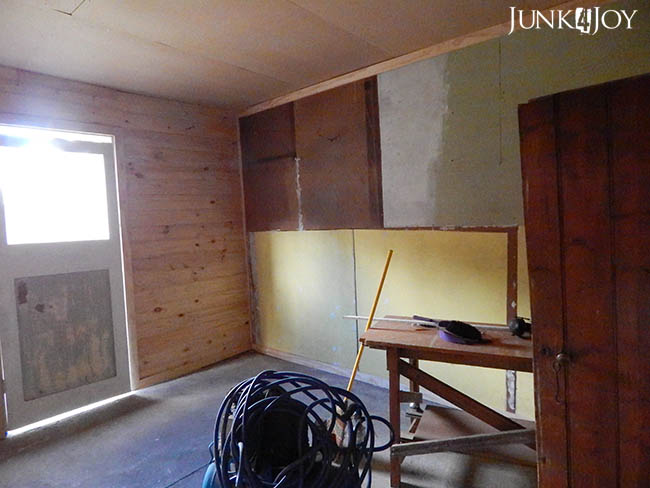
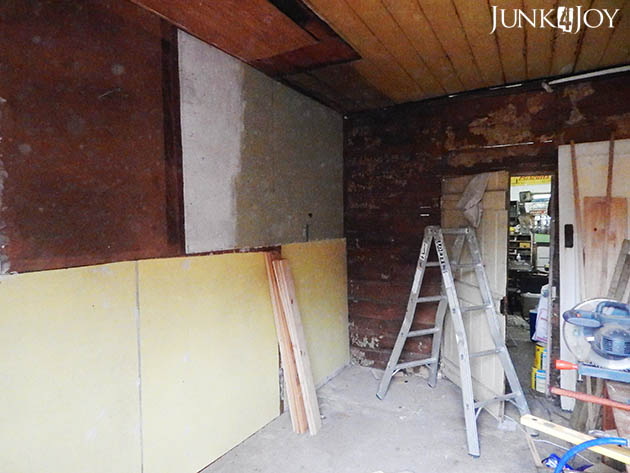
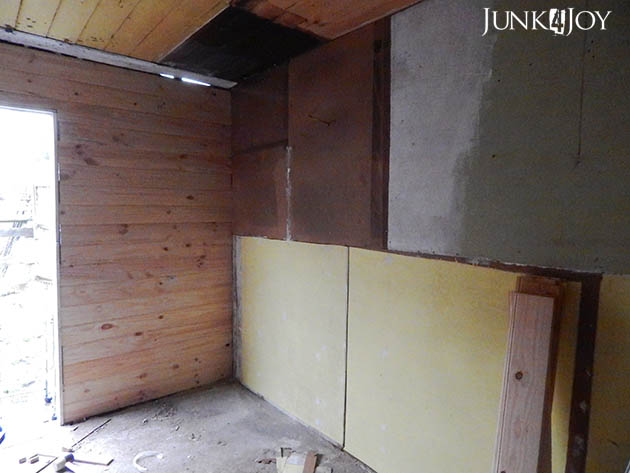
The biggest sheet at the top far end is painted green with a bit of white over one section. That obviously came off a wall somewhere. The darker, smaller pieces came off the floor when we ripped up the vinyl in the kitchen. I was sure I had more of that stuff, but I don’t. Must have thrown it out cause most sheets cracked when pulling them up.

Whatever.

I used the 6mm stuff for the top of the wall since that’s where I’m going to put my drawers.

The bottom area won’t have things hung on it so I used the 3mm masonite there. That’s all painted yellow, also obviously second hand. I have no idea where these sheets came from as I didn’t remove them from anywhere. Another of the bonuses we got when we bought the farm. Like lots of old bricks, old timber and loads of rubbish.

I had to overlap the thinner sheets a bit cause I didn’t work that out well (ie the joins aren’t on posts. ooops.) so I used liquid nails and nailed them as best as I could. This wall will hold crates and dog beds so it should be fine. Unless a rhino head butts the wall we’ll be good.
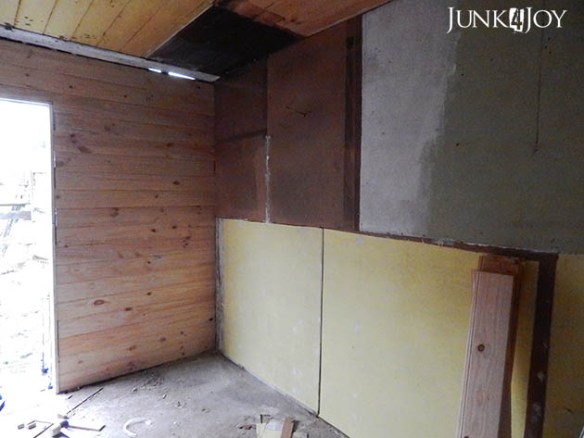
It looks funny with all the patches of colour. When its all painted one colour it’ll look much better. I’m sure.
Next step is the ceiling. I’m going to cheat there. I do not want to sand back all the flaking paint and I definitely don’t want to try to fix the saggy or gappy bits. I’m going to get some thin MDF and just cover it.
Easy.
Famous last works.
Anyway, we’ll see.
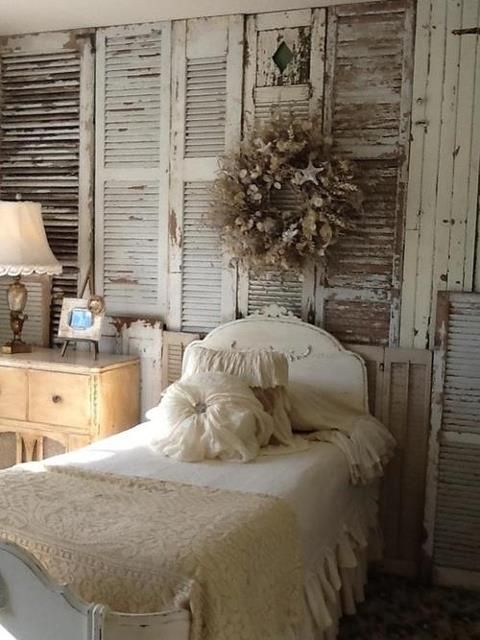
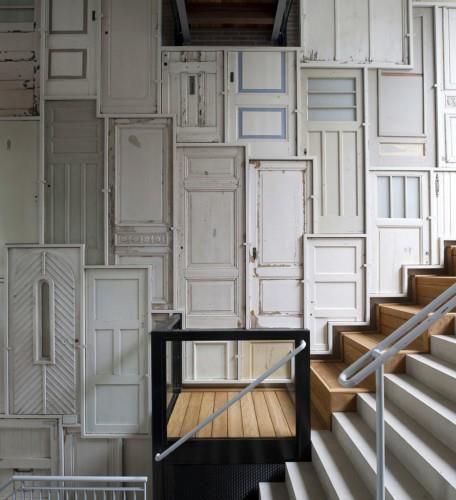
Of course there’s still one more wall. The interior wall. I can finish the room and leave that wall as it is and still groom, with the old timber showing. In fact, that’s what I planned to do. But now I’m having second thoughts. I’m wondering whether I should do some kind of patchwork on it…. use old shutters… that’d be interesting!

Like this:

Or this (swoon):

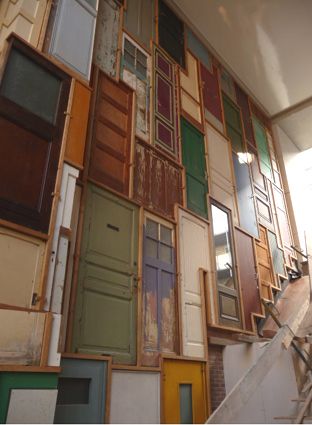
But with all the hair flying around in a grooming room, I’m not sure that would be a good idea. Maybe I should use cupboard doors… less gaps.

Like this:

Or this (swoon):

I’ll have to see what bits I have and how much wall I can cover before I go buy anything new.
Oh, I also fixed the interior door. It wouldn’t close. Its got an exterior lockset and the latch wasn’t catching. Well, I fixed the sucker. I got the hammer and wacked it a few times till it worked. Ha.
I also learned how to fit a handle on a door so I can do the exterior door. Thank you YouTube.
So, basically, what I’m saying is that the room is coming along, but there’s still a lot to do:
1. line the ceiling
2. put in powerpoints and lights that work (electrician job)
3. paint all walls and exterior door
4. paint ceiling (once its done)
5. paint the floor
6. put a lock/handle on the exterior door
7. make a window for the top of the exterior door
8. make gates for both doors (to keep dogs from escaping)
9. put shelves in the drawers, paint the drawers, put poodle figurines in drawers, put glass or perspex on drawers, put drawers on the wall
10. make a canopy for over the door
11. make a gate for the little yard
12. sort out the ‘landscaping’ in the little yard
13. run screaming into the hills
Sheesh.
Whose idea was it to start this?
Its going to be great! I’ll keep telling myself that.
z
recycling christmas

This year I really didn’t feel like doing much for Christmas. I wasn’t going to decorate at all. 
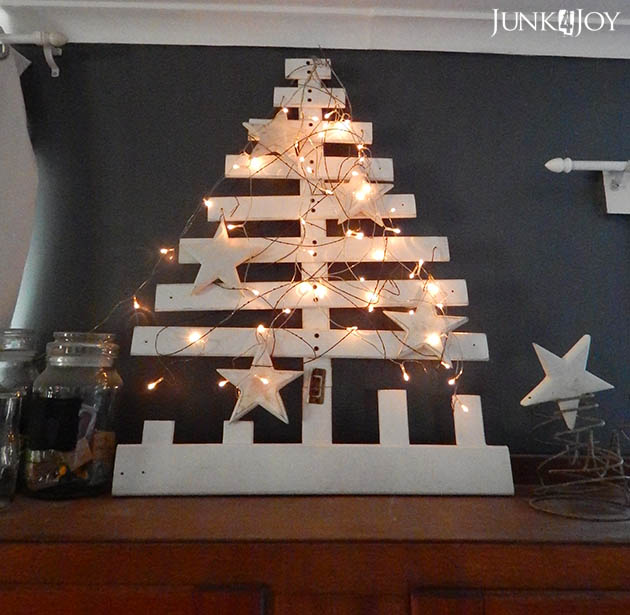
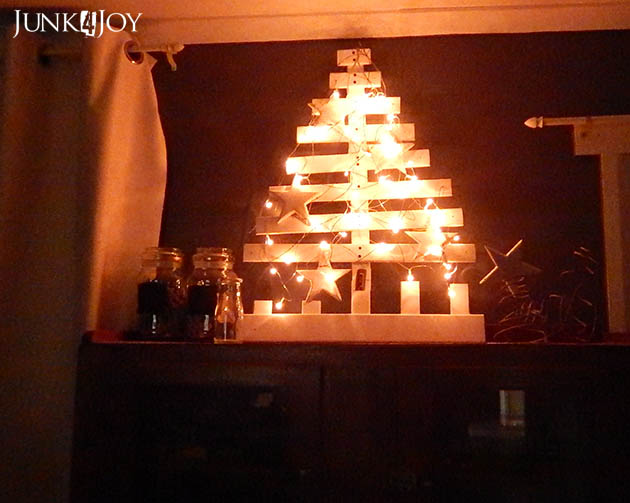
But then, while cleaning the office, I found the Christmas tree I made last year from the sides of an old cot. I’d wrapped it in plastic and left it as it was – with the wire and stars, ready to go. So… well, it was ready to go… I figured I way as well use it.

With one small difference. This year I put fairy lights on it! (’cause I found them while cleaning the pantry!)

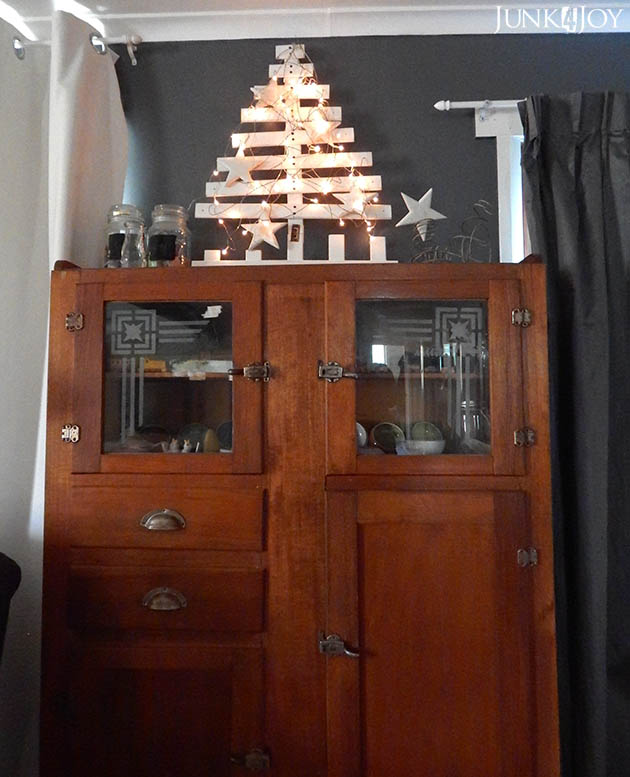
I also put it in a different spot this year. Last year it was on the wall over the air conditioning unit where I now have my industrial stencil artwork.

Since I needed it close to a power outlet for the lights, it made sense to put it on top of my pretty antique cabinet.

This spot means you can see it from the kitchen as well which is an added bonus. I love fairy lights and this just makes me smile. I think I might leave it up for a long time… at least till the end of January.
z
christmas on the farm

Firstly, Merry Christmas to all! I hope everyone is having a great Christmas day and not spending it lying around the house doing nothing but being online, relaxing, reading, no TV, eating lots of good food and drinking (deadly) punch like us.
Wait a minute. That’s actually a great Christmas Day!
This year we opted to go it alone. We told all our friends we were spending Christmas with other friends and are hiding out with our own (furry and feathered) family on the farm. So far its working out great.
The air-conditioning is on and we’re relaxing in comfort. Even the dogs don’t want to go out into the heat. 
Barney, “hole in the blanket? what hole in the blanket?”

Montana, “what? you woke me up to take a photo?”

Romeo looking guilty as his tassie devil Christmas present is already missing a nose.

The other critters aren’t so lucky. They have to spend their time out in the blazing hot outdoors.

Here is little Chipmunk this morning, he always comes up to steal feed off the ducks.

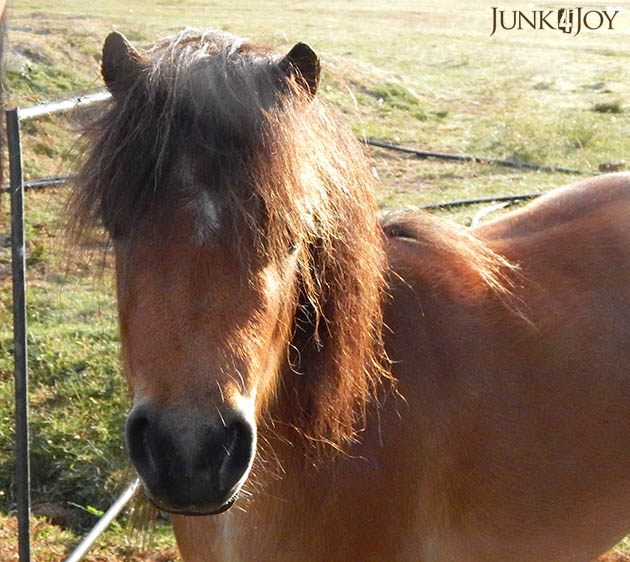
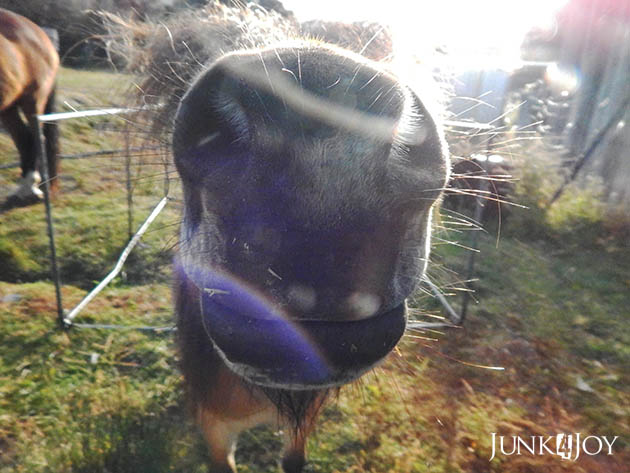
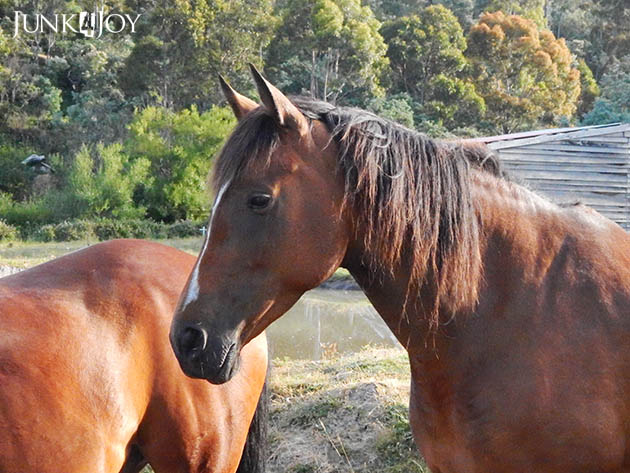
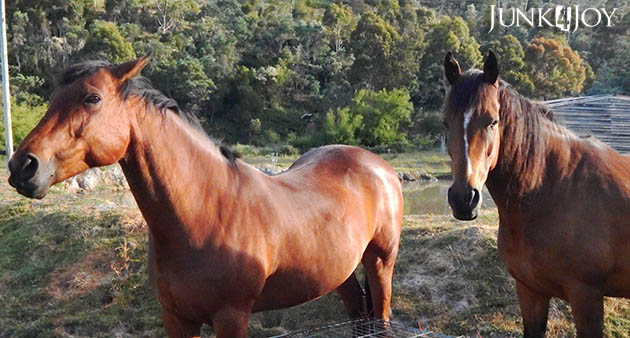
Up close and personal with a miniature horse.

Dancer looking gorgeous as ever.

Wally as ornery as ever. Cass is somewhere behind the stable, all camera shy.

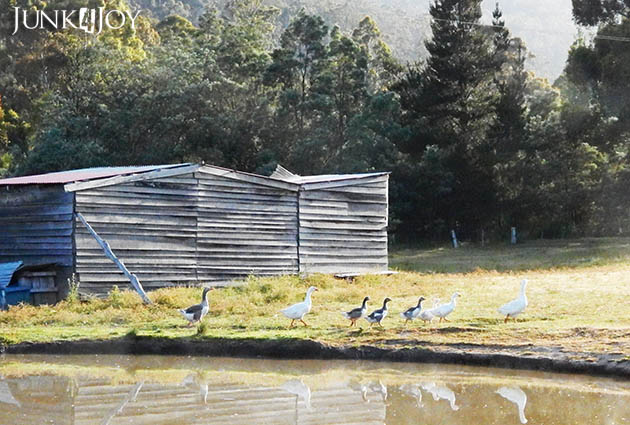
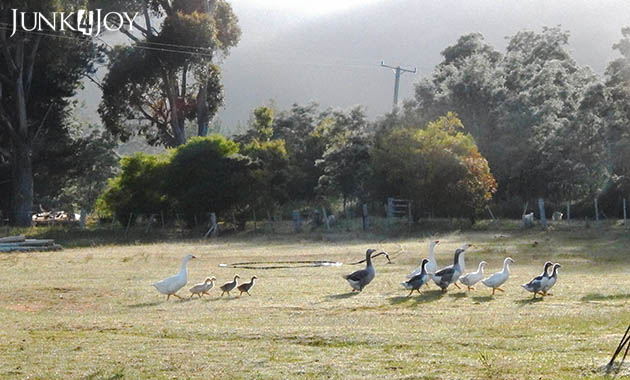
Our geese. The first batch that hatched this year, Jethro leads the way, the five babies (2 boys and three girls), then the siblings from our first ever goslings, Clarabelle and no-name boy (mainly cause we can’t tell him and Jethro apart any more). This is Clarabelle’s family.

Coming up behind is Annabelle (our original female goose) with her 4 babies and Hank. When Annabelle hatched out these babies she abandoned them for a while and Hank raised them on his own. What a guy!

Here they are, all together. Making a run to the feed Wayne is tossing out in the morning haze.

As far as presents go, this is my favourite. From my good friend Diane. I love it. Its so me!

So thats us for Christmas. I think I’ll go drink more punch and read a book. How great is that!

z
our junky porch

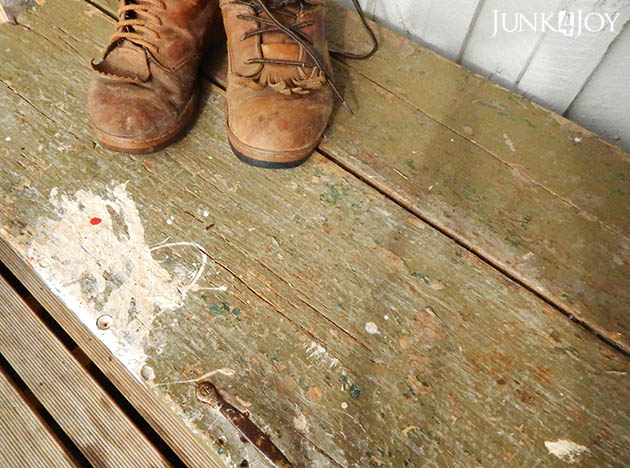
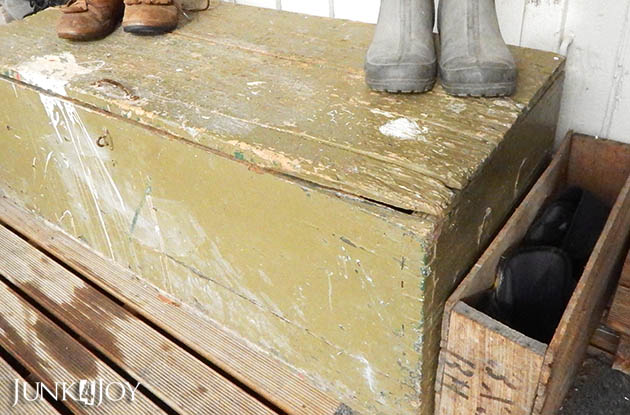
Our porch is a receptacle for junk. I mean, its the natural place for it, right? You come home with  your hands full and think “I’ll just leave that here till later” and you put it on the old box Wayne uses for his boots.
Or you step out onto the porch with an armload of stuff that doesn’t belong in the house, or you no longer want in the house, and you think “I’ll just leave this here till later…”  Or forever.
See the oil stain on the decking? Well, that’s where someone sat a chainsaw when the porch was all new and shiny. I won’t mention names, but it starts with “W” and ends with “ayne”.
I’m sure that at the time he was thinking “I’ll just rest it here for a while”… which turned into weeks and a permanent stain.
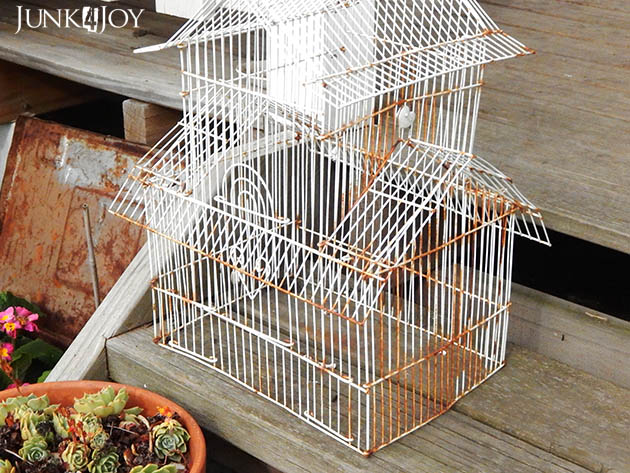
But its the nice junk on our porch I want to share with you today. Like this rusty birdcage I found at a tip shop a few years ago.

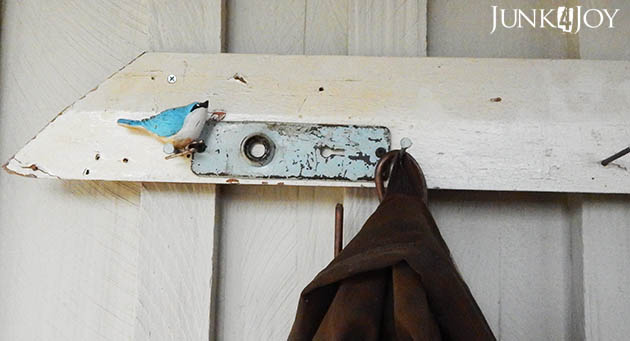
The coat rack I made using big nails and recycled skirting board, with a cute little bird accent.

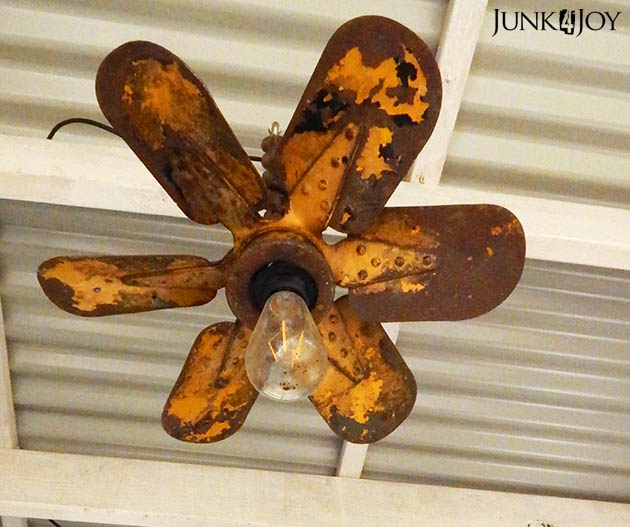
The rusty propeller (ok, tractor fan) light I made.

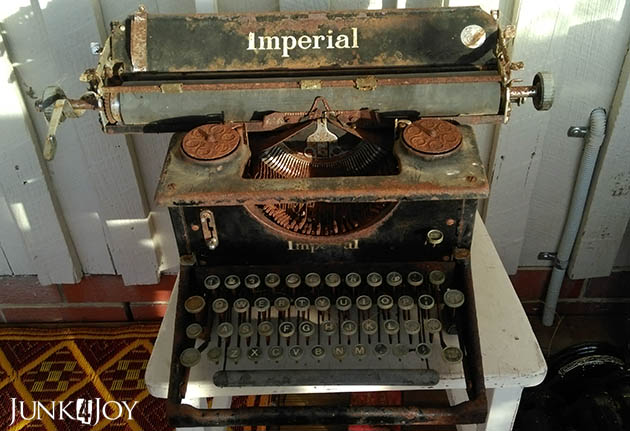
The beautiful rusty old typewriter found on the side of the road. You may recognise it as part of one my blog headers.

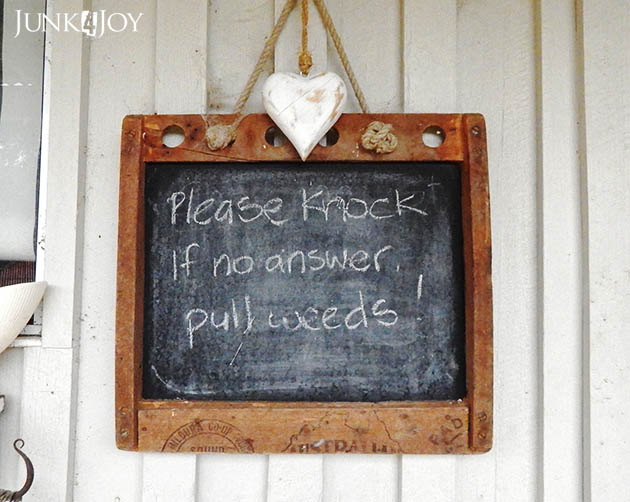
The old chalkboard, made from something I found once – no idea what it was. Now it hangs beside the door to the mudroom with hopeful advice.

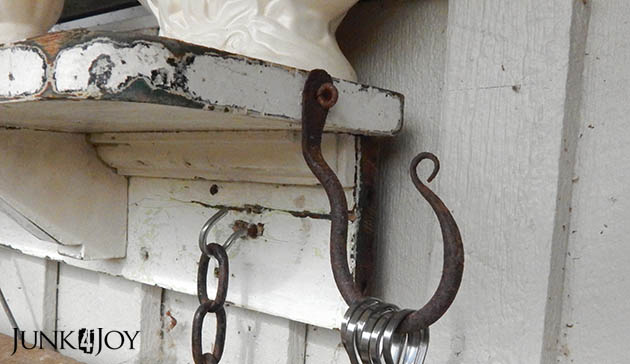
I recycled an old mantle shelf I found in one of our sheds by putting it under the kitchen window for plants or my collection of old white vases. And rusty hooks and other rusty things. Don’t you just love this hook?

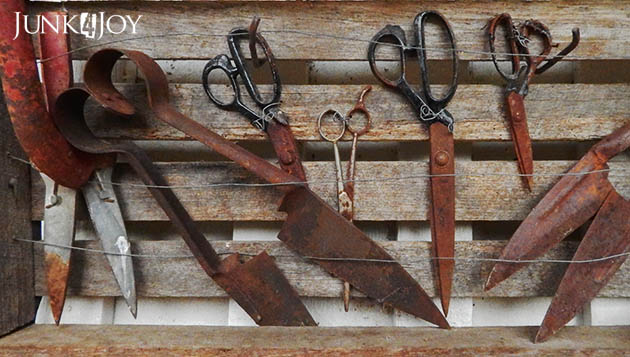
My collection of old shears and rusty scissors.

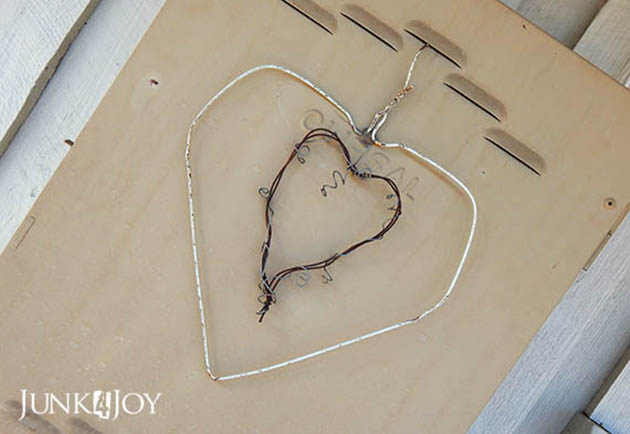
Even the unattractive electricity meter box is dressed up with two wire hearts. The white one was once a wire coathanger…

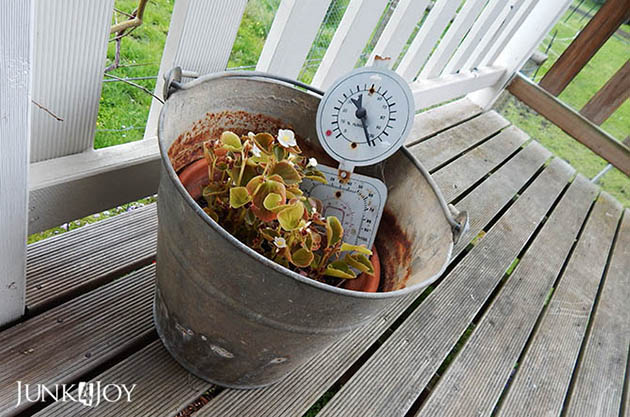
I have a collection of old galvanised buckets. This is one without holes so I’ve put a pot inside it with my tortured begonia. I’ve almost killed it at least three times.

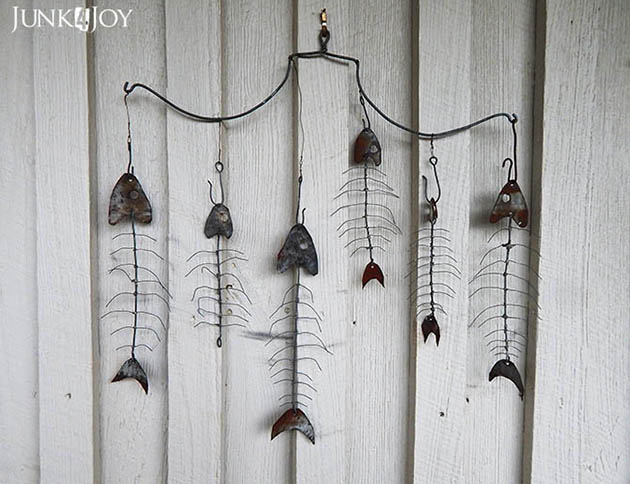
The fish Wayne made hang on the wall. He made these out of wire and flattened corregated iron. Aren’t they great!

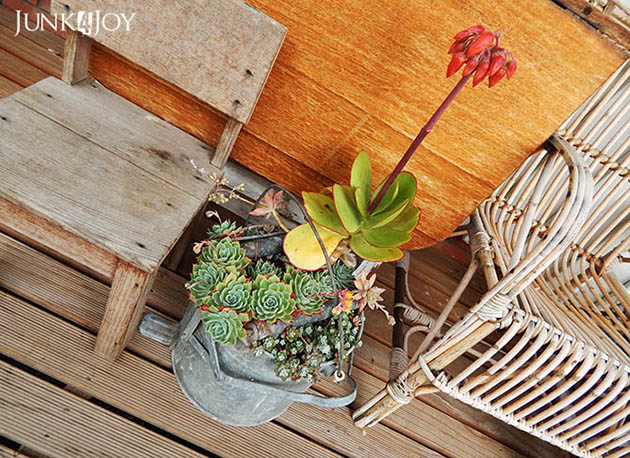
An old, weatherbeaten table, a very comfy cane chair and a kid size chair grouped around an old galv mop bucket bursting with succulents.

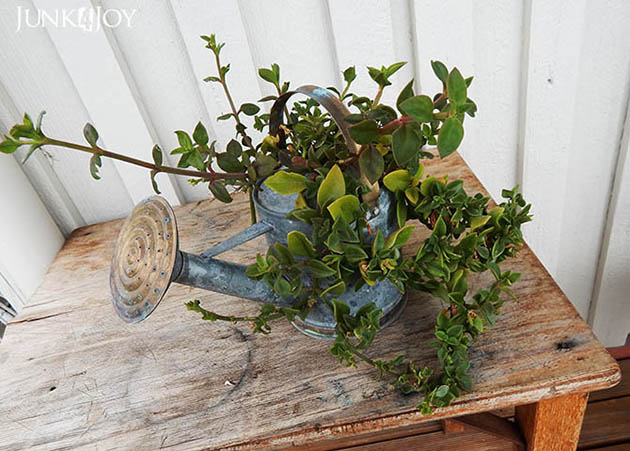
A not so old galvanised watering can is now a planter, sitting on an old school desk the sun and rain are doing their best to ruin.

I love our porch, even if it doesn’t actually have much of a comfy area to sit and relax. I just love looking over the garden and enjoying my collection of junk.
z
slow progress in the new grooming room

Its been slow going in the new grooming room.

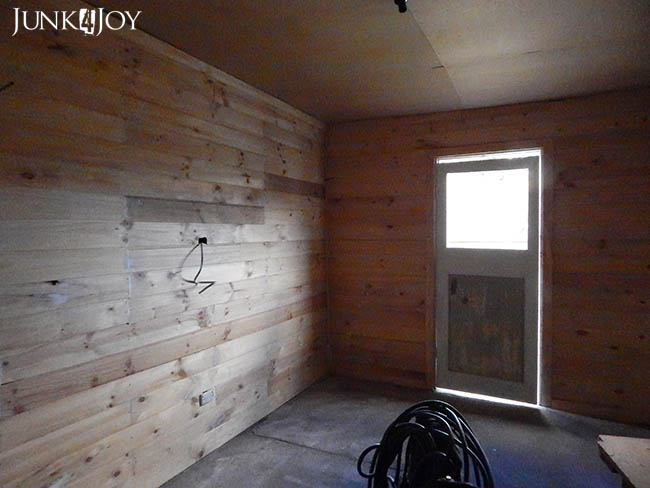
Mainly cause I haven’t been working on it. I’ve been either too busy or too lazy. After all the knocking out of old walls and emptying the place out I kind of lost steam for a while.

I had to buy pine lining for the walls and even though I bought the cheapest stuff around it was still a lot of money. That put a damper on things for a while. Then I didn’t know how to use the air compressor. Then I realised I needed the right nails for the nail gun.

Then I chickened out a while cause I was like “What on earth was I thinking? I’ve never done anything this big in my life before!”

But its just a shed, right. Who cares if its not perfect. It’s not like its the kitchen, right?

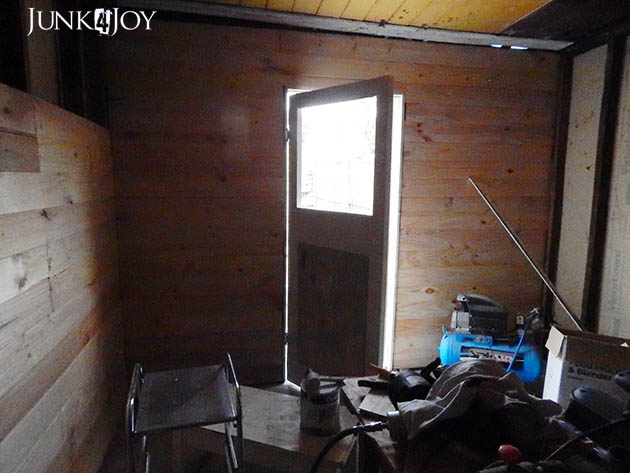
I already had the door, a lovely old door with a missing glass panel on top. I sanded it back, plugged all the holes and clamped it with some glue to make it stronger. But it needed a bit off on one side. I was too chicken to tackle that with a circular saw…

Well, a good friend came out and gave me a hand to get started. She’s done this sort of thing before. She knew how to use the compressor and how to change bits on the nail gun and she’s tackled way bigger jobs than this. As a result, the door was trimmed down with her saw (one that’s made especially for cutting long straight lines) and hung. And the wall around the door (the smallest wall) was done.

Yes, I can see light too. The ceiling in there is really crap so there’ll be a lot of fiddling to get the wall to join the ceiling properly. Maybe I can just put up a board and cover the holes?

Whatever.

IT’S A SHED.

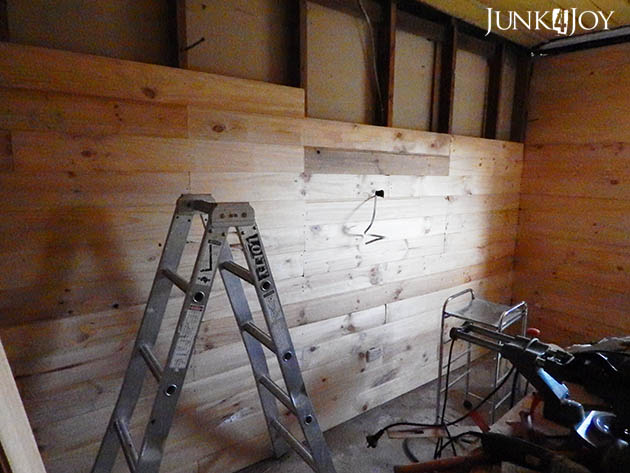
Today, before it got too hot, I tackled the other wall. I stopped when I had to climb up and down for each board. Plus I had to stop birds from getting into the wall before I got to the top. I chose to staple bird wire into the gap between the flat roof part of the casita and the wall cause there were a LOT of bird skeletons in that wall. I don’t want that happening any more. I mean its awful hearing them in the wall and it smells when they die.

I also gave the door its first coat of paint, an oil based 3 in 1 undercoat. It’s an exterior door. It needs to be protected from the elements, hence the oil paint. I normally prefer water based paint cause it doesn’t smell as much and dries quicker.

Last week I got a tin of aqua enamel deep base on sale and had it tinted a bright blue. I’m thinking that’ll be the colour on the outside of the door. I was planning on white for the inside and I’ve left the inner bottom panel unpainted cause I love the chippy look (though I sanded it back so there’s no loose paint any more). I could change my mind and do the whole door blue, but we’ll see. I like the chippy paint and don’t think that’d go with the blue.

Of course, the door still needs a window. I have to see what timber I’ve got and make that. I’ve made doors before successfully (see my new linen cupboard) so how hard can it be? I think the only time I’ll run into problems is when I have to use the router to make a groove for the glass to sit in… never attempted that before. It’ll be fun for sure!

Actually, I think you’re supposed to do that BEFORE you make the door. Yeah. I’m sure of it…

YouTube to the rescue!

That will leave me with two more walls to do. I don’t have enough pine lining for all the 3rd wall so I’m having to get creative. I have quite a few large masonite pieces which I kept from when I removed the lino in the kitchen. I’m thinking I should have enough to cover that wall. Once its painted who will know? Especially when I cover it with old drawers! (Wait and see!)
Its getting to the good bits now. And I checked. That room is way cooler than the current grooming room, even on a really hot day like today. With both doors open there’ll be enough of a cool breeze to keep me sane.
Oh, see that play pen side? That will be fitted to one or other door to keep dogs in. There’s a tiny yard outside the room which, once I fit a gate to the back part, will be totally secure. Its been cleared out and I’ll be putting down newspaper, weed mat and pine bark to keep it dry and clean for visiting dogs.
Its all happening here.
If it wasn’t so hot.
I think I’m only good for a few hours work when it’s hot. Then I need to do quieter stuff. Not like I haven’t got tons of that to do either.
z