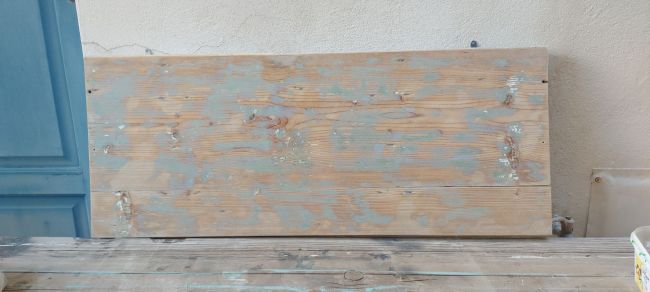
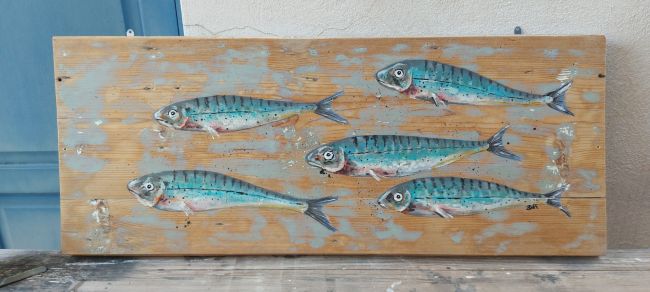
A few years ago I’d sold a painting of fish on old slabs of timber to a friend. Fast forward a few years and someone who’d seen it wanted something similar.
Of course, its not so simple just ordering a painting on old timber, an old shutter or door. FIRST you have to FIND it. Which means looking at every rubbish pile you walk or drive by anywhere you go. Sorting through stacks of old wood wherever you see one, searching for something suitable.
Remember, I no longer have sheds where I can store every potential piece of rubbish wood I find…
Once you locate the right piece, you have to carry it home, then prepare it – wash and clean off dirt or whatever might have accumulated on it, sand off the worse weathering and layers of old paint, cut off any rotted or jagged bits it might have, mend where needed, and generally prepare the surface for painting.
Then paint it. Last finish with varnish and some method for hanging it.
Don’t get me wrong. This is right up my alley. I love doing this stuff. I just wish I had the luxury of the multiple sheds I had in Tasmania to store my stash of future projects. Back then I could pick up anything I thought would ‘come in handy one day’, so that when I had a commission (or an idea) I could just walk around the sheds looking for the right piece…
Those were the days…
Do you detect a note of nostalgia in my voice typing? Yes, you do. ‘Cause lately I’ve been thinking about Australia more and more and miss it more and more.
sigh.
Anyway. Enjoy some fish.
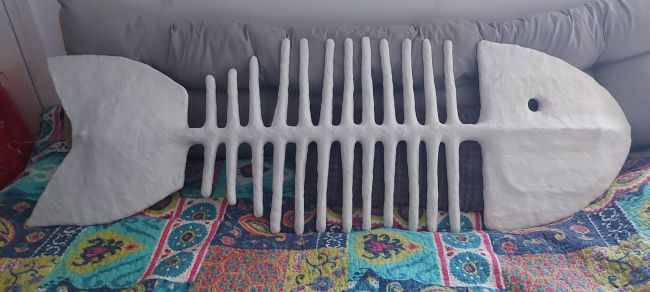
Here is the finished piece, sitting on my workbench outside cause I have no space to hang it.
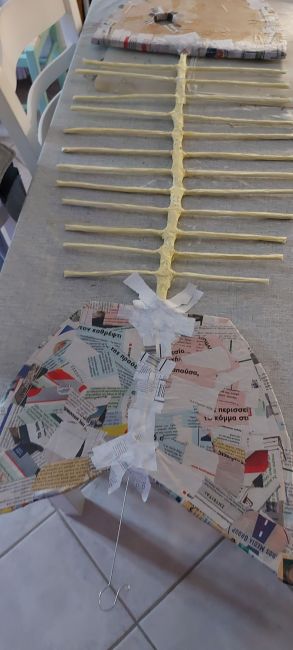
This is the big fish I made for the exhibition last month. The gallery owner had asked me to make it and I thought it was a great idea. I love making things out of paper mache and any other materials I can get my hands on. And I love experimenting. And making something this size was a challenge.
I had made a life size bulldog a few years ago, but this is a totally different animal (haha). This is a link to the bulldog – unfortunately unfinished in this post…
Anyway, back to the fish. I’ll go through the process, which was all a bit hit and miss with a lot of learning in between. It took a while… not just the working but the drying…
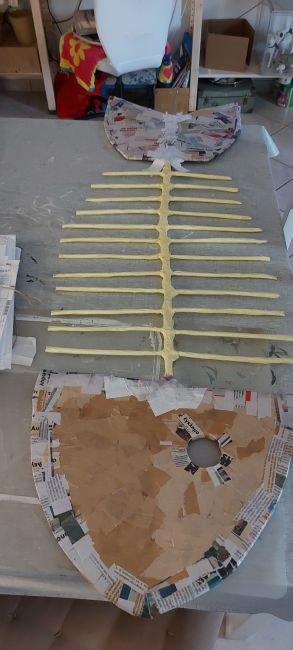
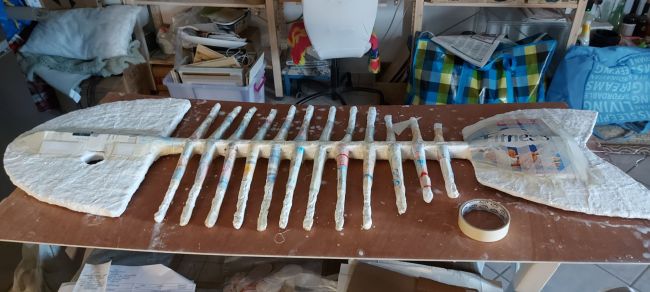
I began with wire I’d gotten off old paper lanterns someone was throwing away. Recycling being the main aim.
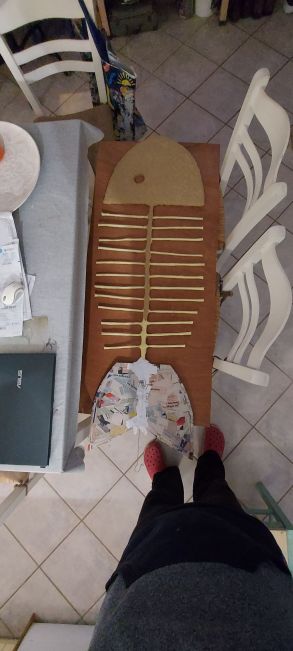
I made the spine and ribs using the very hard wire, then wrapped it all in cardboard and masking tape. Lots and lots of masking tape.
I used cardboard to make the head and tail and moved on to paper mache using strips of newspaper, which is becoming a pretty scarce resource these days.
I had thought paper pulp would be the way to go so that the entire fish was recycled material, but the pulp was taking way too long to dry. And wouldn’t stick well either. Probably my own fault, I got the mix wrong… However, by the time I decided that it wasn’t going to work I’d already done the head and ribs on one side.
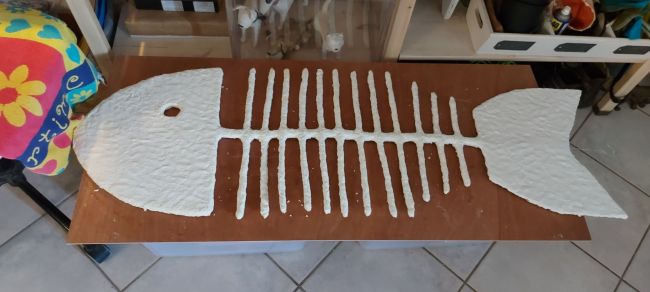
So I swapped to plaster. Using plaster bandages I coated the entire fish and that dried nice and fast and really hard, which was the most important part.
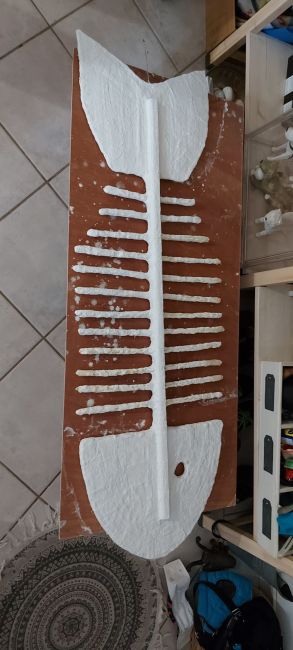
However the fish was getting really heavy and the spine was too flexible. Not good… I had to reinforce it somehow so that it would hold together well and not bend or crack.
I did what I always do: looked around me to see what I had that might work. I found an old piece of timber which was curved on one side. Perfect. I attached that to the fish going from the head all the way to the tail. I attached it using masking tape (the paper mache artists best friend!) and then plaster strips.
Of course I had to ‘blend’ the stick into the head and tail which I did using cardboard to create a curved look. And more tape and more plaster strips. It wasn’t totally realistic, but it did the trick.
In the end I wanted to give it a smooth finish (texture isn’t a good thing when something can collect dust) so I opted to finish the fish using air dry clay. I use air dry clay a lot to make small sculptures, and I knew i could make it work.
I love the way the fish turned out.
Would I do some things differently if I made one again? Yes, probably. I’d start with a stick for the spine and much harder material for the ribs… cut down bits of bamboo maybe, or dowel or whatever I can find. And attached using a drill and holes and glue… But not wire.
And yes, I will be making another. Soonish. It just takes time and I have so many other things I want to do, have to do, should do.
But I really enjoyed making it. Part of the work was done on my kitchen table when the weather was bad. Then when it got warmer I worked outdoors. The plaster work was all done outdoors. That stuff is MESSY.
Sorry about the pics that are vertical instead of landscape. Turns out WordPress won’t let me spin. I have to go back to the originals for that and I just want to get this posted. So there!
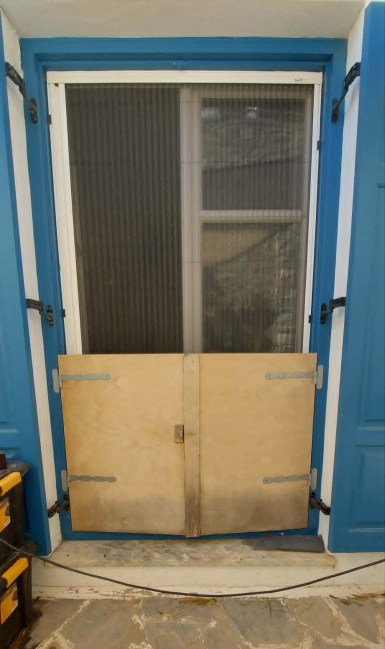
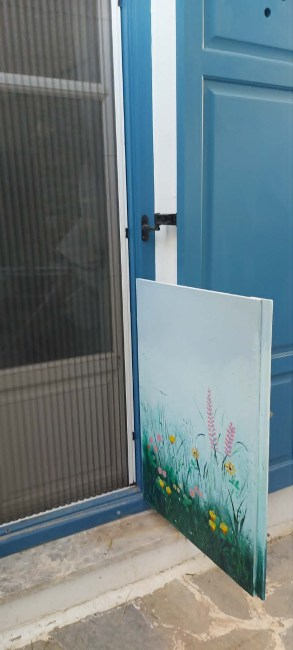
I finally got around to painting the dutch door I made for french door into the courtyard. I made this door for a couple of reasons. I groom dogs and I do them out the back there. The courtyard is very safe and enclosed, but I would always have to close the french doors to keep them from escaping into the house, and greek french doors never have handles to open from the outside. The dutch doors allow me to keep the doors open with the flyscreen closed – and protected from little monsters running straight through it.
The other reason is that I was visited by a rat twice a few years ago.
Once was enough. Twice was beyond enough.
I like to keep the back door open all the time, flyscreen closed, to get fresh air. And rats chewed through the flyscreen. UGH.
Hence, a dutch door.
Here are the before and after pics. Before, boring old marine ply which didn’t improve with exposure to sun and rain.
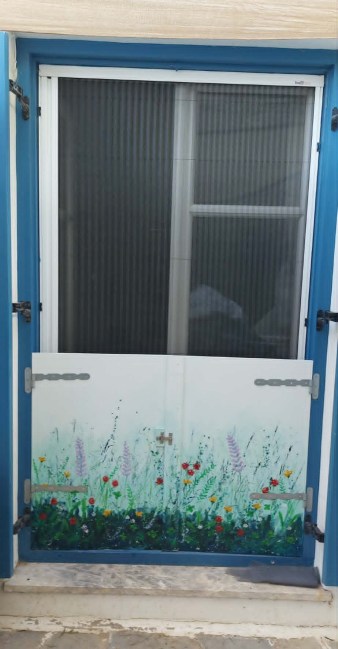
And after… I gave it an undercoat of white, then an ombre blue background, finished by painting a mess of wildflowers on it and a coat of outdoor varnish. Both sides.
Pretty, ain’t it? I love it. Of course we’ll have to see how well it holds up to the weather and dogs scratching at it to escape being groomed…
For those curious about how it was done, I used brushes and house paint for the undercoat and background. Then I used acrylic paint for the flowers and grasses. For those I was very experimental. I collected various plants on my walk with Vincent that day and I used them to create the grass by dipping them in paint of various green shades and smashing them onto the wood.
I used leaves and flowers pressed into paint to create the leaves and flowers. That didn’t always work so well, so I used brushes, cardboard and anything I could think of to add more detail and shape.
In the end I think it came out very pretty. I’m sure the visiting dogs agree.
And now for the bad news.
Turns out my Australian Business Number (ABN) was cancelled due to the fact that I haven’t used it or filed any income tax since moving to Greece – since I work and pay tax in Greece. And now my junk4joy domain will be suspended till I can reinstate my ABN and upload it to my host again. Which I’m in the process of doing.
BUT… I have none of my information so its a long deep winding tunnel of frustration!
When I left Australia I left a box of documents (old tax returns etc) with my brother who put it in storage as he’s moved a couple of times so he’s unsure where it is. Plus he’s on his way Greece and had no time to go searching for it.
My old laptop corrupted a few years ago and I lost everything on it – including all that information.
So I’m kinda stuck. I’m working on it. But not in time to stop my junk4joy domain from being suspended for 30 days from May 25. I’ll be back once I have the info I need and re-link it all, but till then no more posts.
Not that you’ll miss them as I haven’t posted for over a month even with a working blog!
It’s been a very busy time since I got back from my 2 trips to Athens. Yes, you read it right. Two trips. I got back home and had to go back. Nothing bad… Just stud duties for my little man, Vincent. We wait in hope to hear if he’ll be expecting a new brood of puppies!
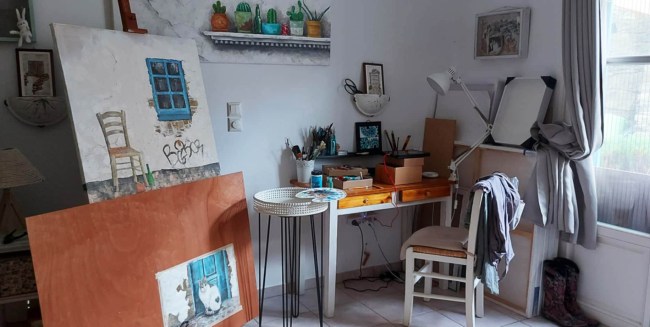
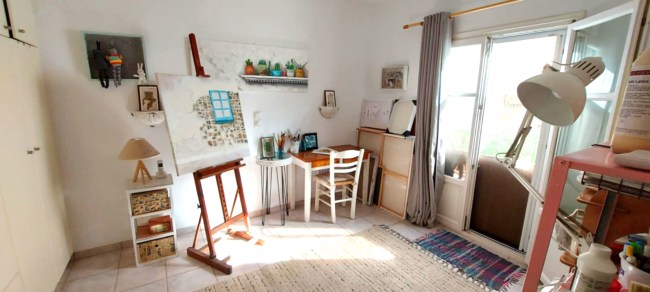
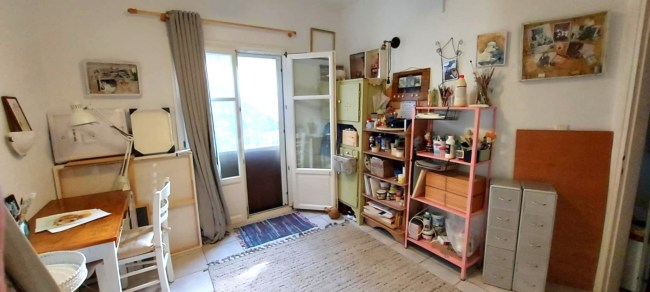
Meanwhile since I got back, I put a lot of time and energy into converting my bedroom into an art studio.
I’ve been sleeping on a single bed in the living room since mom was here this summer and I got used to it. I live alone, I don’t really need a QS bed taking up all the space in the only bedroom. My house is always a studio all the time anyway, at least with a dedicated room for it I can see my kitchen table and can usually cook without having to remove art projects from the stove top.
When mom comes back in summer I’ll add a single bed to the bedroom and work around it. At least I’ll still have a space to do stuff and not have to put everything away so mom can cook and we can eat.
I also streamlined my space and mind. Mainly my mind.
I decided that I’m way too scattered (aren’t all artists?) but I’ll never get anywhere if I don’t concentrate my energy on one, or maybe two things. Wishful thinking maybe, but by putting away a lot of my other craft stuff I can concentrate on painting. Acrylics and some mixed media. And maybe some watercolours or pastels.
I’ve kept my felting stuff at home but put it all away into a cupboard (my wardrobe really) and taken all my craft stuff to the container for safe keeping. I believethink hope that by doing this I won’t get sidetracked and I’ll finally be able to have that exhibition I’ve been wanting to have for such a long time.
And it’s not like I have forever. Once mom comes at the end of May, I’ll have to put away all large work and go back to things I can fit on my small desk in the bedroom.
We do what we can with the space we have…
Other than finally being able to paint, and FINALLY getting my mojo back, I’m starting Art from Trash workshops next month and trying very hard to encourage everyone to join in and create their own stuff to enter into our Art from Trash competition to be held in June.
Lots of work. But my main focus right now is my own work, which runs a close parallel to my art from trash interests… the series of paintings I’m working on is all about the trash people leave around the island.
I’ll share images soon. For now I’m just glad to be feeling it again.
I finished the 3rd painting yesterday finally. It had only been sitting on my easel since before Christmas and I’d barely touched it.
Feels good to have it done finally.
Now a new canvas is sitting on my easel, in the living room (ie my studio) starting at me accusingly as I sit and felt, or do nothing.
I have some ideas of what will go on it, but so far all I’ve done is prepared the canvas. Better get my paints out again as I also have a cat commission to finish by next week.
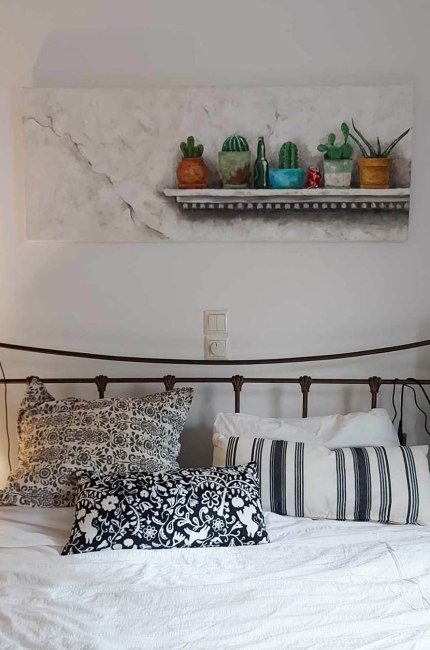
For now the newest painting is hanging in my bedroom and I love it there.
I have no idea where I’ll hang the next paintings I plan on doing will do… I am fast running out of wall space. Not that I had a lot to start with…
I’ll have to think of something.
Meanwhile I continue to work on STUFF.
The felting workshop I did this week went great. We all had fun and got something to show for it at the end. It might only be a needle felted BALL, but hey, its the start of something great! You gotta learn the basic technique first and that’s what the first beginners session was about.
Next week we’ll add colours and attach parts to make the ball into something more interesting.
Then I have to plan my second beginners workshop series and add in an advanced one for those wanting to take it further.
So, there I was, sitting at the kitchen table, a mess of art and craft stuff all around me, wondering what on earth I should do. I didn’t feel like putting the last strokes on the large painting… Afraid to finish it? Afraid to start a new one? No idea why, but there I was…
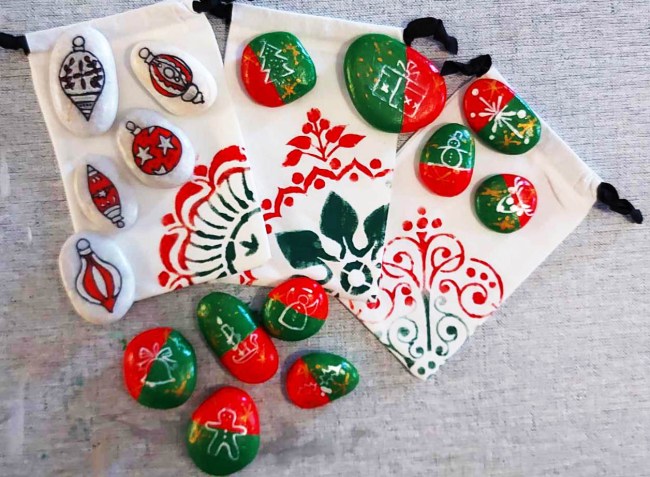
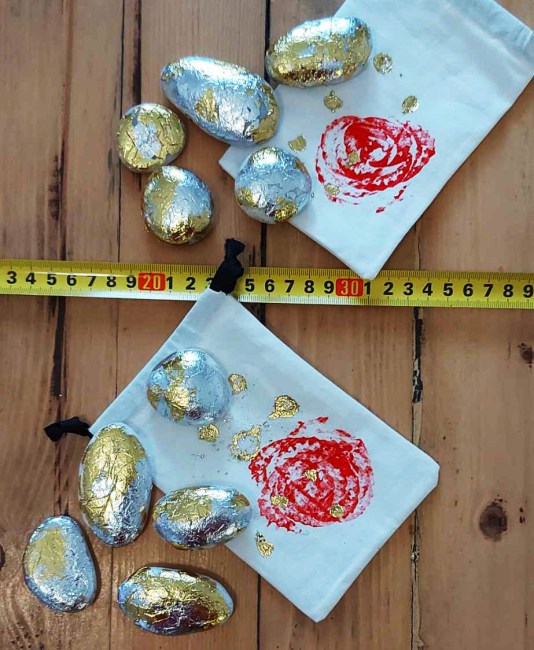
I had a pile of stones remaining from the project I made for a hotel this summer among the things I needed to sort, pack up or get rid of, and thought ‘why not make some Christmas stones?’… I had the gift bags, so why not?
I made two types – some with Christmas designs and colours, and some with silver and gold foil.
I’ve been going a little crazy with the foil lately. I’d never worked with it before so it’s been fun to experiment. Stones aren’t the ideal items to foil as they aren’t at all absorbent and the glue takes forever to dry… however, I’m really pleased with the way they look.
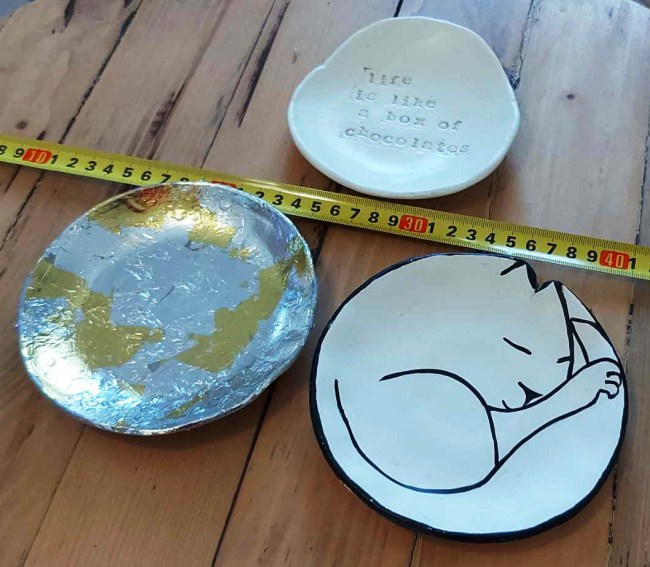
I even tried the foil on one of my little air-dry clay bowls and it came up nicely.
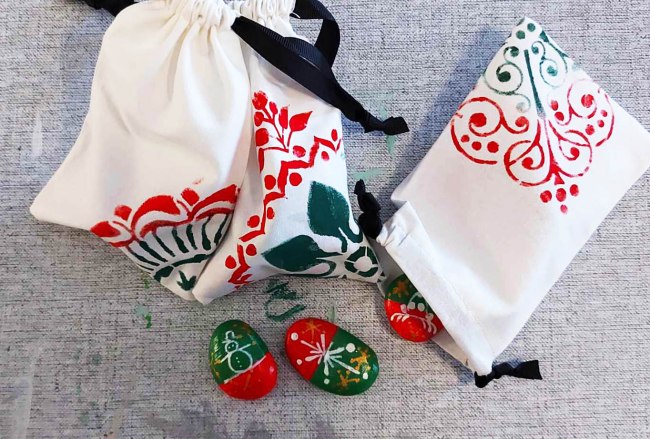
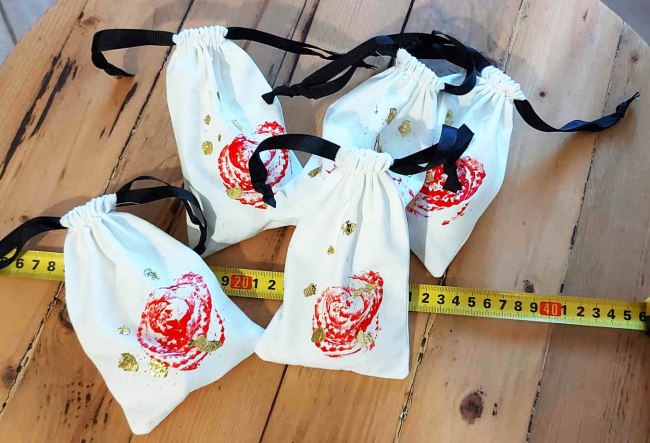
For the little bags, I created a stamp for the foil stone bags, stamped them and added a touch of gold foil which makes them really pop. For the more Christmas themed stones I used stencils to decorate the bags.
I think the presentation of these stones is really up there. I hope they sell as stocking fillers or small gifts this Christmas.
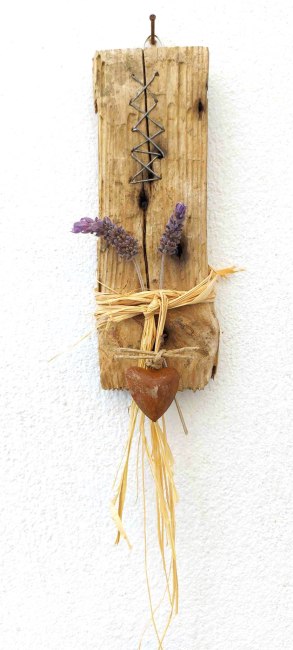
I have always loved stitches where you don’t expect them – in wood, on paper, etc. When I found this bit of wood on the beach, with the big crack down the middle, I thought it would make a great project to ‘stitch up’.
After giving it a thorough clean, I drilled tiny holes for the wire as well as using some of the old nail holes to create the stitches. I added some raffia, a rusty heart and some dried lavender. It might not be a statement piece, but its sweet and I love it.
I love making something out of things I find on my walks and using bits and pieces I collect, finally giving them a purpose.
This was one of those quick and easy, ‘don’t think, just do’ projects I love cause they come out of the blue and are finished in no time at all, yet still give me that feeling of having achieved something special.
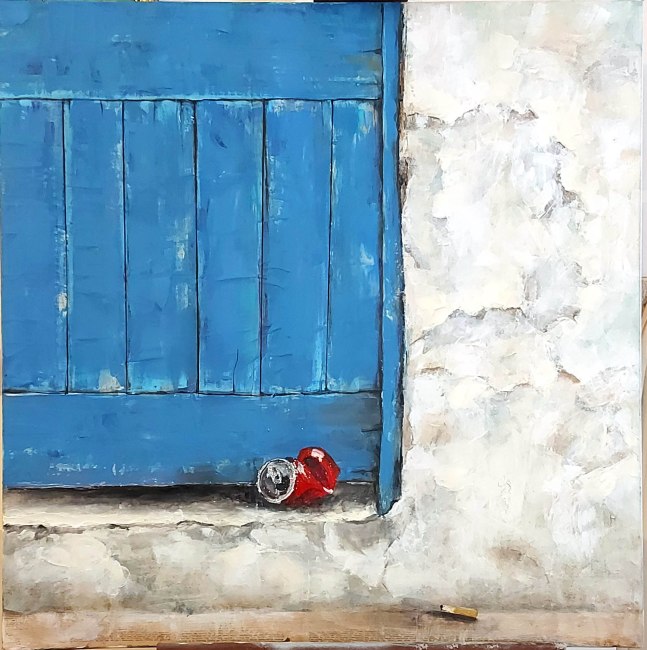
I’ve begun working on a series of paintings for the exhibition I am planning next summer. I thought I’d share the first one to whet your appetite.
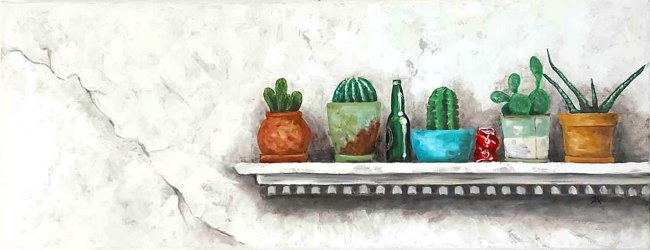
This is the painting which gave me the inspiration for the series. I love old buildings, the falling down, crumbling walls, the rotting wood, the paint chipped doors and windows. The whole abandoned feel of them. It’s something I photograph every time I walk the small streets of the islands (or Athens, to be honest).
I’ve always been drawn to the juxtaposition of the old and the new in its ugly forms – beautiful decaying buildings for instance, with modern day graffiti on them is one of my favourites.
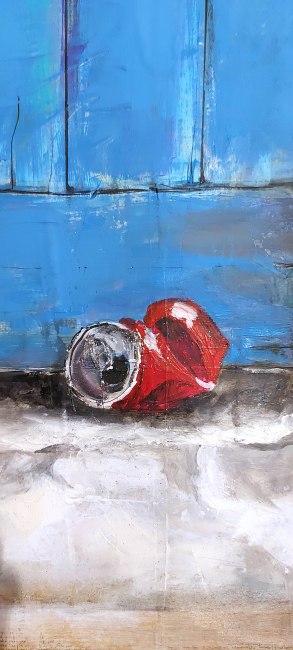
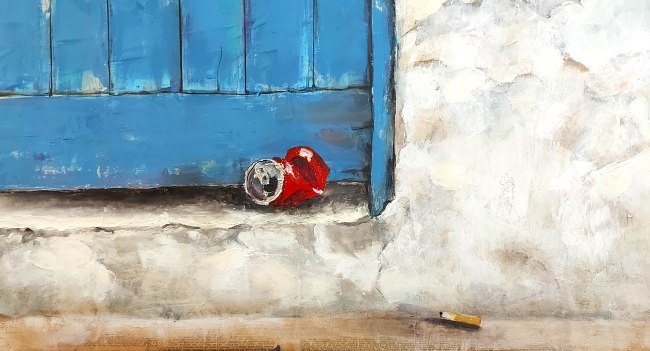
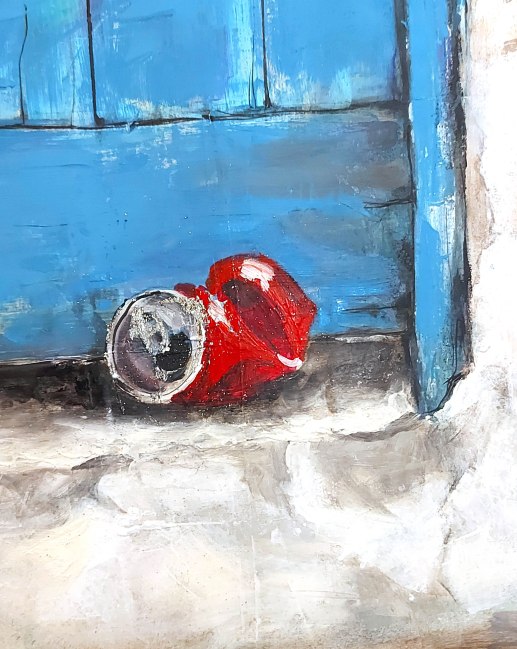
Or, as in this case, the beautiful patina of the old door and cracked walls with the discarded cola can and cigarette butt.
In an experimental mood, I added a little silver foil to the tin can make it stand out a little more. Not the neatest job, but its rubbish anyway, right?
I love this piece and hope others do too. I’m excited about this series of paintings that show the beauty of days gone by against the ugliness of today – the effects of too many people and not enough care about the beautiful places we live in.
And, as usual, this is painted on a recycled canvas.
Things have been busy lately. Hectic really. I seem to always be going on an errand, grooming a dog, returning from an errand, cooking,shopping for groceries, trying to keep the house clean, and still getting in a swim now and then!
And on the afternoons when I’m not too busy, I sit at the kitchen table and play with paints. It’s a good way to de-stress. If you can find the time… preferably not late at night because then I can’t sleep cause I’m wound up.
I’ve been inspired now and then to try something new just for a change.
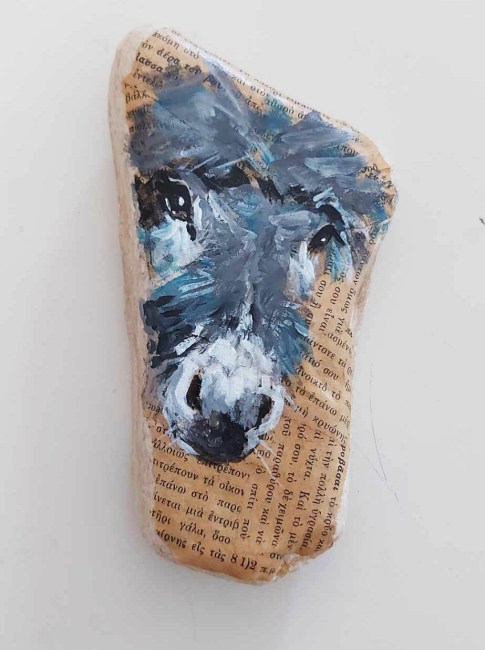
So, here are my latest painted rocks. Above a very painterly donkey. I’d gotten the idea to use an old book I’d been given to decoupage a couple of stones just to see how they would turn out. I used larger rocks for these and its not perfect but I kinda like it.
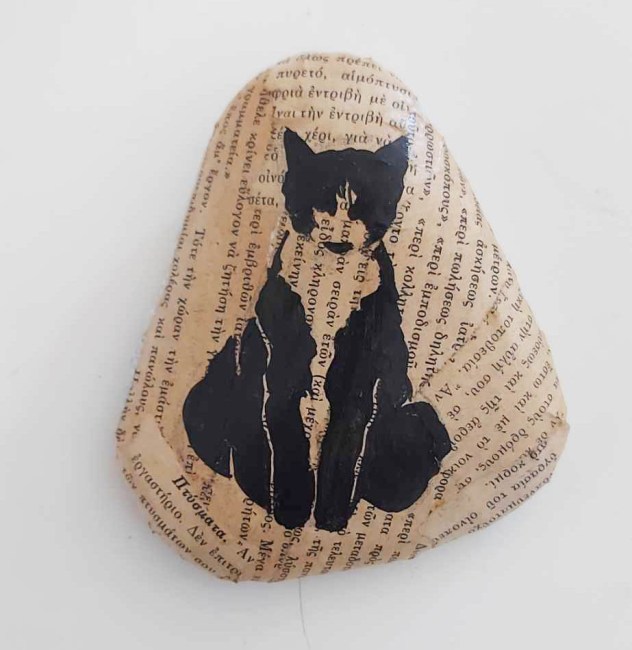
Below is a cat treated the same way…
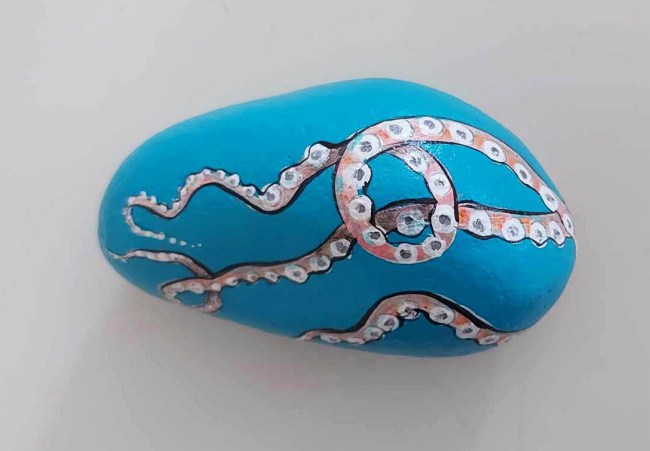
Next the tried and true octopus, but trying brighter colours and more contrast. Not sure I like it, but its not too bad.
I had to redo this cat cause the watercolours I was using on all my marble paintings doesn’t work so well on rocks. It’s now much better.
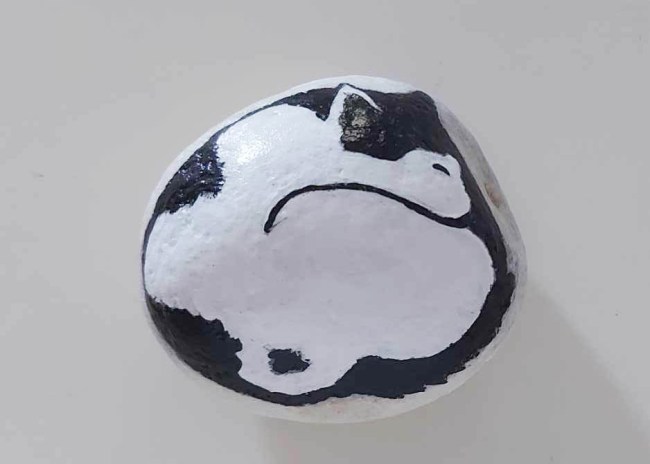
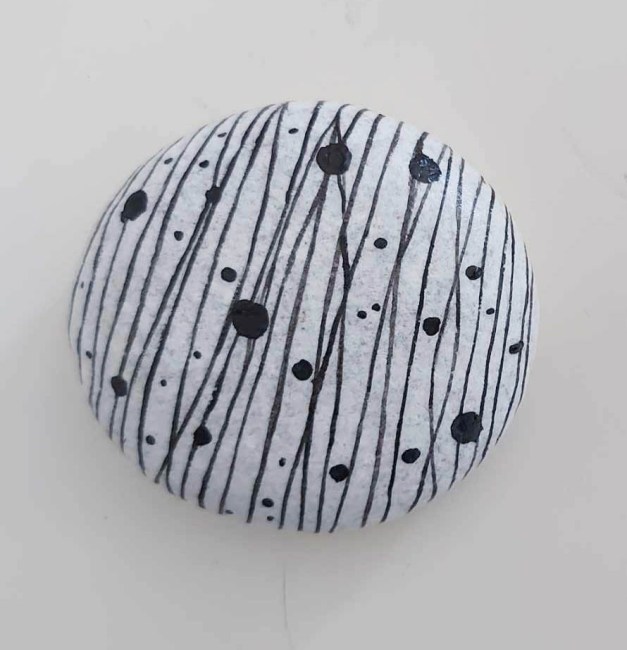
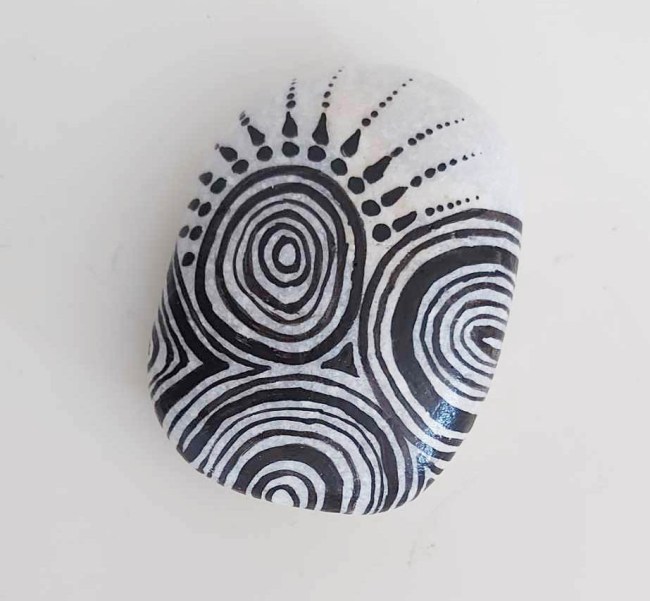
I also thought I’d try a couple of very graphic style stones…
These I really like. I love the stark contrast between the black and white.
So, I need a bit of rest before I gotta get up and greet visitors coming to see mom. Who is getting better all the time. She will soon be back to bossing me around.
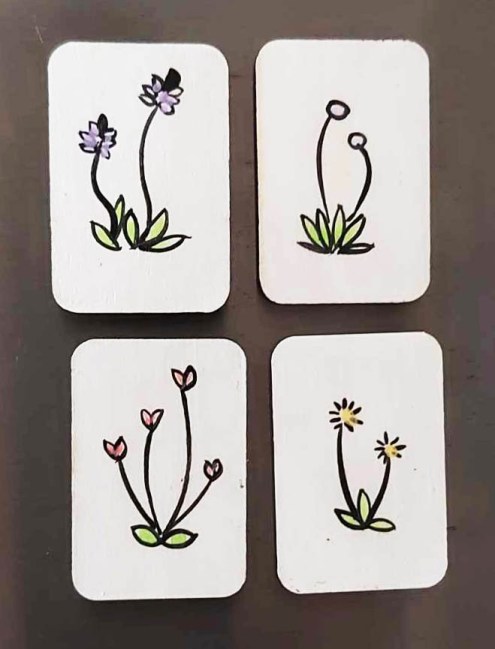
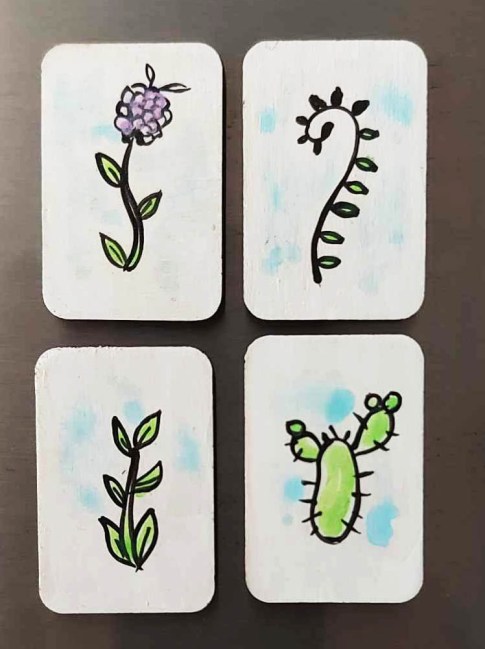
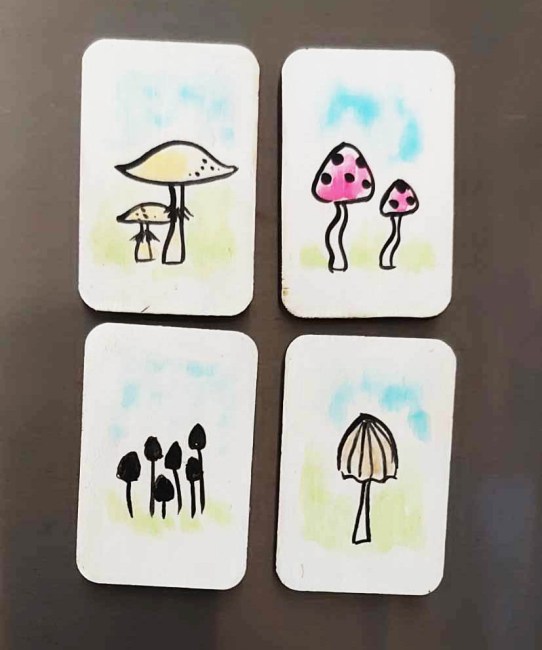
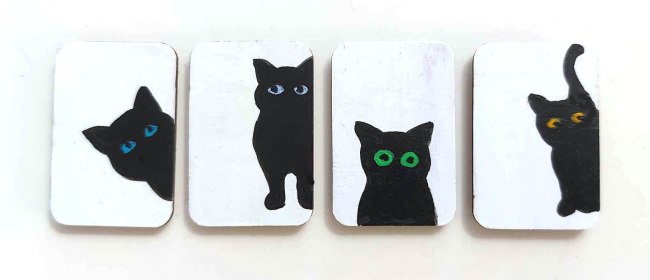
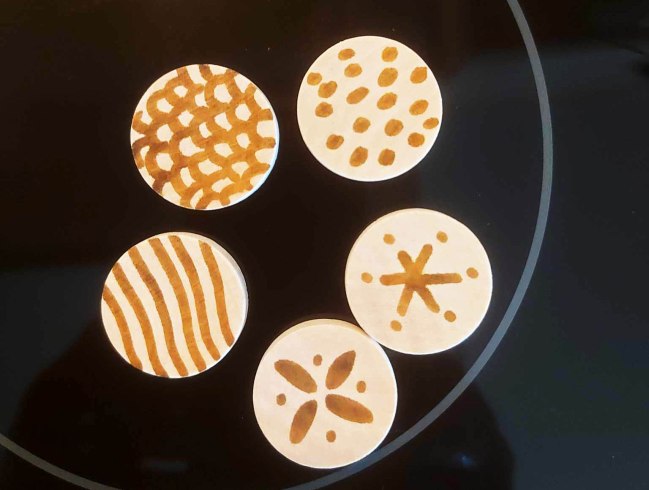
I think I mentioned working on half the kitchen table. Not much space, but enough to work on smaller projects like fridge magnets and rocks. Since I still had some wooden shapes, I’d gotten on Temu, I decided to go ahead and finish them all. I also found I still had some magnets, so I was able to finish them.
I used acrylic paint to do these, and a very very thin rigger brush to get the fine lines.
I love these little plant magnets, though I’m not thrilled with the mushroom ones…
I love the cats too and am thinking I need to do more of these. Maybe a little bigger. Maybe as coasters as well…
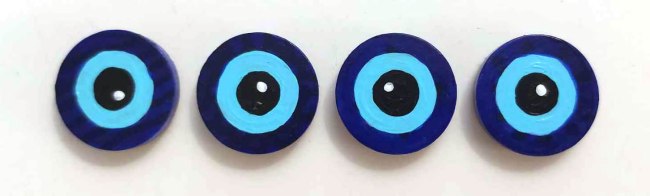
Remember these?
This is what they look like now. The evil eye, a very popular theme in Greece. Much better.
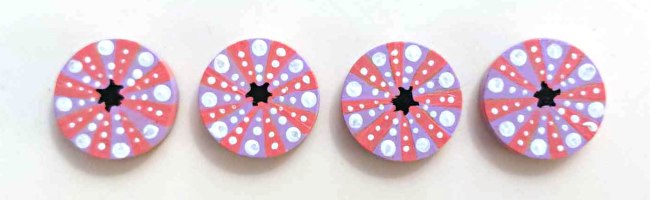
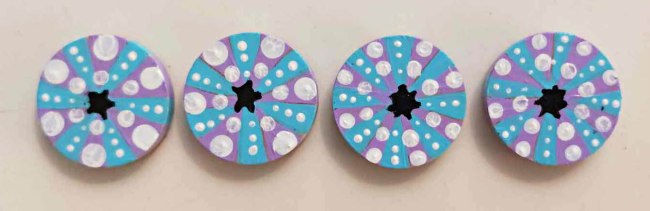
I had some more of these round flat pieces so I did some more simple colourful sea urchins.
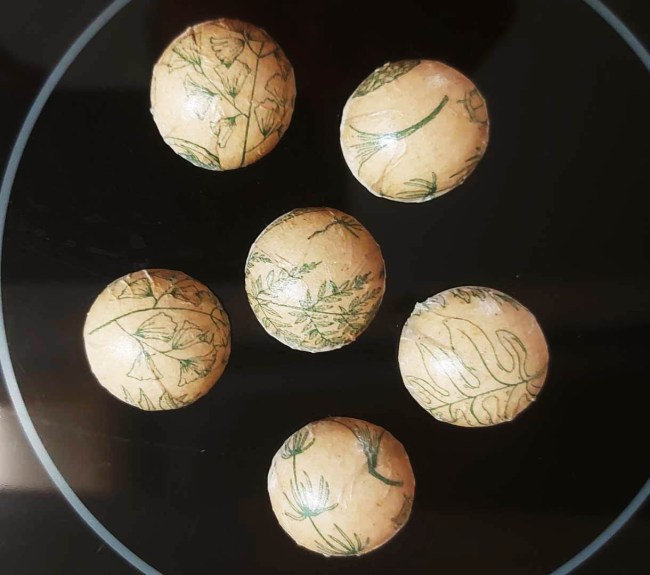
Remember these?
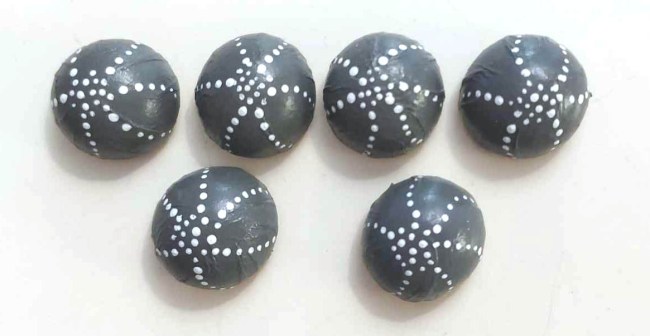
Now they’re starfish. Or they could be urchins if that’s how you prefer to see them. But they’re not. They’re starfish.
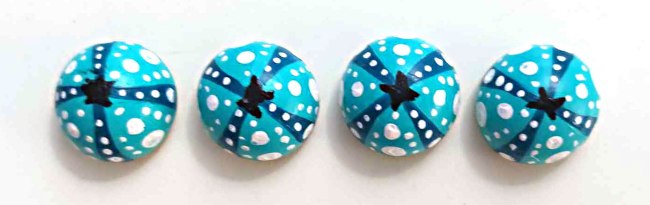
I had a few more of these half rounds so I made more stylized urchins. I think I prefer these 3D ones, but both are nice.
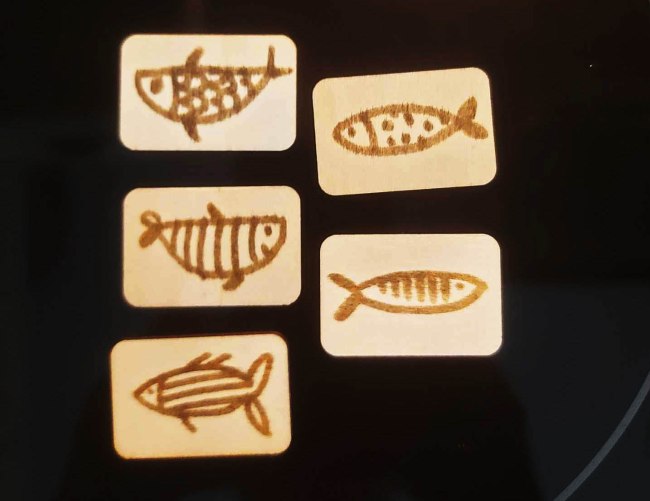
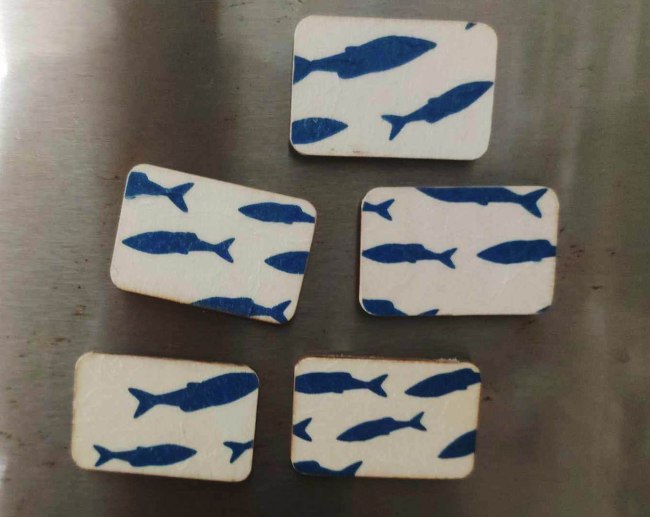
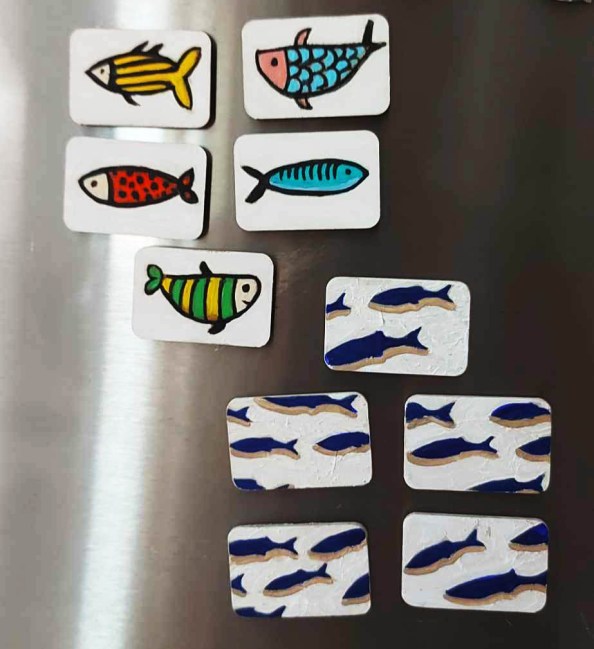
Lastly, remember these fish – the top ones were made using the wood burning marker and the bottom ones were decoupaged.
This is what they look like now. Much more fun!
I’ve ordered more wooden shapes, some of the same and others in different sizes, not sure what I’ll make when I get them, but they’re fun to work with!
These little magnets are cute and make great little presents of the ‘stocking filler’ sort.