Unknown's avatar

About zefiart

Blogger, DIY-er, poodle lover, graphic designer, dog groomer, recycler, artist, wonder woman in my spare time.

a poodle love affair and bed hopping

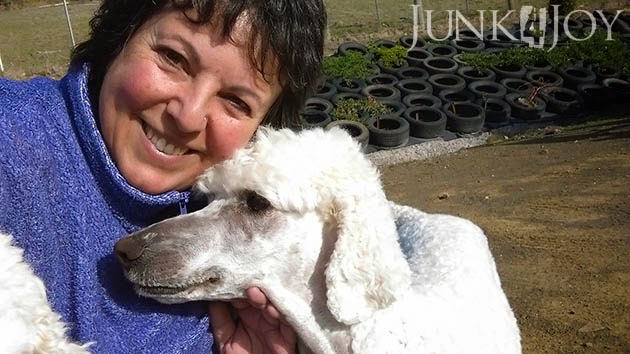
Its never been a secret that I love my poodles. In fact, if you know me at all, you know all about how I love my poodles.

They make me smile when I come home at the end of a day at work. The feel of their coats under my fingers comforts me and even when they do naughty things I can’t be angry at them. They are my family.

There’s just something really special about poodles. Of all sizes. Standard poodles are more dog to hug, miniature poodles are big enough to carry and a good armful to hug, and toy poodles are great value cause you can fit more of them on your lap.
Really, they’re just the perfect dogs.

But enough gushing. I wanted to share about the bed hopping that’s been going on around here lately.

The canine bed hopping, I mean. Don’t get too excited.

Here is Romeo in Barney’s small bed.

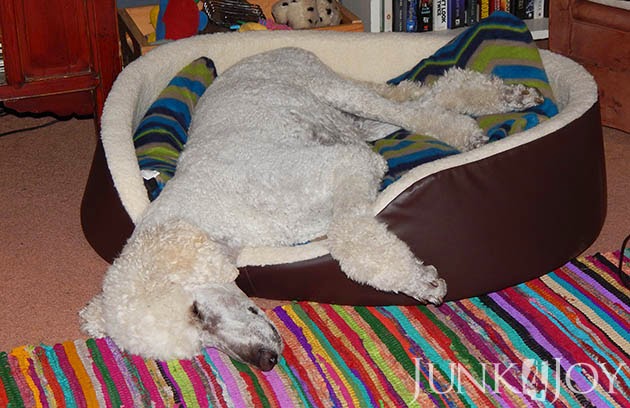
Here is Romeo in the bigger bed.

Here is Montana on the couch.

And here is Barney in his own bed.

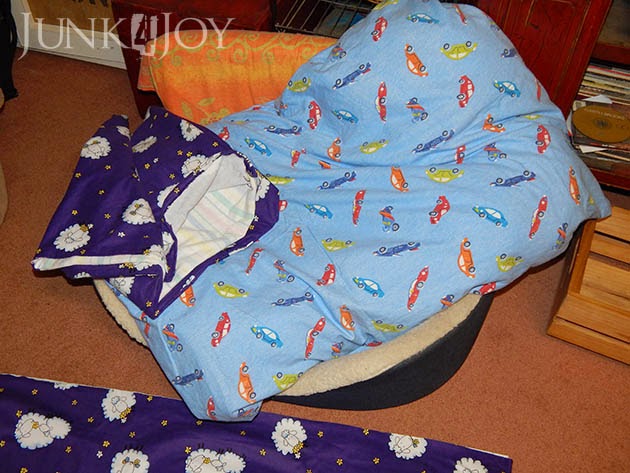
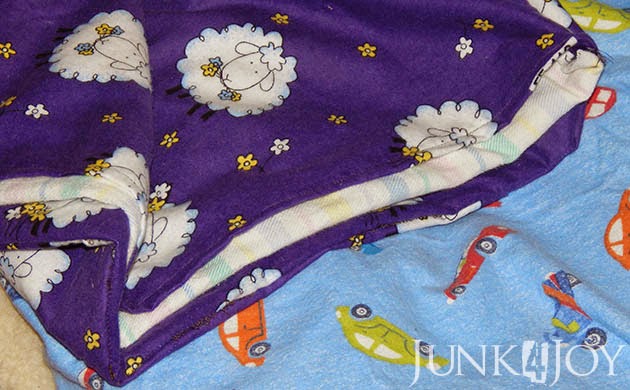
On the weekend I made some new covers for the pillows that are in the dog beds. Cause I didn’t just buy dog beds… I bought extra soft and squishy pillows to go into them. I needed new covers for them so I can change them and wash them. Especially stinky Barney’s pillow. (He’s not a poodle and thus both sheds AND smells!)
I got a flanelette sheet from an op shop with little cars on it, perfect for a little boy dog, and I had the purple sheep flanelette in my fabric stash. I was able to make 3 new covers, but had to use a piece of and old sheet in purple ones as the turn over bit… You know what I mean. I make these covers just like regular pillow slips with a folded-in side to hold the pillow in place. I actually love the contrast.
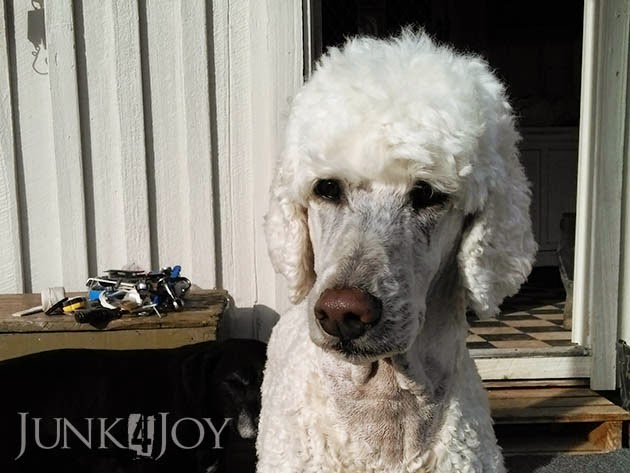
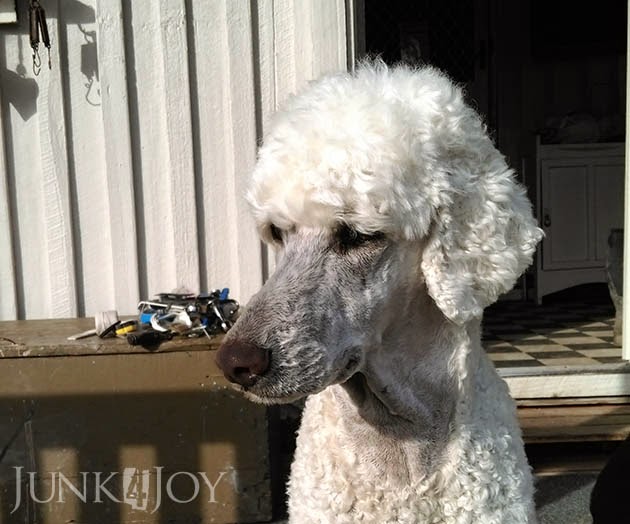
Anyway, before I go, here’s another, gratuitous, picture of a poodle.
Heheh.
z

the baby booty experiment

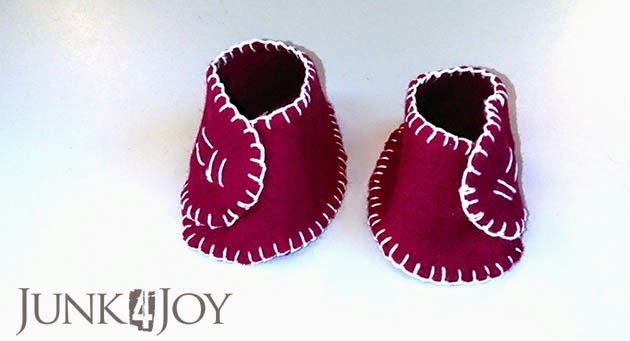
I’ve never made baby booties before, but I’ve done a ton of work with felt and blanket stitch. And I’m always up for trying something new.

So when a friend at work became a grandma for the first time I thought it’d be a good time to try my hand at baby booties.

First I looked up felt booties on Pinterest and I found a few different styles and patterns. I picked this easy one, then took liberties with it.

The result is these cute little booties which are just perfect if the little baby’s feet are slightly different sizes.

Eh.

Its handmade, right? It doesn’t have to be perfect…!

z

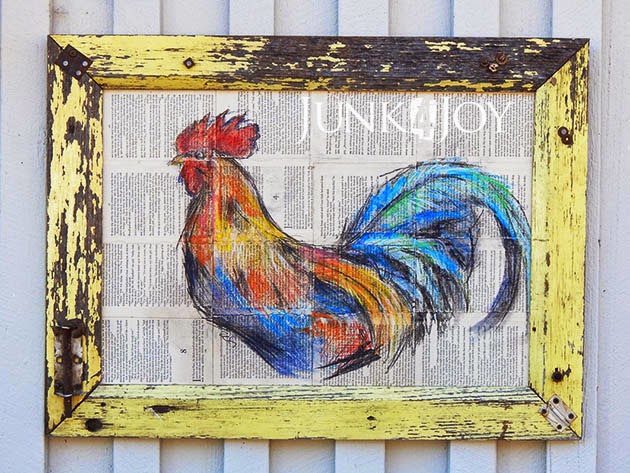
rustic rooster

I’m tired so this post will be big on photos and light on witticisms. 
I’m having trouble keeping my eyelids open… I apologise, however I did want to share my second entry in the Art From Trash exhibition.
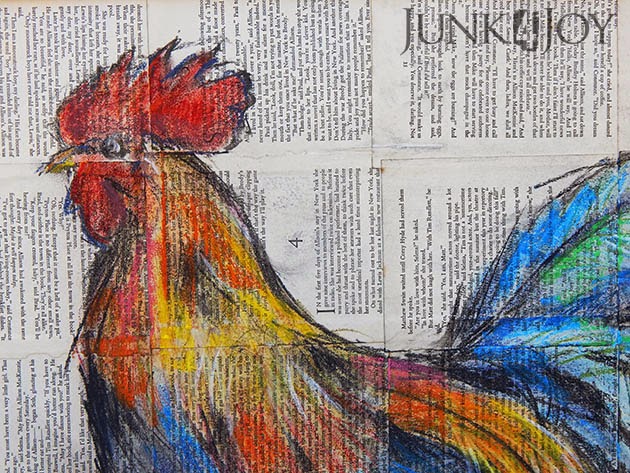
This entry is about 70% recycled and 30% art. I really wanted to combine my art with my trash. 
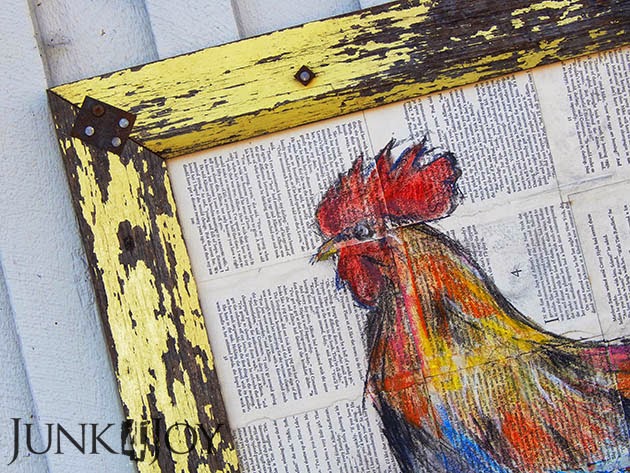
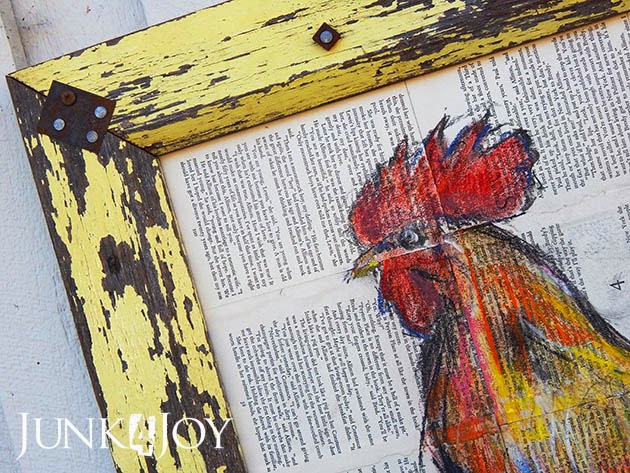
I used a piece of thin MDF which I got off the back of a 2nd hand frame, I decoupaged pages from an old book onto it. I then drew this gorgeous rooster on it using pastels.

Once the artwork was finished I sprayed it with matt picture varnish to set the pastels so they don’t smudge. And then I framed it.

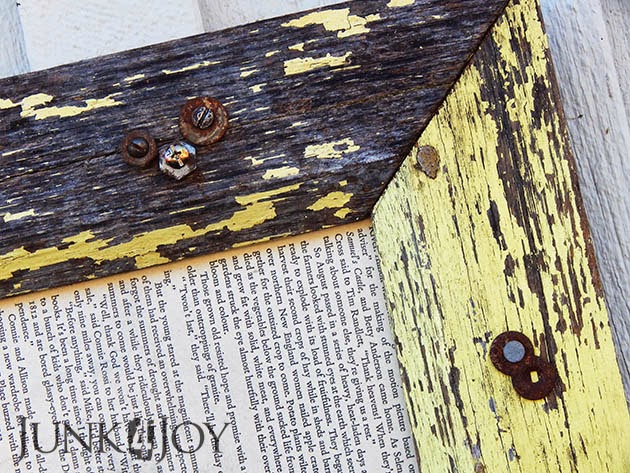
I’ve had these bits of wood in the casita since we bought the farm. They’ve obviously come off an old house… probably this one. I’m thinking they’re door or window frames.

Whatever, I loved the chippy look so I kept them thinking I’d make something out of them one day. And the day came!

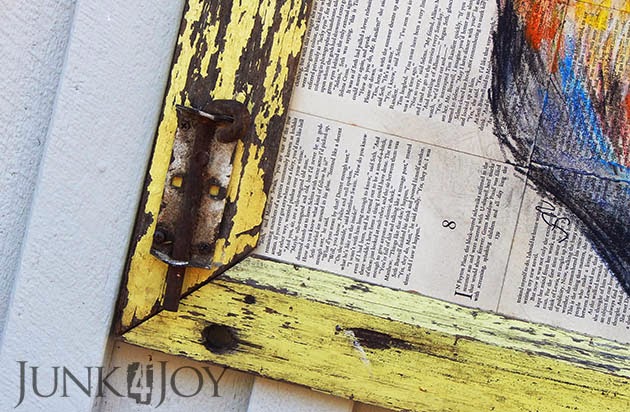
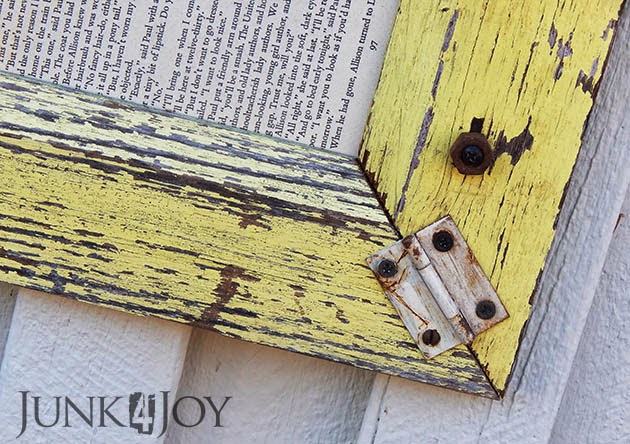
I’m not a particularly good framer. In fact, I suck at it. But I did what I could, I used small brackets at the back to hold the frame together, then I used old hardware on the front of the frame to add a bit more rust to my rustic…

My rooster is for sale, hopefully he’ll find a good home cause I really don’t have the space for him at home. 
Then again, I can always make space…
z

a little change in the bedroom

I’ve stopped counting – new bed linen for our bed

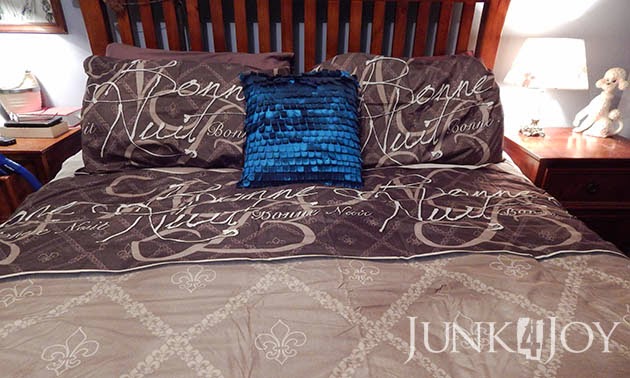
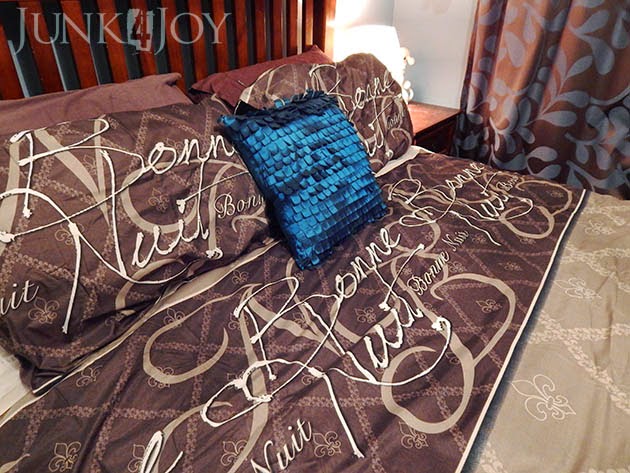
I finally managed to put one of the new doona covers on the bed this weekend. I ordered this and another online, they were on sale for $35 each… that’s incredibly cheap. How can a girl resist that sort of sale?

This last pic is probably more correct colour-wise, though I guess it also will depend on your monitor.

Our bedroom has a personality disorder… dark and masculine in some parts, feminine and white in others…

And its all my fault.

Our bedroom walls are a medium blue, a really nice colour and very relaxing. The curtains are dark brown and blue, the bed and bedside tables are dark brown in a country style. They came with Wayne, and somehow seemed more suited to us as a couple than my lighter coloured timber (and lighter style) bed which is in the guest room.

I loved Wayne’s chunky bed, though I’m not overly fond of the bedside tables. I also loved his dark brown bedding so I decided to go with that colour scheme: blue and brown. Its a more masculine room, but comfy and warm.

I hated the plain pine wardrobe and chests of drawers so I painted those antique white. Thus we have a room which is Wayne on one side and Zefi on the other. The bed side is all dark wood and Wayne’s american indian stuff, the other side is all antique white chests and wardrobe with family photos and knicknacks.

One day I’d love a white on white bedroom but it won’t be happening any time soon. I’m not up to repainting the big bed or bedsides and ain’t no way we’re buying new furniture right now. Its either make/recycle/revamp things we have or I find at a tip shop or live with what we have.

Frankly, given its taken me years to paint the chests of drawers and I’ve dragged on the wardrobe makeover for months now… its doesn’t look promising.

So I make do with small changes, like a new doona cover.

z

travelling sidetable with serving tray top

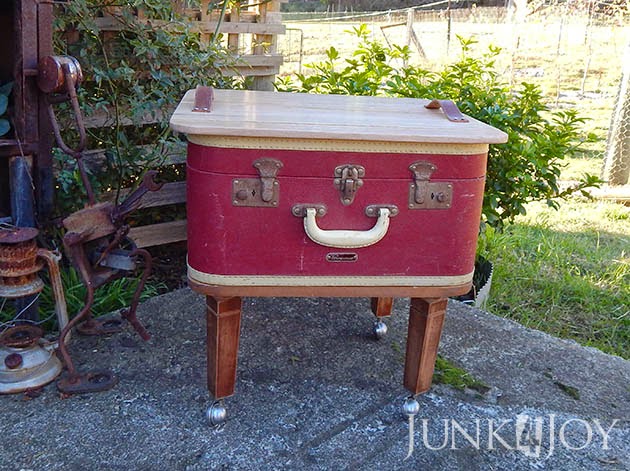
I did say I had some stuff to share… well, here is the first one. I call it the Travelling Sidetable and its one of my entries in the current Hobart City Council Art From Trash exhibition which opened yesterday. I know it wouldn’t really have made a difference but it didn’t feel right to share this till the exhibition opened.

I’ve had this little suitcase for some years now. I used it to store craft supplies for the first couple of years, then its been in the shed waiting for a makeover since.

The top was ripped when I got it so I always planned to make it into a side table, but I left it under a window one day and the poodles jumped all over it totally destroying the top, ripping it off the sides and pretty much making it beyond repair.

I ripped what was left of the top off but kept the rim with the locks. I glued the cream edging back on and glued the top to the bottom as well to make it one solid piece.

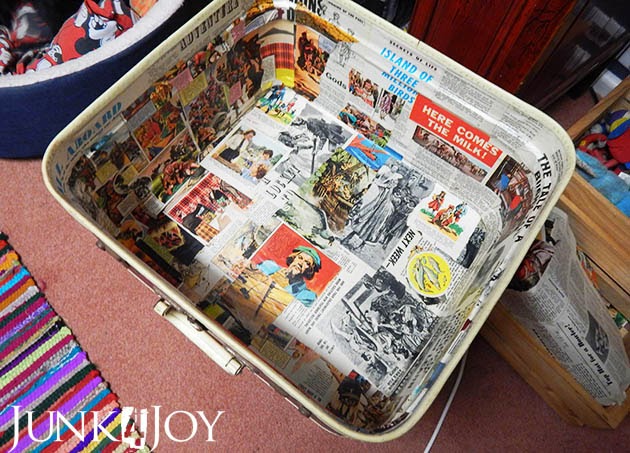
The inside wasn’t in bad condition but I’d had a craft glue spill that lifted some of the lining when I pulled it off, so the inside needed something to jazz it up. A friend gave me some educational magazines aimed at kids in the 60’s. They were so old fashioned and the cheap paper had yellowed… they were perfect! I used some articles and illustrations from those inside. I loved the colours and some of the headlines.

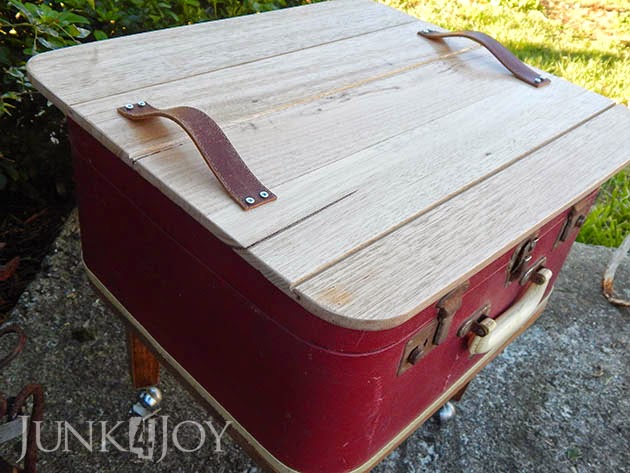
Of course it needed a new top. I had found that the packers used between products in pallets were usually offcuts of tasmanian oak. The hardware store throws these out so I scavenged some pieces from their pile. I glued and clamped them together, then traced the suitcase shape on the back, allowing for about an inch overhang all round. I reinforced the back with strips of timber, both to hold the slats together and to ‘lock’ the top in place on the suitcase.

I sanded the top and gave it a few coats of leftover polyurethane from when I did my kitchen, office and hallway floors. That made the colours really pop.

In order to fit legs on it, I cut some thick MDF and used liquid nails and some button head screws to attach it securely to the bottom of the suitcase. The legs came from the tip shop and they already had castors on them which was a bonus. I just cleaned them up and rubbed some dark wax on them.

Meanwhile, I cut up what was left of an old belt I’d used to make handles on a tray ages ago and used small screws to attach each handle, effectively making the top into a handy tray.

Everything used to make this suitcase sidetable came from tip shops, op shops and bins, thus its 100% recycled material.
z
Shared at:

what greeted us when we got home last night

This is what we saw when we got home last night:

Of course, it was dark when we got home, so we didn’t so much see it as feel it. Wayne stepped onto the porch first and said, “I don’t know what’s going on here, but it can’t be good…”

Seems one of the dogs (not naming names, but it starts with ‘R’ and ends with ‘omeo’) decided he needed to dig through the walls to get at something under the house.

Luckily the timber walls are stronger than the plaster walls he’s already rearranged in the casita, but everything in the way of his exploration paid the price.

Thankfully nothing was broken. Just ripped bags, chewed cardboard and lots and lots of small bits to pick up.

One good thing came of it I guess… when I had to kneel on that manky old carpet piece that’s been our outside mat forEVER, I realised just how grimey it was. I actually went and cut another piece of old carpet and made a newer/cleaner outdoor mat.

And while I was at it, I cut a new piece for the back of the ute (truck to some).

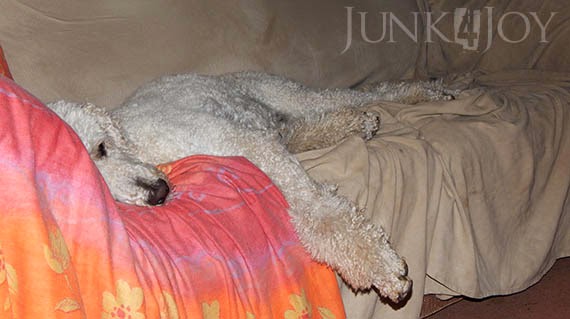
Just in case you’re thinking our dogs are naughty… most of the time they’re cute, cuddly and adorable. See above – Montana sleeping on an armchair. How cute is that?
And Romeo on the couch which he seems to have claimed as his own. He makes sure to stretch out as much as he can so no one else can fit on it!
Barney, meanwhile, has his own bed… which Montana likes to steal when she can.
You always know when Montana is in Barney’s bed cause he lurks around, looking miserable till we notice and go move her along. Then he’s back in it like a shot.
Well, today I bought Montana her own new bed. Its bigger than the one Barney has cause she’s bigger than him. Soon as I got it home Barney claimed it.

Montana seems to prefer the smaller basket. Seriously, she loves small crates. She will fold herself into miniature poodle size crates.

Anyway, after all that you might be thinking “All this is very well, but what happened to the small changes challenge she set herself? All that big talk and then she stops posting/sharing/doing for twelve (12) whole days? Then she has the nerve to post about DOGS as if nothing’s happened? Does she think we didn’t notice she fell off the wagon? What sort of example is she setting? Who does she think she is?…”

Get off my back!

I’ve been busy, ok!

I’ve been busy, and tired, and lazy.

I took some time off from doing stuff.

And housework.

I chose to watch TV instead of logging on in the evenings. I have a few things to share, which I will do over the next few days. I’ll drip feed it all and try to stretch it out so it looks like I’ve done more than I’ve actually done.

Don’t give up on me yet.

z

small things big impact – crystal bud vase

Day 11 – nothing to report

You heard me correctly. I have nothing new to share.

I blame Chris who came over on the weekend causing me to put all my efforts into cleaning prior to his visit (cause the only time I clean the whole house is when I have visitors), and turning the weekend into a social rather than creative time.

Not that I can complain. He did help me put up the kitchen shelves! So, it was way worth it.

All the rain we’ve been having lately isn’t helping.
I’ll tell you what I did do (besides cleaning). I worked in the garden. But there’s nothing exciting to show for that, unless photos of dirt does it for you.
Last weekend I got my garden helper to dig out all the plants in the narrow casita garden bed. They were all too big for there and I plan to fill it with flowers and bulbs. Then the dogs began to use it as their private sand pit, so I had to put wire over it. Its not much to look at right now.
This weekend, between bouts of rain, I planted some stuff in that little garden bed. Then I risked life and limb to crawl all over the tyre wall and weed and put in new plants. The mom of one of the dogs I groom regularly brought me a heap of plants from her garden and I put them all in. Next spring I’ll have a ton more flowers on that wall to show off.
But today, I have nothing new to share, and I have to pedal like crazy to catch up with my challenge…
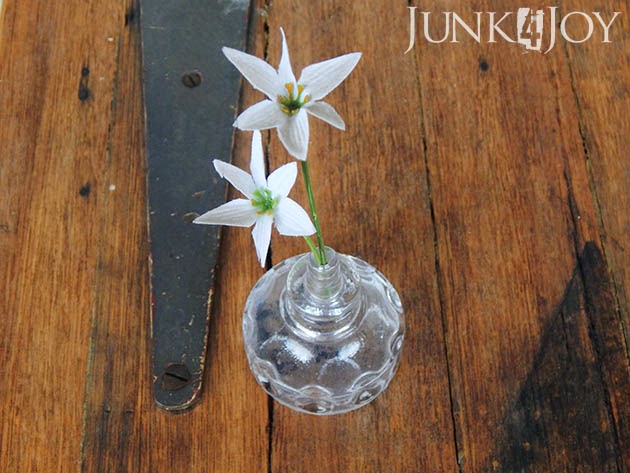
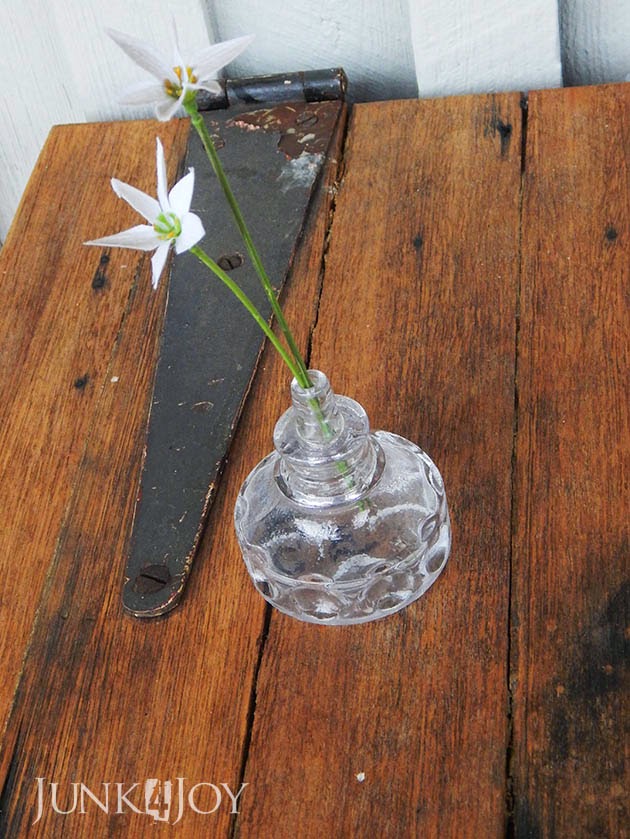
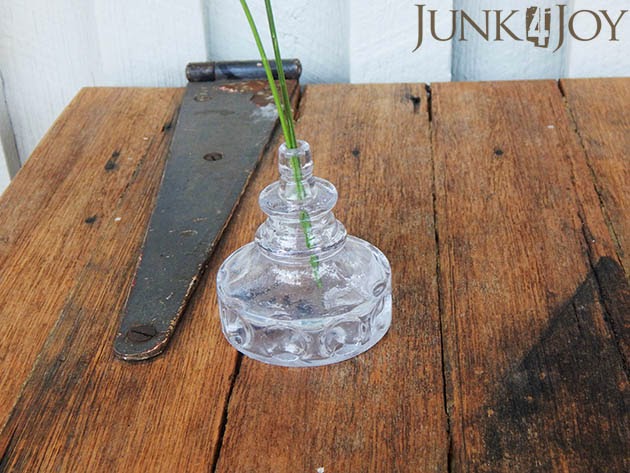
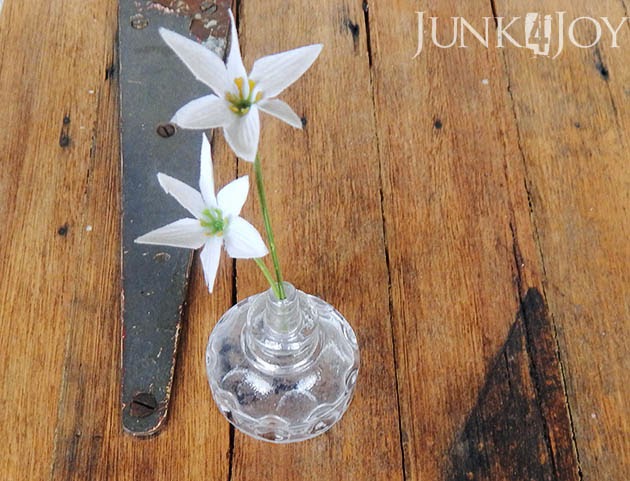
Meanwhile I thought I’d share this pretty little vase… I’m not sure what this thing is. I originally thought it was a bottle stopper but its hollow. Wayne suggested its probably a perfume dispenser. Any ideas?

Whatever it was originally, its now a cute little bud vase.

I better go think of something to do!

z

small things big impact – the kitchen shelves. finally.

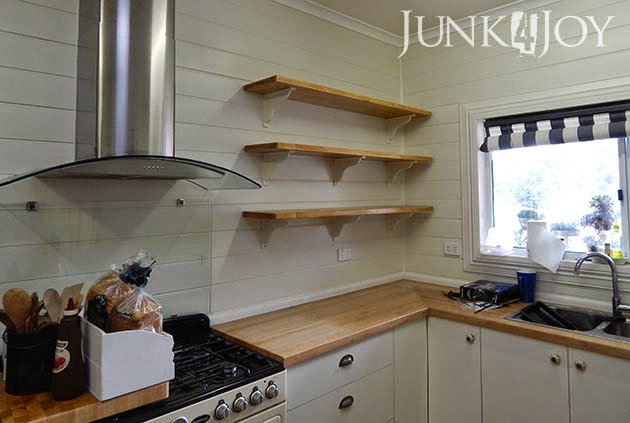
Day 10 – kitchen shelves at last

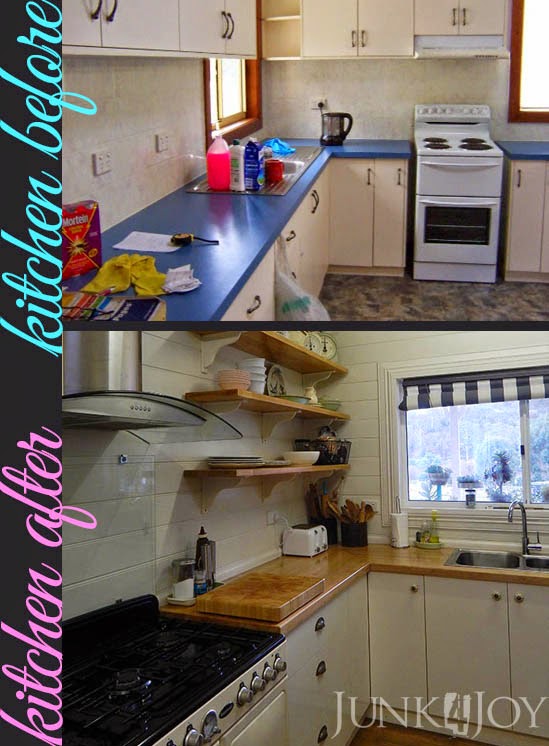
Do you remember when we finished the kitchen makeover?

In fact, do you remember what it looked like originally?

You’ve come a long way baby!

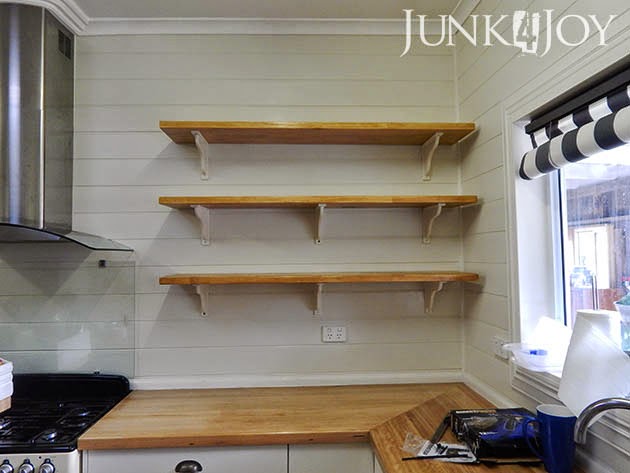
Anyway, despite how great the kitchen looked after the makeover, it wasn’t really finished cause I wanted open shelves. The plan had always been for open shelves. I have an entire pinterest board dedicated to open kitchen shelves.

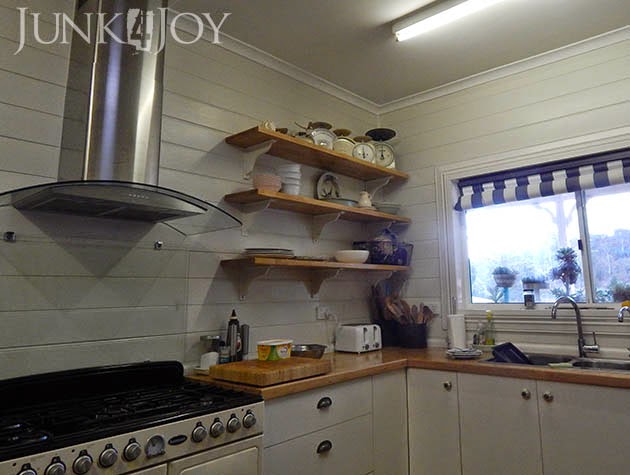
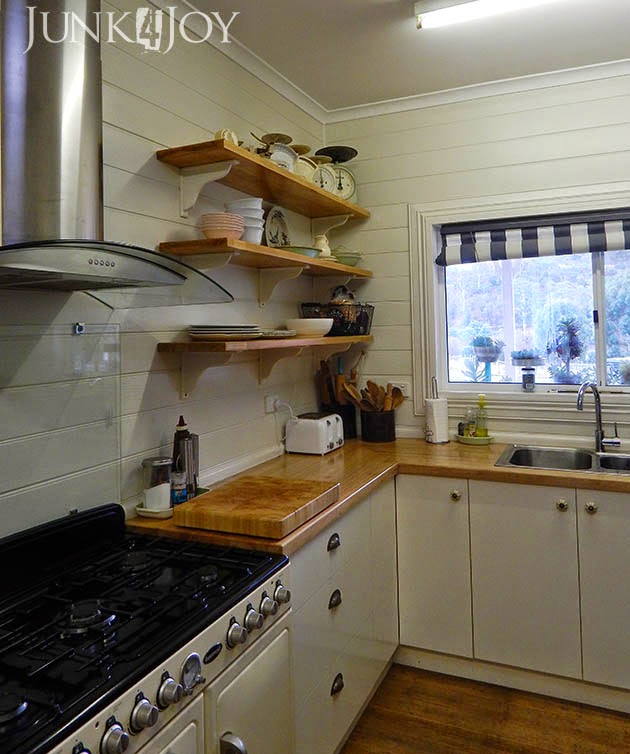
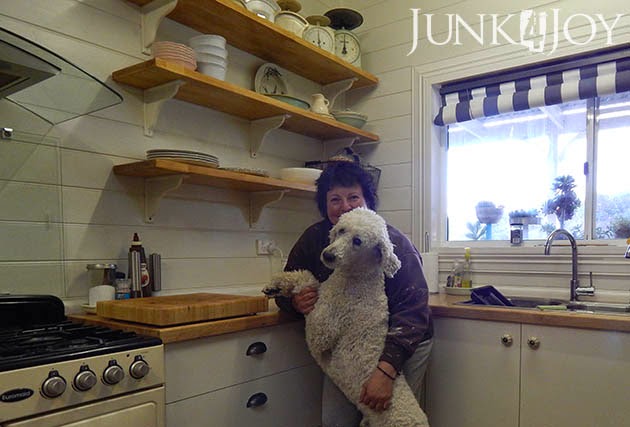
We finally have shelves!
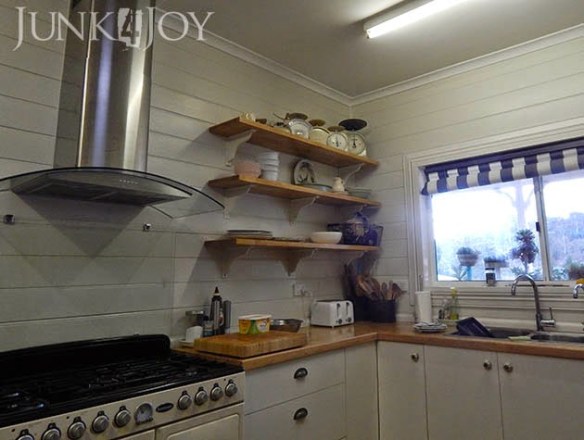
Whoo-hoo!

Why the delay you may ask?

Well… I had to figure out what brackets I wanted. I knew what I wanted… the IKEA plain timber triangular brackets. But of course IKEA never has them in stock. Not that we even have IKEA in Tasmania…

Then I started to think I could make my own brackets. After all, I own two jigsaws and am not afraid to use them! But I couldn’t get past the technicality of how to fix them to the wall and my general fear of stuffing up*.

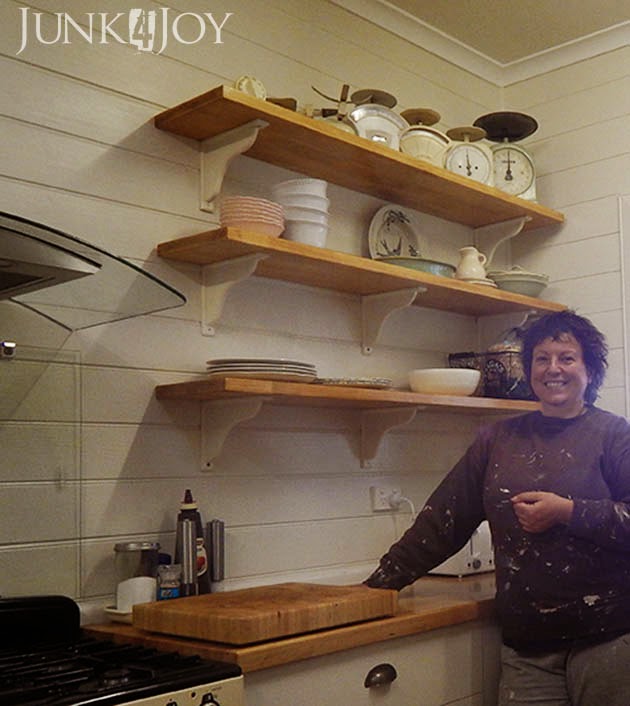
In the end I got the fancier country style IKEA brackets. They work. Though I’m not sure how strong they’ll be. They’re made of MDF (the website said ‘timber’… I guess MDF is a type of timber, but its not very strong). I managed to break one while putting the shelves up – once you pull a screw out of MDF its pretty stuffed. I’m not overly happy with that.

That’s why there are three brackets on the lower shelves – to be sure they’ll hold the weight of dishes. The top shelf doesn’t need three brackets as it won’t be holding any real weight.

Wayne jumps every time there’s a loud noise in the kitchen… he’s sure they’ll come down cause I’ll put too much weight on them!
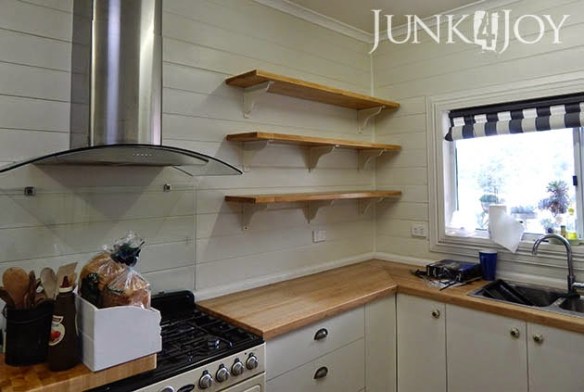
The timber I used is laminated pine – a big slab of joined pine pieces, 30mm thick for things like table tops or counters. I bought the whole slab and had a nice buy at the hardware store cut 3 shelves at the right size for me.

Problem was pine is nowhere near the same colour as the benchtops, which is tasmanian oak, so I had to stain it. I experimented a bit and ended up using maple stain and three coats of polyurethane. I think the colour is pretty close.
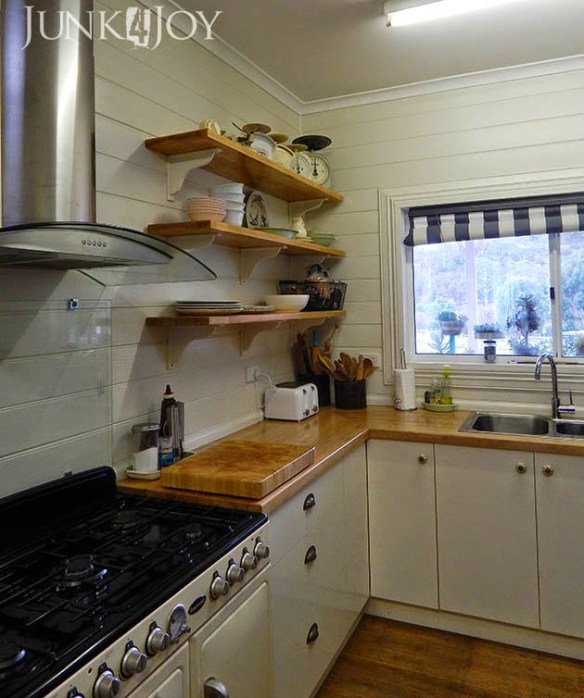
I had a friend help me put them up. No way could I have done these without help, the lifting alone would have undone me. But its the maths I’m not good at. I measure, check, measure again and still stuff up.

*eg. The top shelf… It was meant to be at the same height as the top of the window frame. I calculated that the shelves were 35cm apart. I thought I was so clever when I subtracted 3cm from that for the thickness of the shelf and marked where the shelf should sit before I marked where to pre-drill for the brackets. I measured, marked, checked.. Then I got up lined the shelf up below the marks, not above, so I ended up putting the top shelf in 3cm lower than planned.

Well, I still love my shelves.

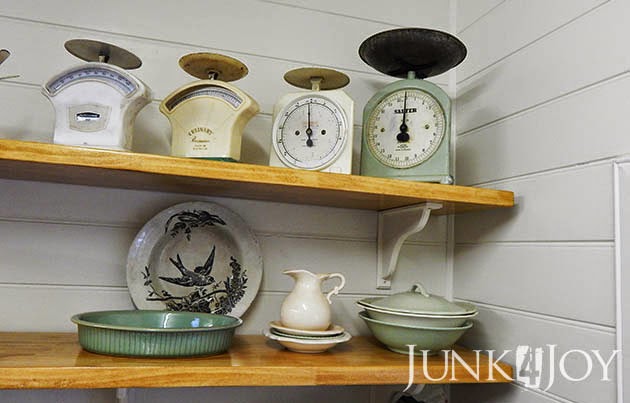
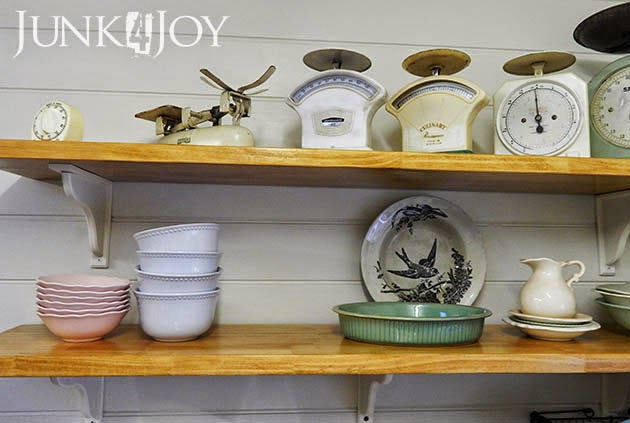
As you can imagine, I was eager to start using the shelves. I couldn’t wait to get out my kitchen scales collection! That end one on the right is one I bought a year ago and have had under the bed, just waiting for the shelves to display it.
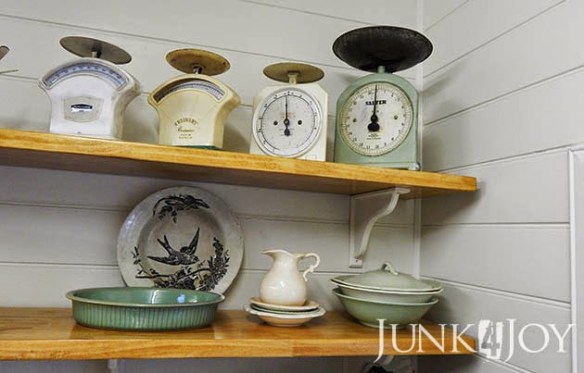
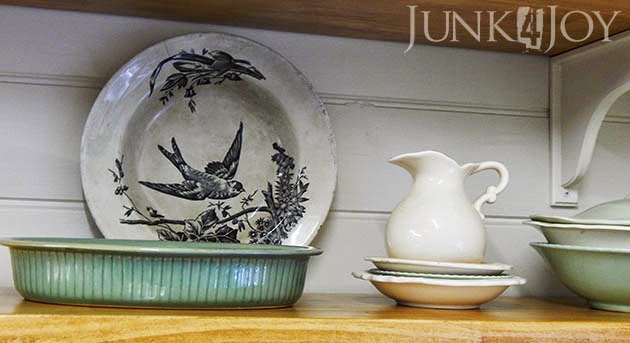
The darker green baking dish is one I got at an op shop yesterday for the princely sum of $3.
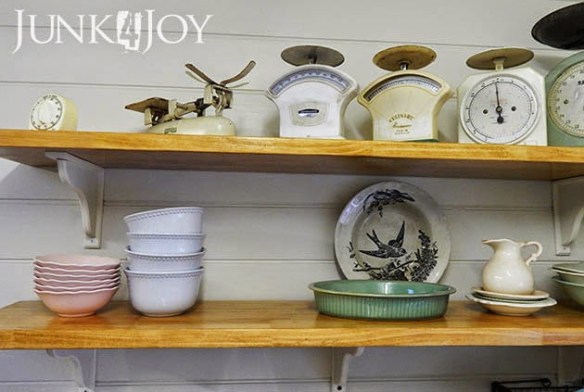
And my crazed and chipped bird plate is on display again!
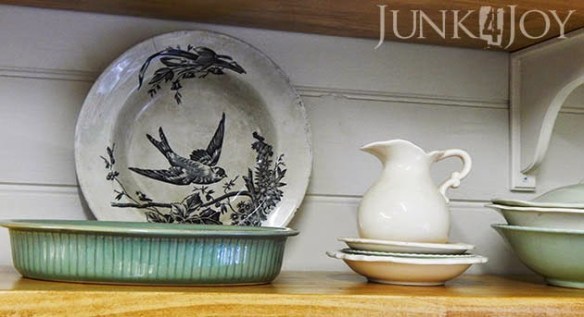
There’ll be changes to the shelf contents over the next few days for sure, but I’m loving it. And Romeo is loving it!

The idea is to keep everything we use on a daily basis (dinner plates, bowls) on the shelves within easy reach. Also, the my pretty bowls which are both useful and decorative.
Time to begin getting rid of all the not so pretty things we own…

This is the before and after of that corner of the kitchen. Pretty big difference, wouldn’t you say? We moved the window, sink and stove, got new appliances, timber lined the walls, removed the lino, refinished the timber floor and put in all new cabinets with a solid timber benchtop.

A big job but totally worth it!

z

Shared at:
small things big impact – home sweet home

Day 9 – Home sweet home

Of course, while doing making small changes which make a big difference, I couldn’t resist the new outdoor elves.

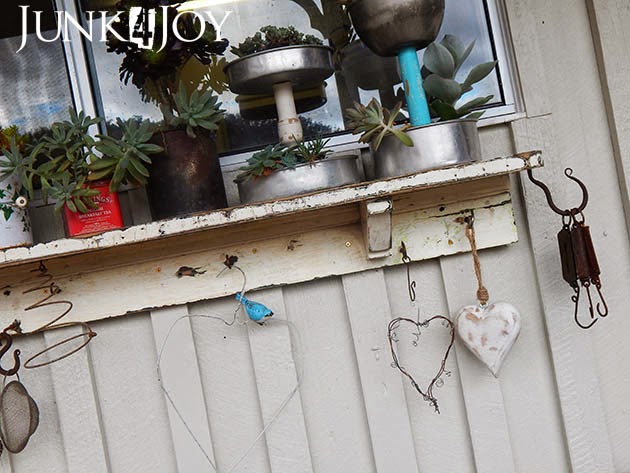
Firstly, I repainted the small shelf outside the house the same colour as the house and distressed it a bit to show the dark grey beneath.

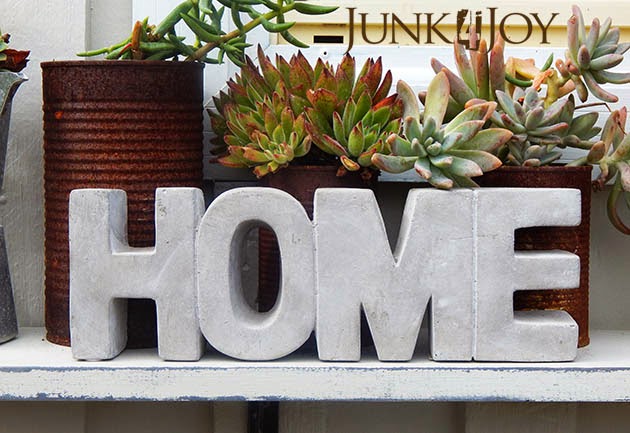
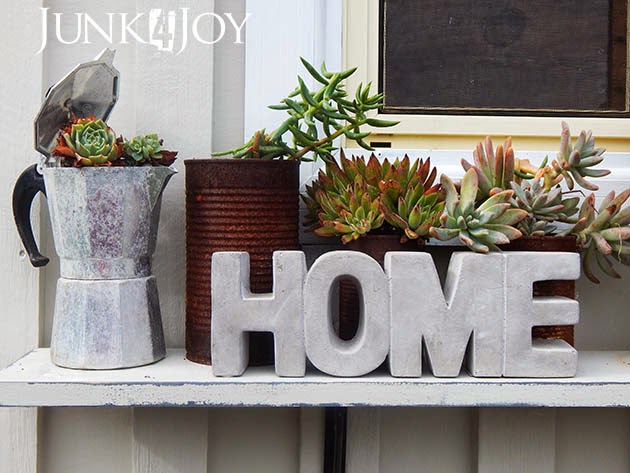
Then I relocated the concrete HOME sign which I’d bought at Kmart a while ago from.

It looks really nice against the rusty tin cans, and its nice to see as you walk up to the steps.

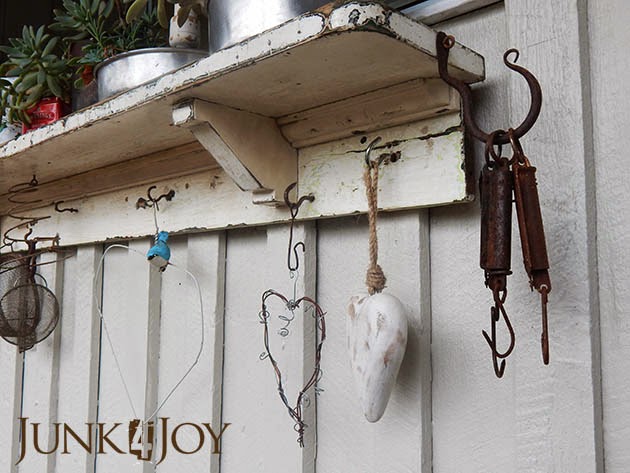
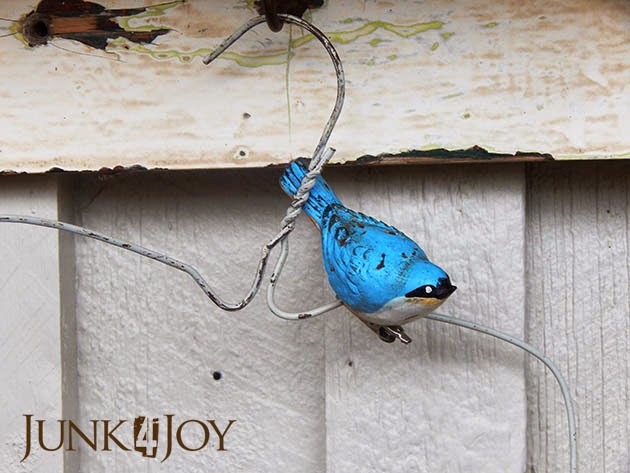
Next I couldn’t resist adding some ‘junk’ to large shelf under the kitchen window.

You know the definition of junk, right?

Anyway…. I added some junk to the shelf. Cause I love having interesting things to look at. And there were a ton of holes in the shelf back anyway… it was asking for it!

I love it when I visit someone’s home and they have things to look at – little surprises in the garden, clever things on walls, interesting things in the house. Its like an adventure exploring homes like that.
I want that here, not just for visiting explorers, but for myself. It gives me joy to look at stuff I love, and having it out on walls or under shelves means its visible to enjoy, and not stored in boxes taking up space in the shed.
z

small things big impact – the bathroom gets cleaned out

 
Day 8 – breathing space in the bathroom
Nothing much to show for today… but I did clean the bathroom. Its been months. Seriously. I’d clean the sink and shower but things just piled up on all the surfaces… today I went in there and gave it a good clean and tidy. I even went through the medicine cabinet and my makeup and tossed out anything that was old and not used.
Except for my perfume. I don’t use it often but I do love it when I do.
Since our bathroom is a disgrace, I’m only sharing tiny bits of it at once cause its like the funniest joke in the world (according to Monty Pythons Flying circus). You can only be shown one bit at a time for your own safety.
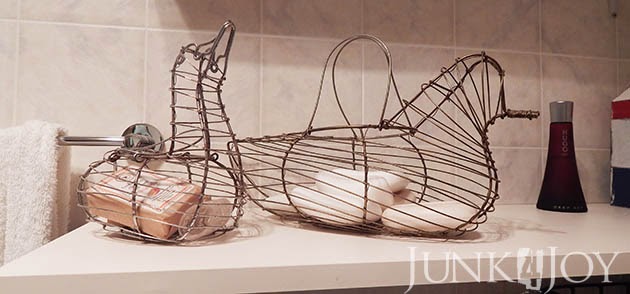
Above are my wire ducks. Love those things. They hold soap bars on the middle shelf I put up a couple of years ago.

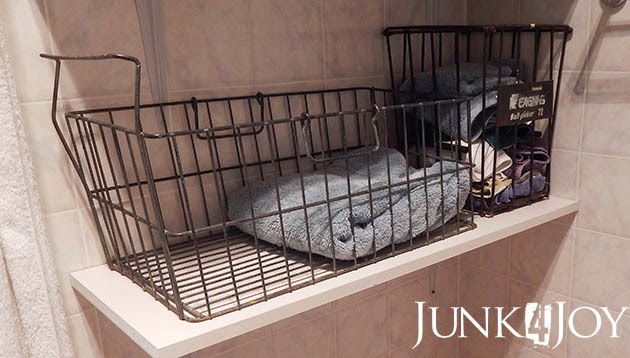
The bottom shelf holds two wire baskets I got from… you guessed it! A tip shop! They hold hand towels and bathmats.

Or they do when I do the washing…

The top shelf holds my collection of bottles. Most of them are old bottles I dug up from a corner of my yard in Fentonbury.

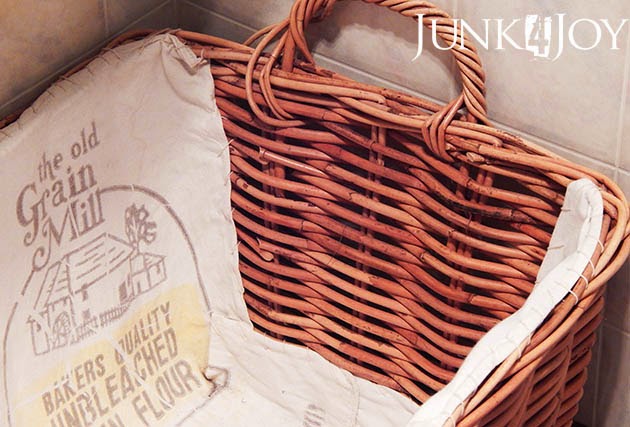
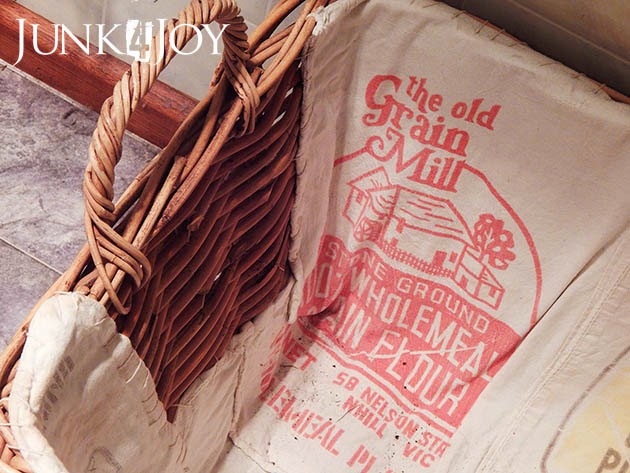
Below the shelves, in the corner the bathtub used to be in, is a big square basket I’m using as our laundry basket. I lined it (badly) with some grain sacks. One day I’ll get some ticking and do a better job.

A little air plant lives in a tiny galvanised planter given to my by a friend. The fat pig is a Chinese good luck symbol.

At least that’s what I was told.

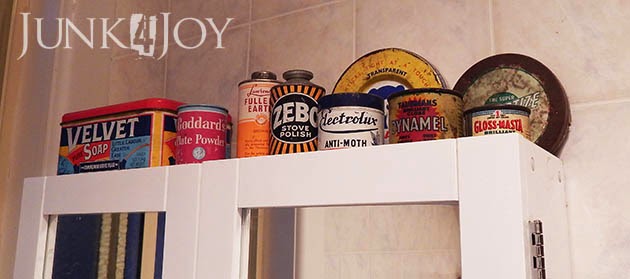
I have quite a few old tins in the bathroom, and a few enamel mugs. The tins are purely decorative but I use the mugs. I also use the old wooden caddy to keep stuff looking tidy. (It only works till we use the bathroom next).

Wayne keeps his stuff in the old timber medicine cabinet I refinished years ago.

The rest of the little tin collection sits on top of the medicine cabinet. This cabinet was in the office (which was a bedroom back then) when we bought the house. How odd.

All in all, I feel better about our ugly bathroom. I threw out a bag of stuff and its much less cluttered.
z